
BeardedBrews
Well-Known Member
Just what the world needs, more eKeggles!
I am building this one on a bit of a whim to see how cheap I can get the whole thing together. My original hope was that I could sneak in under $200, but that turned out to be unreasonable.
You can view my running parts list here. I tried to capture at least most of the small things that add up by the end of a build...
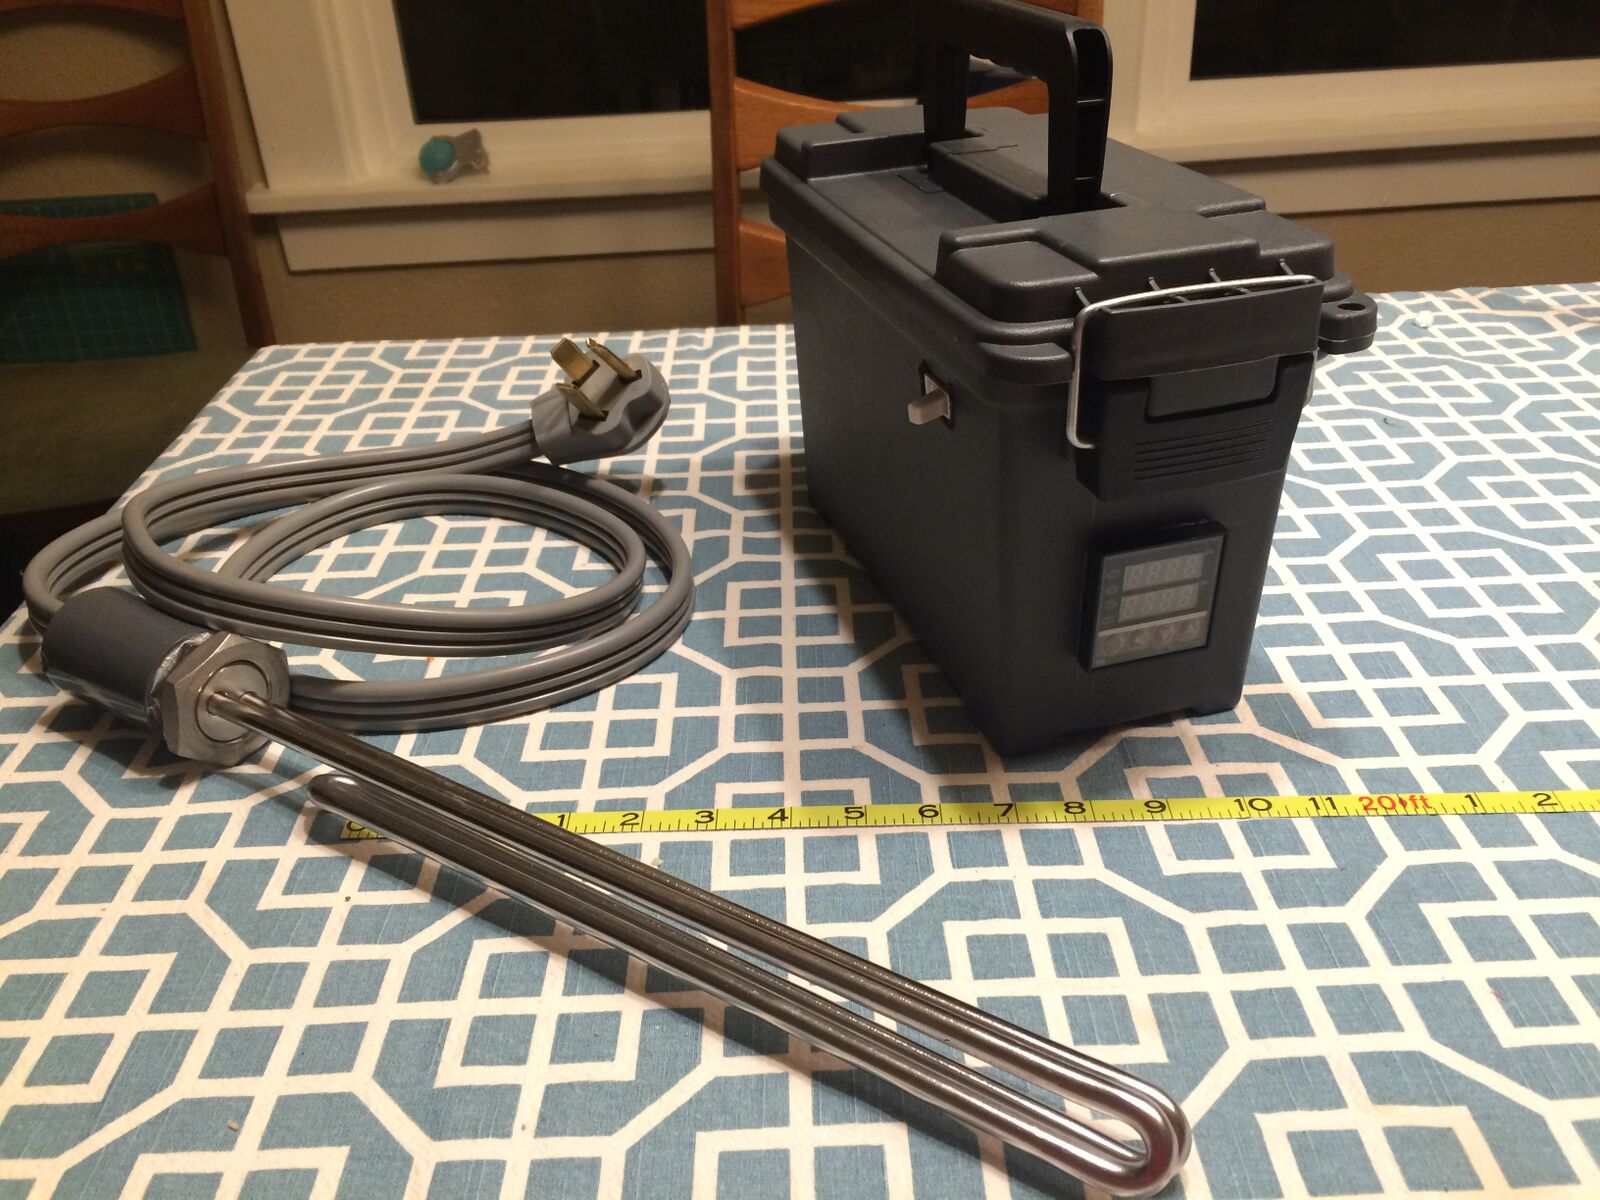
My control box is as bare-bones as I can make it while maintaining some level of safety and sanity. I am using a $6 ammo can from Harbor Freight and everything looks like it will fit pretty cleanly.
The wiring diagram is here. I have since removed the DC fan and mounted the SSR heat sink external to the ammo box. Also, while the diagram omits the grounds to the switches and outlets, they are present.
I will be going 30a breaker in the main box of my garage -> 50a GFCI -> Controller. That will keep the wiring gauge down inside the box for me.
I have the main components mounted in the control box now. I need to decide if I want to use panel mount 120v outlets or just stick in a standard wall outlet. I also went ahead and potted up my cheap-o eBay element to an equally cheap-o Amazon dryer cord.
The pictures of the control box and element are here.
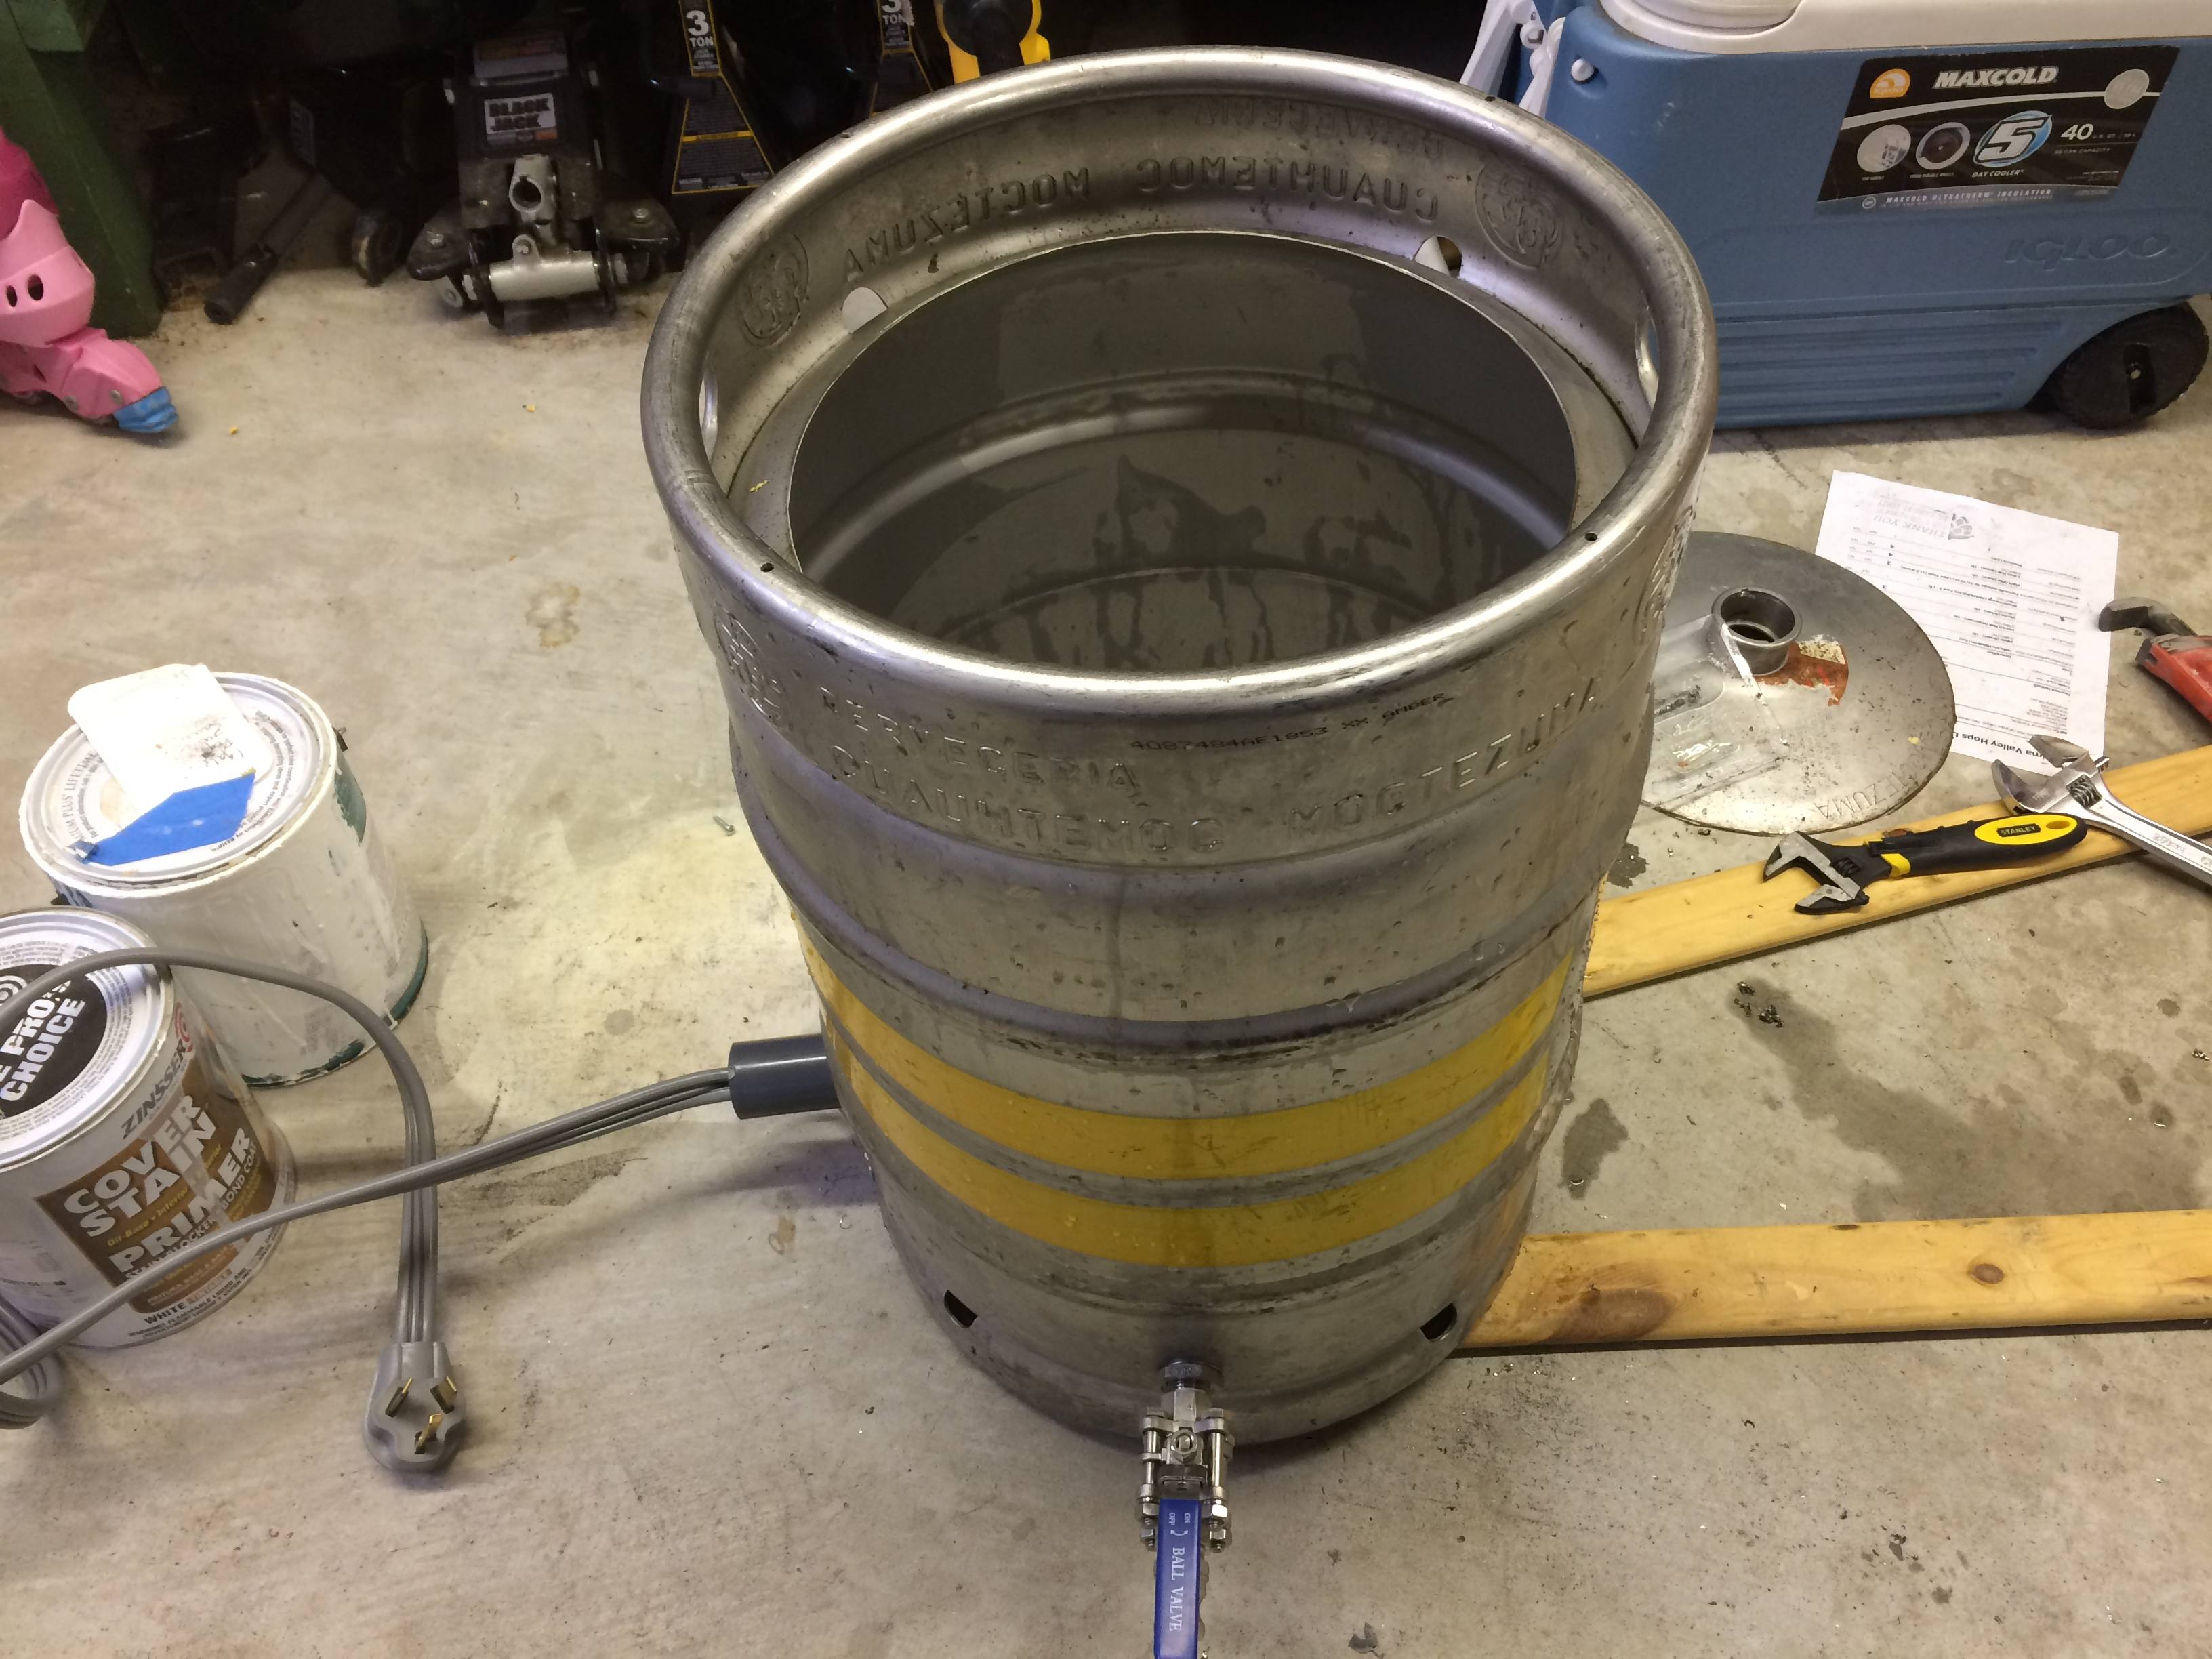
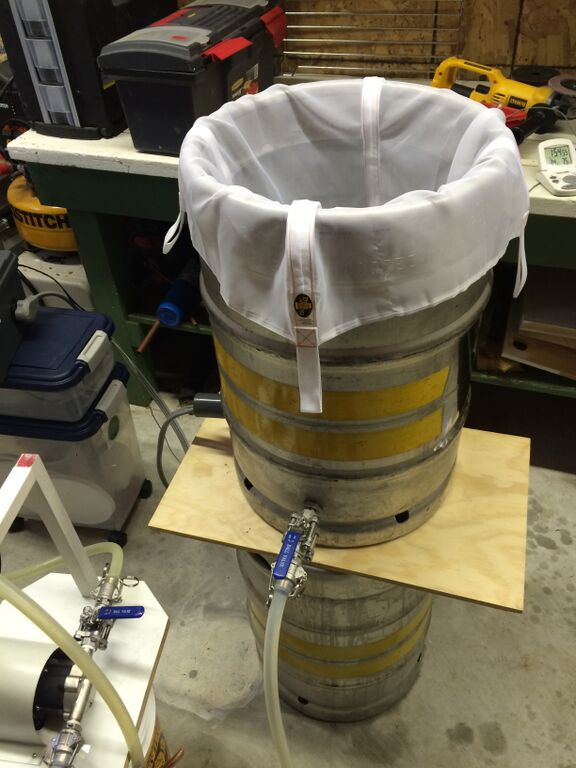
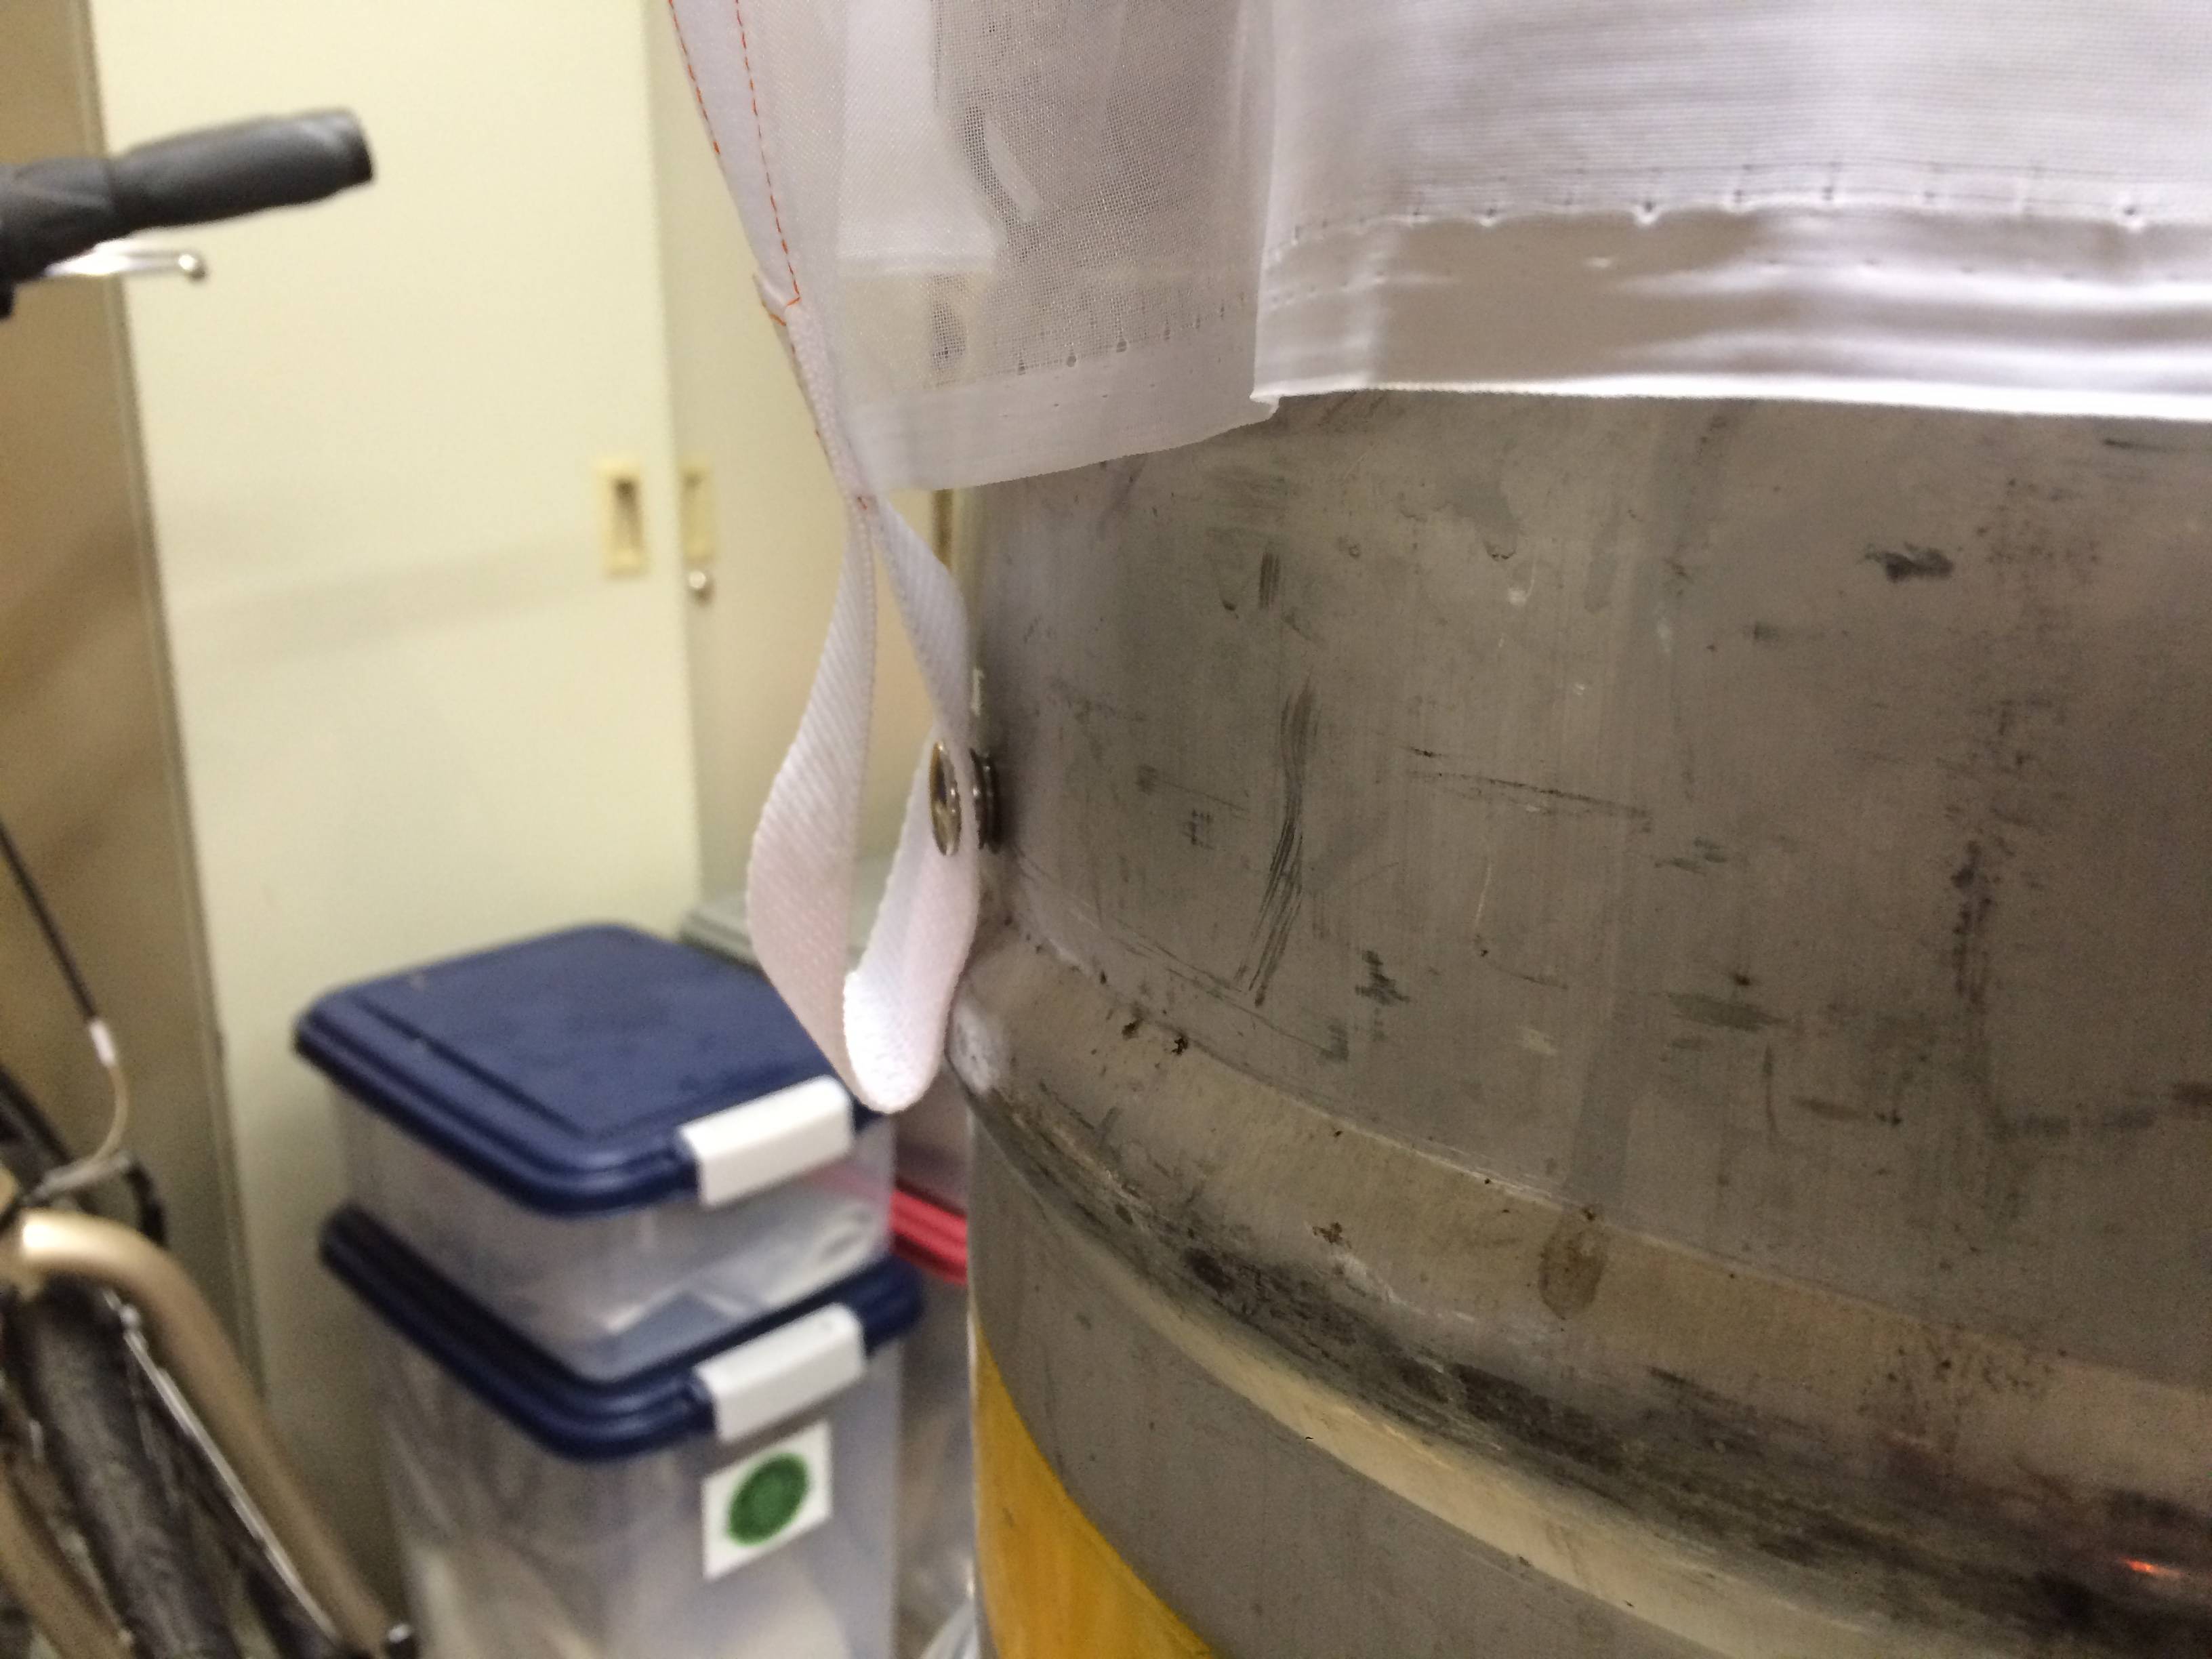
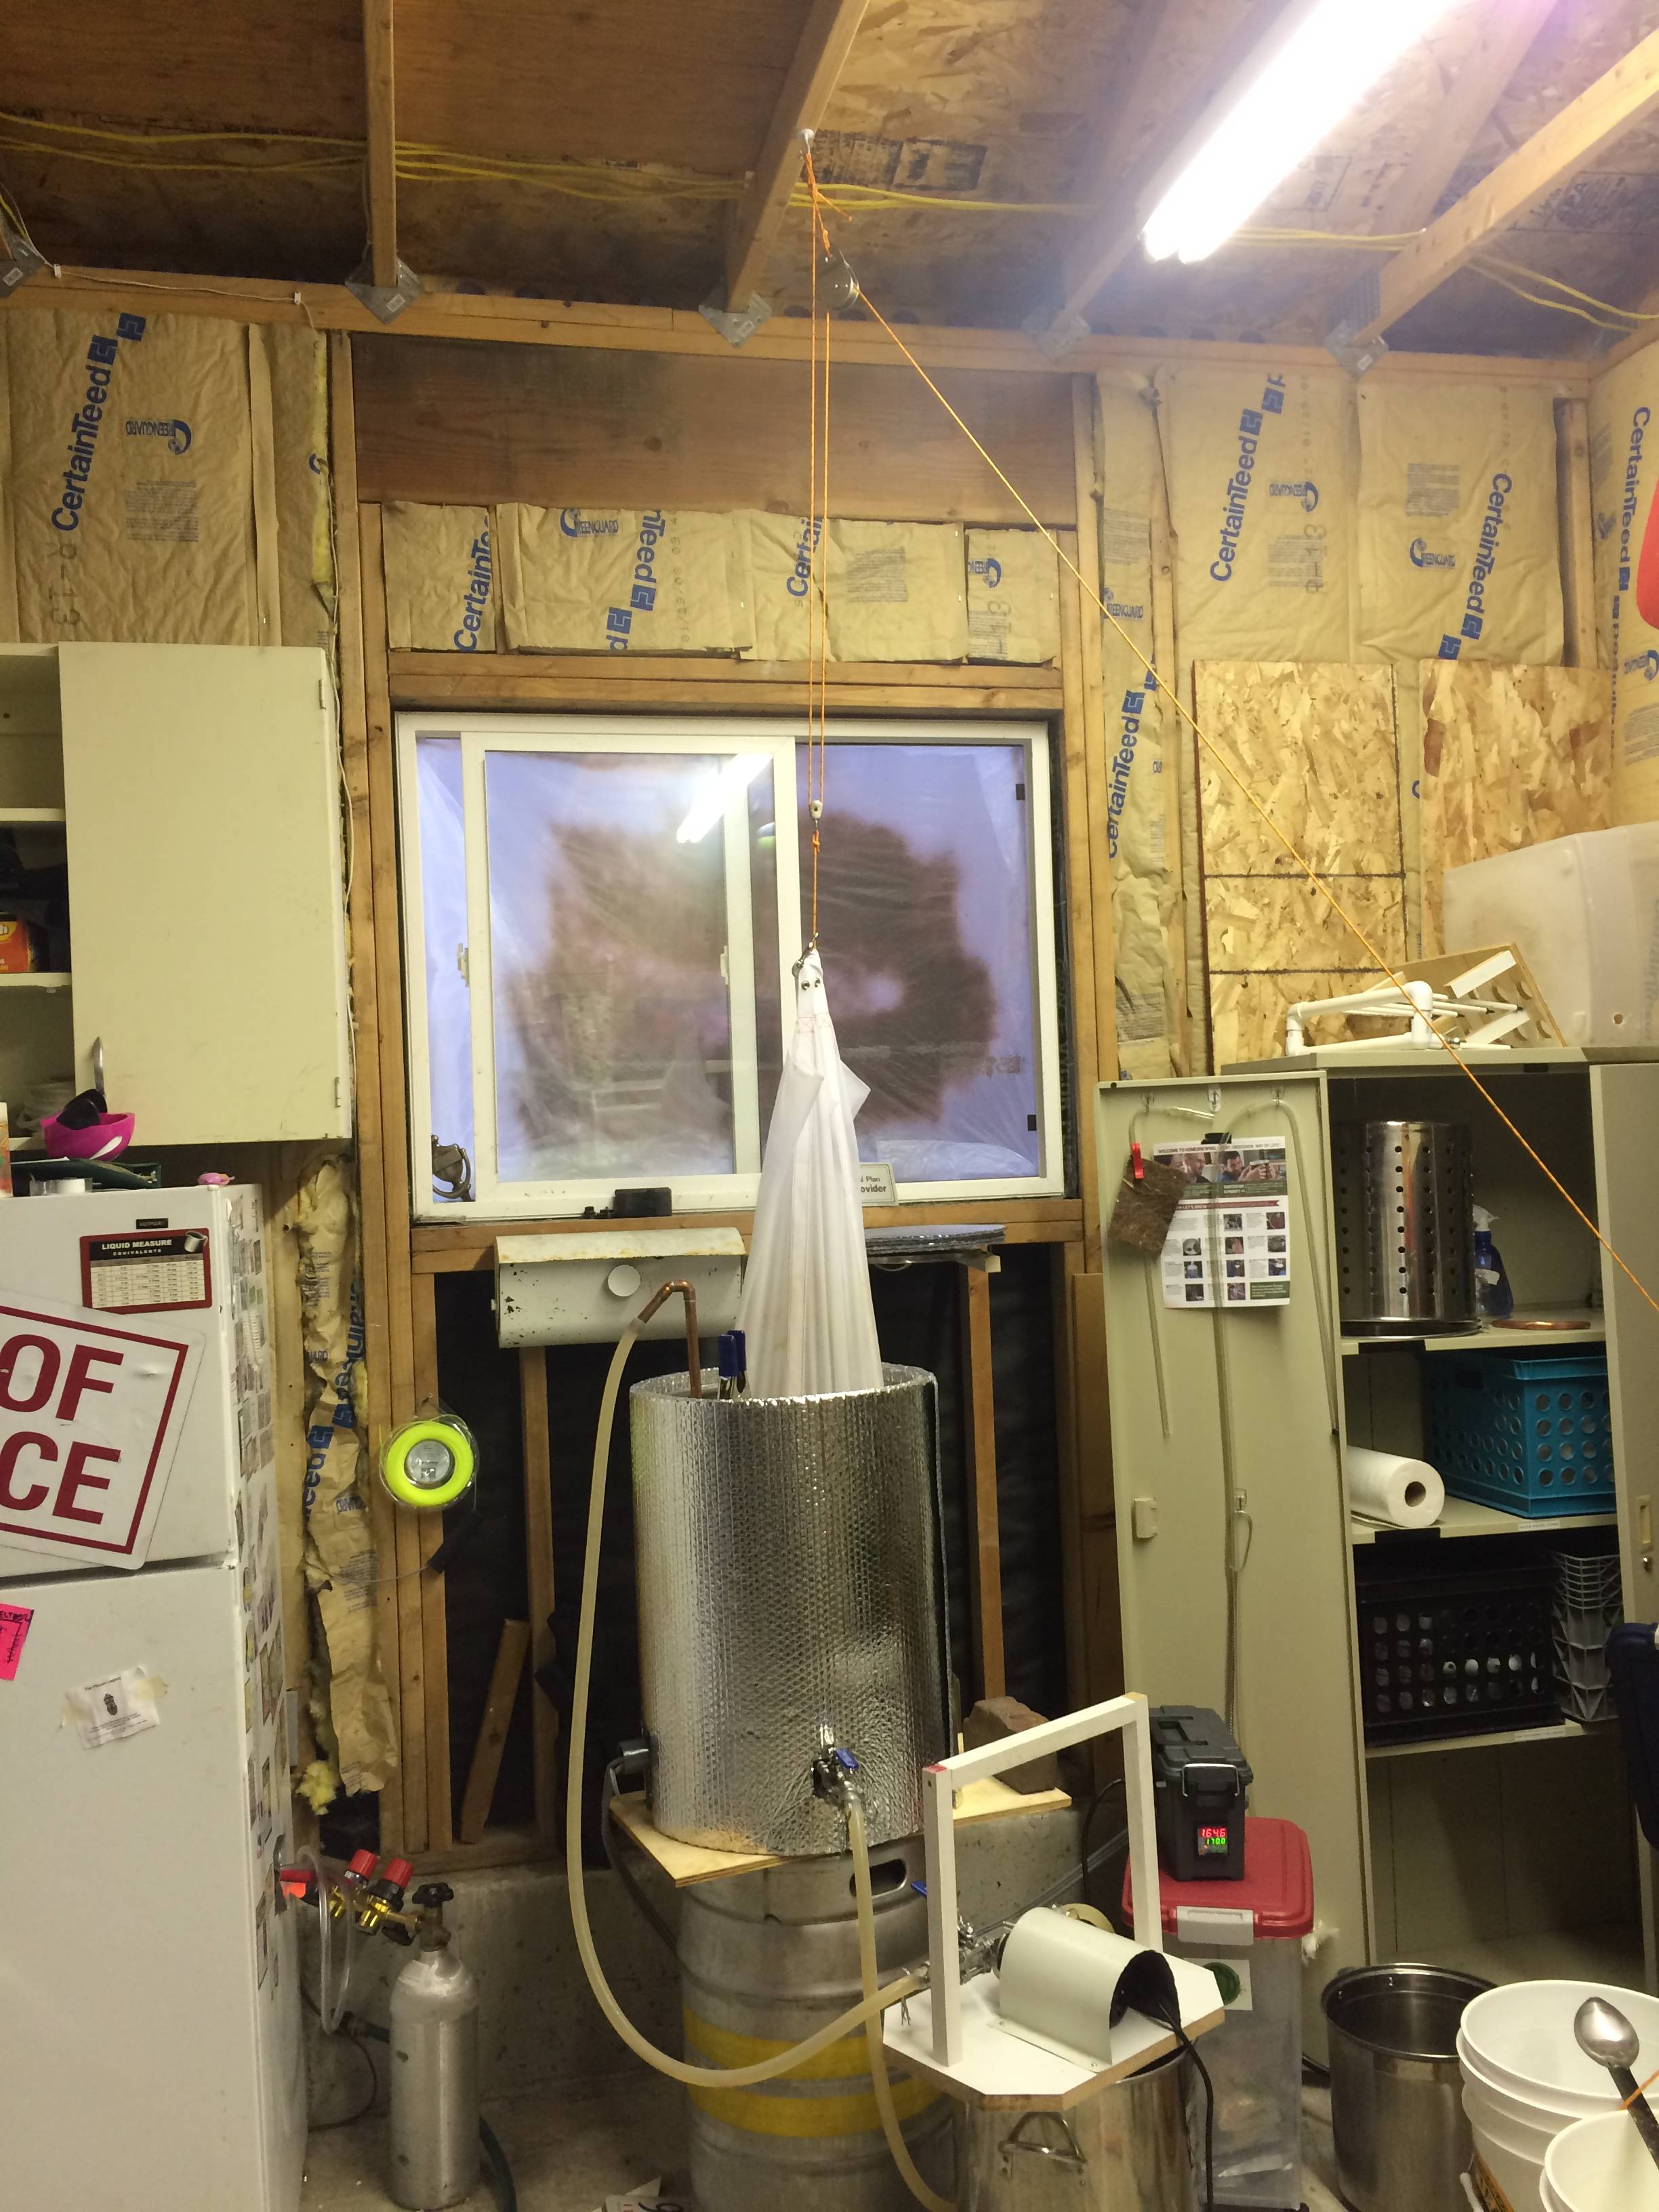
I haven't really started on the keg yet. I did a spot of polishing to make sure it actually worked, but now it's just going to sit until I get the electrical done. I'm using a BrewHardware 5/8 dip tube which I have to say is a pretty impressive piece of hardware considering the price.
Keg and Hardware Pics are here.
GFCI pictures are here
To Do List:
1. Wire the control box [DONE]
1.a. Replace the SSR [DONE]
1.b. Replace the PID [DONE]
1.c. Replace the Temp Probe [DONE]
2. Wire the 50A GFCI Panel [DONE]
3. Cut the Keg [DONE]
4. Drill the Keg [DONE]
5. Make Beer [DONE - Oktoberfest 11/7/15 Successful]
6. Polish the Keg [On Hold - Reflectix looks pretty good]
I don't think I will have time to do this project and brew a batch of Fest beer this weekend, so progress might be a bit slow. I will try to grab pictures as I go, and if you want any clarification just shout.
Thanks for all of the inspiration guys!
-B
I am building this one on a bit of a whim to see how cheap I can get the whole thing together. My original hope was that I could sneak in under $200, but that turned out to be unreasonable.
You can view my running parts list here. I tried to capture at least most of the small things that add up by the end of a build...
My control box is as bare-bones as I can make it while maintaining some level of safety and sanity. I am using a $6 ammo can from Harbor Freight and everything looks like it will fit pretty cleanly.
The wiring diagram is here. I have since removed the DC fan and mounted the SSR heat sink external to the ammo box. Also, while the diagram omits the grounds to the switches and outlets, they are present.
I will be going 30a breaker in the main box of my garage -> 50a GFCI -> Controller. That will keep the wiring gauge down inside the box for me.
I have the main components mounted in the control box now. I need to decide if I want to use panel mount 120v outlets or just stick in a standard wall outlet. I also went ahead and potted up my cheap-o eBay element to an equally cheap-o Amazon dryer cord.
The pictures of the control box and element are here.
I haven't really started on the keg yet. I did a spot of polishing to make sure it actually worked, but now it's just going to sit until I get the electrical done. I'm using a BrewHardware 5/8 dip tube which I have to say is a pretty impressive piece of hardware considering the price.
Keg and Hardware Pics are here.
GFCI pictures are here
To Do List:
1. Wire the control box [DONE]
1.a. Replace the SSR [DONE]
1.b. Replace the PID [DONE]
1.c. Replace the Temp Probe [DONE]
2. Wire the 50A GFCI Panel [DONE]
3. Cut the Keg [DONE]
4. Drill the Keg [DONE]
5. Make Beer [DONE - Oktoberfest 11/7/15 Successful]
6. Polish the Keg [On Hold - Reflectix looks pretty good]
I don't think I will have time to do this project and brew a batch of Fest beer this weekend, so progress might be a bit slow. I will try to grab pictures as I go, and if you want any clarification just shout.
Thanks for all of the inspiration guys!
-B


")


