This will echo some of what has already been said, but I'll add a bit.
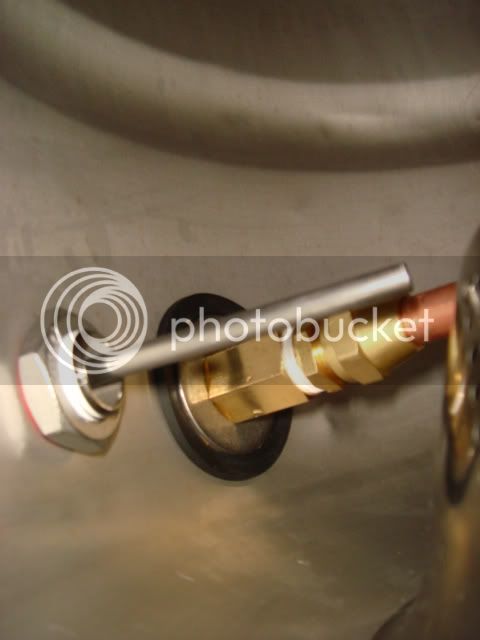
First, as other have said, overtightening is as bad or worse that undertightening. Also, the fact that you have to thread it in could be causing you trouble, as you might not be getting the nut and washer up against the wall of the tank as good as you need.
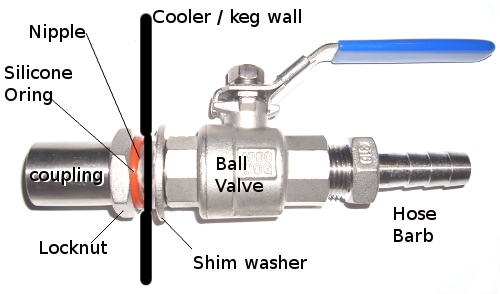
The problem we all have is that the nipples are not straight threaded, if they were, our lives would be much easier
")
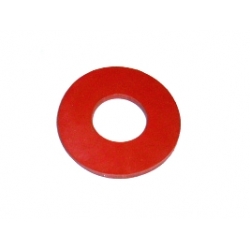
Here is what I've found most useful: Tighten the nipple into the coupler. Put a washer and then an O-ring on the nipple. Slide that through from the inside. Put an o-ring on the exposed nipple, and then a washer. (Sometimes you need two!) Then tighten the nut down. Now load up the remaining threaded portion of the nipple with teflon tape and tighten on the valve. You need to use a lot of tape, because you don't really have enough thread to make a good connection here.
Finally, don't fear the silicone sealant. If it is food grade, there is no problem using it. And you don't need to use very much, so you won't really see it anyway, and you're using on the outside so there is negligible contact with the wort anyway.
haze