fifelee
Well-Known Member
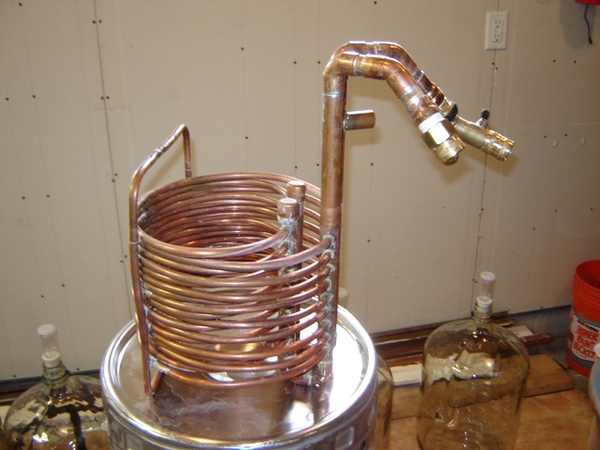
I had 36 of 1/4 copper tubing lying around and have been pondering for sometime how to use it as a wort chiller. I know 1/4 is too small to use on its own so initially I thought about splitting it into two parallel 18 tubes. After pricing out all the fittings needed to split the flow I came to the realization that I could buy a complete chiller for less
.but then a late night half drunken idea struck.
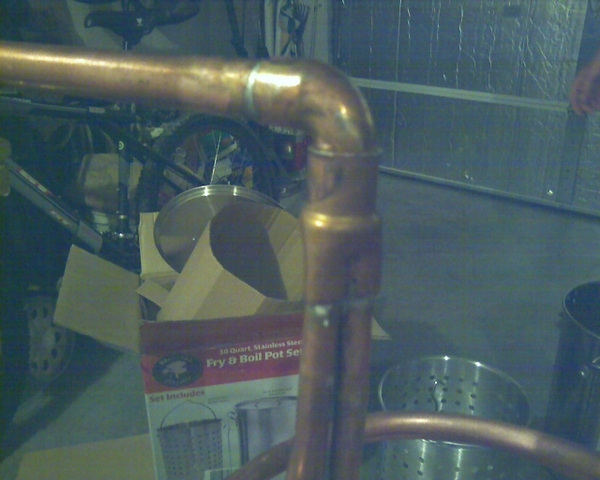
I wish I took some insitu pictures, but the project included squashing the 3/4 ends of two 3/4 x 1/2 reducer fittings in a three jaw chuck until they had and triangle shape. I then cut the 36 into two 14 pieces and one 18 piece. The three pieces where soldered into one of triangle fittings, coiled up, and another triangle fitting welded on the other end
If my calculations are correct my 36 of 1/4 (340in^2) should have almost the same surface area as the standard 25of 3/8 chiller (353in^2). The narrower water streams in my chiller will have more contact with the copper, but it may not have enough time to do much cooling because of the shorter distances traveled.
I still don't have a burner or a home (long story) so testing won't occur for a few months. How do you think this design will compare in cooling rate to a 25of 3/8 tubing chiller?
")