Three vessel e-keggle bottom drain herms pics

Homebrew Talk - Beer, Wine, Mead, & Cider Brewing Discussion Forum

Help Support Homebrew Talk - Beer, Wine, Mead, & Cider Brewing Discussion Forum:

This site may earn a commission from merchant affiliate links, including eBay, Amazon, and others.

Jem

Well-Known Member
Joined
Jan 30, 2011
Messages
94
Reaction score
7
Location
St Paul
My build like so many was inspired by Kal’s work and made a reality with P-J’s help along with countless others who shared and posted on this site, thank you.

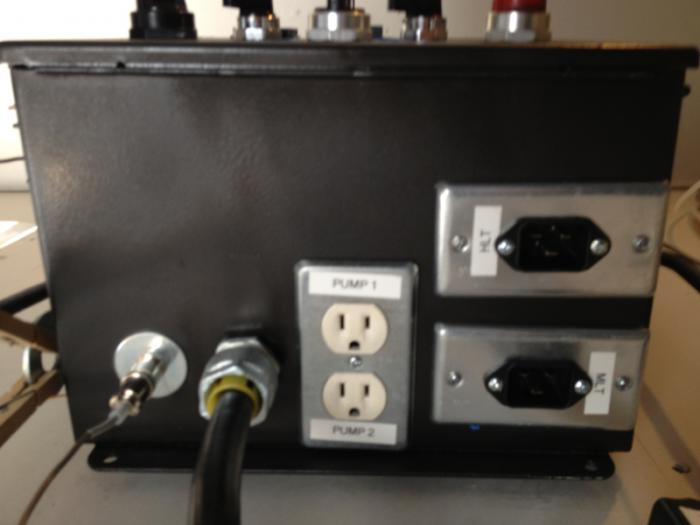
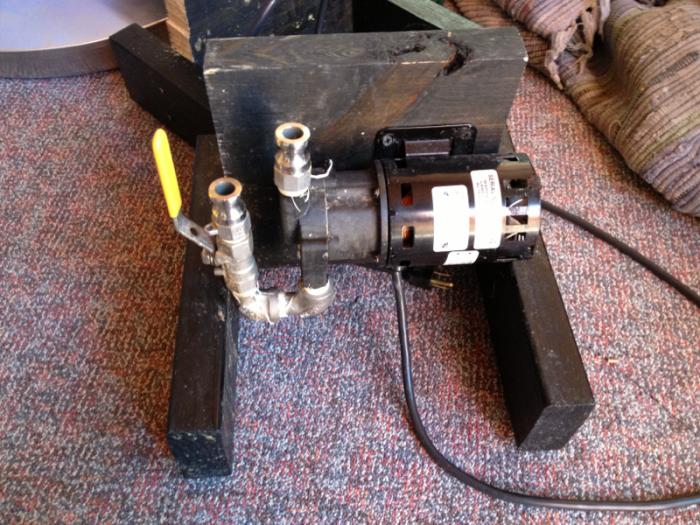
Since there is an abundance of fantastic build threads, I won't go into detail and just share some pics.

Picture 1458.jpg


Picture 1456.jpg


Picture 1454.jpg


Picture 1455.jpg


Picture 1461.jpg
 
Very nice Jem.

I am building a bottom drain 3 vessel eHERMS system myself and have been on the fence about having them on a table/platform and having them stand independent with legs as you have. A couple of questions...

Do you find any stability issues with the kettles full?
Any reason you went with three points of contact/legs as opposed to four other than the cost of material and an extra caster?
Do you feel you might need to add any cross braces near the bottom of the legs to prevent leg flex?
 
image-3445432430.jpg

Thanks for the complements.

Here's the control panel. Still playing with the timer. I need to get some of Bobby's labels, just haven't gotten around to it. Labeling the switches is a must when brewing with others.

Still looking for the best pump set up, this is my latest attempt. I did just read a post that its best to mount them with the head horizontally, I'm going to try that. Priming the pumps is a pain, especially when you need two.
 

Attachments

  • image-2698432621.jpg
    image-2698432621.jpg
    28.8 KB · Views: 2,128
  • image-3329834200.jpg
    image-3329834200.jpg
    83 KB · Views: 2,209
MidTNJasonF said:
Very nice Jem.

I am building a bottom drain 3 vessel eHERMS system myself and have been on the fence about having them on a table/platform and having them stand independent with legs as you have. A couple of questions...

Do you find any stability issues with the kettles full?
Any reason you went with three points of contact/legs as opposed to four other than the cost of material and an extra caster?
Do you feel you might need to add any cross braces near the bottom of the legs to prevent leg flex?

Thanks.

I did try a couple versions of a table and couldn't find a setup I liked. I usually bring the keggles outside to clean them so the independent legs work great. I've seen some pretty cool clean in ace set ups but my brew area won't work for that, it's kinda small and no floor drain.

Having the keggles independent is nice for storage and smaller brewing areas.

I went with three legs for the cost of materials and ease of leveling, adding a fourth leg and bracing was a back up plan but it hasn't been necessary. They are pretty stable, especially when full, but I won't move them much if at all while in use. Attaching the legs at both the top and bottom keg skirts provides allot of stability.

Good luck
 
It looks like like to opened from the bottom, and used the keg spout for the drain connection; correct? Did you cut out the old spout completely ;or just the top piece? Please give keg build details!
Looks awesome, I would like to make a mash tun from a keg I have and go RIMs.
Thanks,
Martin
 
looks good, I'm planning a single keggle for biab very much like these. what element did you use?
I'm still not sure which elements are safe to use, I presume it would have to be copper or stainless steel, apparently chrome is carcinogenic.
 
looks good, I'm planning a single keggle for biab very much like these. what element did you use?
I'm still not sure which elements are safe to use, I presume it would have to be copper or stainless steel, apparently chrome is carcinogenic.

If its listed for use in a water heater it should be safe right? Since water heaters are food safe?
 
I (and many others) have been using the Camco elements for quite some time, and best I can tell I haven't died yet.
 
I (and many others) have been using the Camco elements for quite some time, and best I can tell I haven't died yet.

Actually, if we wish to confuse correlation with causation, apparently ingesting the chemicals from the Camco elements has increased your knowledge of electric circuit design. :)
 
I'm using the 4500 camco ultra low watt elements, I initially used the standard curved 5500 elements but had trouble connecting them when I switched to a welded fitting and fixed electrical box.
 
Mdsutton said:
It looks like like to opened from the bottom, and used the keg spout for the drain connection; correct? Did you cut out the old spout completely ;or just the top piece? Please give keg build details!
Looks awesome, I would like to make a mash tun from a keg I have and go RIMs.
Thanks,
Martin

Correct I opened up the bottom of the keg, I did not modify the keg spout at all, just removed the stem.
 
Right now you have the input on the high side and output on the bottom. That's probably the most challenging configuration you can put these heads in.

Pardon my ignorance, I don't have a pump, yet. But wouldn't the input on the high side mean liquid would flow down via gravity right into the head, thus priming it?
 
Jem, I'd like to see pics of the HLT inside and also your whirlpool setup in the BK. THanks in advance.
 
triskelion said:
looks good, I'm planning a single keggle for biab very much like these. what element did you use?
I'm still not sure which elements are safe to use, I presume it would have to be copper or stainless steel, apparently chrome is carcinogenic.

Forgot to mention I have used the boil keggle for brew in a bag, it worked nicely. I have since put together a ebiab set up using a stainless steel pot. If you're doing exclusive biab you might consider a kettle having smooth sides when you pull the bag outweigh the bottom drain for me. Just a thought.
 
tre9er said:
Jem, I'd like to see pics of the HLT inside and also your whirlpool setup in the BK. THanks in advance.

Here's pics of both I happen to have on my phone.


My coiling of the ss tubing was not as clean as would have liked, my suggesting to anyone considering a ss coil is to buy a ss immersion chiller and modify it to work.

image-3049201365.jpg


image-2032433209.jpg
 
Pardon my ignorance, I don't have a pump, yet. But wouldn't the input on the high side mean liquid would flow down via gravity right into the head, thus priming it?

The basic challenge to priming the pump is that the air in the pump must be displaced by the liquid. If gravity cannot overcome the air pressure, the pump will not prime. So if the inflow is directly above, and the outflow is directly below, it can be difficult for the liquid to overcome the air because the air is an opposing force. Having the inflow lower than the outflow better enables the air to escape, so the liquid can fill the pump. Once the liquid fills the pump, the pump itself should be able to overcome the remaining air.

That's the gist of it. Some people use bleeder valves to make it even easier for the air to escape, but the basic configuration of outflow higher than inflow is the recommended approach, regardless.

Excellent info, thanks. I have a pump on order right now and just assumed I'd put the input above output. I may mount it "upside down" now based on this info.
 
Regarding the pump setup - the issue I've seen is not the initial prime - as the liquid flows out of your kettle and through the pump and then back out the discharge of the pump, it will clear most, if not all the air. The issue is air pockets - any bubbles that get sucked into the pump, or any cavitation, anything that causes air to enter the pump head will not clear. The bubbles will try to go "up", while the liquid is flowing "down", and basically you'll have stuck bubbles. If you have the discharge as the high point, any and all remaining bubbles will want to go in the same direction as the flowing liquid and the pump will run better and happier. Because pumps have feelings, too.
 
Great info on the pump setup, wish I would have posted my build earlier :)

As soon as I have a few minutes I'm going to test the repositioned set up.

Thanks
 
Regarding the pump setup - the issue I've seen is not the initial prime - as the liquid flows out of your kettle and through the pump and then back out the discharge of the pump, it will clear most, if not all the air. The issue is air pockets - any bubbles that get sucked into the pump, or any cavitation, anything that causes air to enter the pump head will not clear. The bubbles will try to go "up", while the liquid is flowing "down", and basically you'll have stuck bubbles. If you have the discharge as the high point, any and all remaining bubbles will want to go in the same direction as the flowing liquid and the pump will run better and happier. Because pumps have feelings, too.

Good point, although I have seen failure to prime also.

Off-topic, but when I rack to keg after a 33F cold crash, at about 65F ambient temperature, I encounter a similar physical phenomenon. The CO2 comes out of solution and rises, opposing the gravitational force acting on the liquid, resulting in slower racking.
 
What do you do for separating hops and hot break from the wert? I see you have a setup to allow for whirlpooling but is that not opposite if what you want with a center drain?
 
What do you do for separating hops and hot break from the wert? I see you have a setup to allow for whirlpooling but is that not opposite if what you want with a center drain?

Pretty sure his center drain is for CIP (clean in place). That allows you to rinse, scrub, etc. and everything just drains out the bottom, like your bathtub, without having to tip the vessel over, etc.
 
wdevauld said:
What do you do for separating hops and hot break from the wert? I see you have a setup to allow for whirlpooling but is that not opposite if what you want with a center drain?

WDevauld, you are right it's not a whirlpool in the traditional sense. Initially I was using an immersion chiller and wanted the whirlpool action for that. I switched to a plate chiller thinking I would add another port to draw off above the break material but haven't gotten around to it and with the plate chiller I tried to keep as much hop material as possible out with a hop spider, in addition i leave a about a gallon in the boil keggle and 1.5 gallons in the fermentor. So not a perfect solution but it works well for cleaning. After completing this setup the biab process caught my eye and I ended up building a 10 gallon e biab setup. I find myself brewing on the ebiab system more lately, my brew time hasn't been cut back with a new baby.
 
Ok for anyone still following this thread, I mounted my pump head horizontally and it works much better.
 
Resurrecting this old thread. Love your setup with bottom drain keggles on legs. This is exactly what I am looking to do. Can you tell me the specs on the legs themselves? I want to make sure my design is beefy enough. Looking at 3/4" OD SS square tube, 3' lengths. How is your design holding up over time? Do you remember where you purchased your casters? Thanks!
 
Sorry for the slow response I tried to find the specs on the legs but could not. I don't have this setup any longer, decide to down size and sold it on HBT. Hopefully it's still working well. The legs where fairly thick steel and either 3/4 or 1" OD, bolted into the skirt of the keg top and bottom. As you decide of the height keep in mind the drop for your pumps. I think the casters were from Harbor Freight. Hope that helps a little
 
found the specs for the legs:
Product Type: A513 Steel Structural Square Tube
Description: 1 X 1 X 14 GA (.083 wall)
Quantity: 12
 
found the specs for the legs:
Product Type: A513 Steel Structural Square Tube
Description: 1 X 1 X 14 GA (.083 wall)
Quantity: 12
You're the man. Thanks for following up. The plan is to use a bottom drain keggle with a RIMS system. Building the RIMS controller now. Eventually I'll get to converting the keggle and slapping legs on it after I polish it up all pretty like yours.
 

Latest posts

Back
Top