DIY Guide: MLT from Igloo 10-Gallon Commercial (yellow) Water Cooler

Homebrew Talk - Beer, Wine, Mead, & Cider Brewing Discussion Forum

Help Support Homebrew Talk - Beer, Wine, Mead, & Cider Brewing Discussion Forum:

This site may earn a commission from merchant affiliate links, including eBay, Amazon, and others.

vinylrooster

Well-Known Member
Joined
May 24, 2013
Messages
339
Reaction score
49
Location
Columbus, OH and Buffalo, NY
DIY Guide: MLT from Igloo 10-Gallon Commercial (yellow) Water Cooler
Let me start out this DIY guide by saying that the inspiration and instructions came almost verbatim from FlyGuy's original thread (https://www.homebrewtalk.com/f51/cheap-easy-10-gallon-rubbermaid-mlt-conversion-23008/). FlyGuy saved me multiple hours of making repeated trips to Home Depot in order to get all of the pieces for the build and I thank him immensely!

I had to change two or three minor things from his build in order to get a good tight seal to ensure no leaks on my Igloo 10 Gallon Industrial Water Cooler.

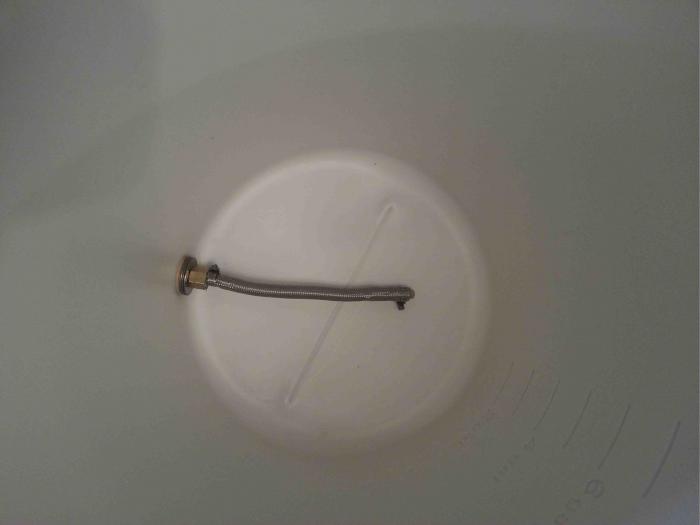
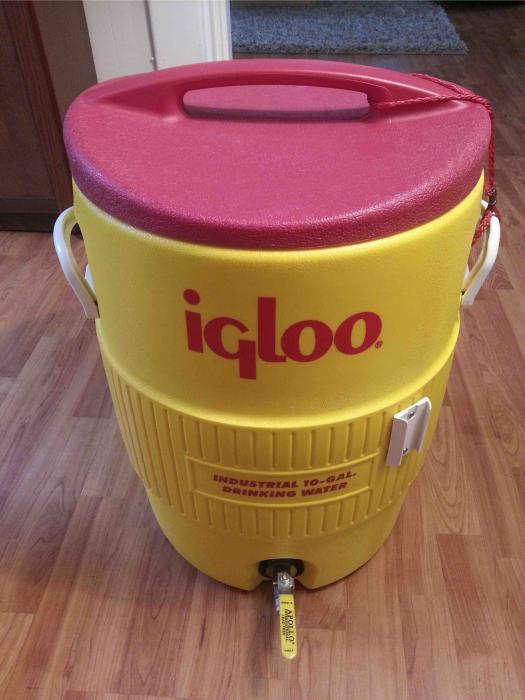
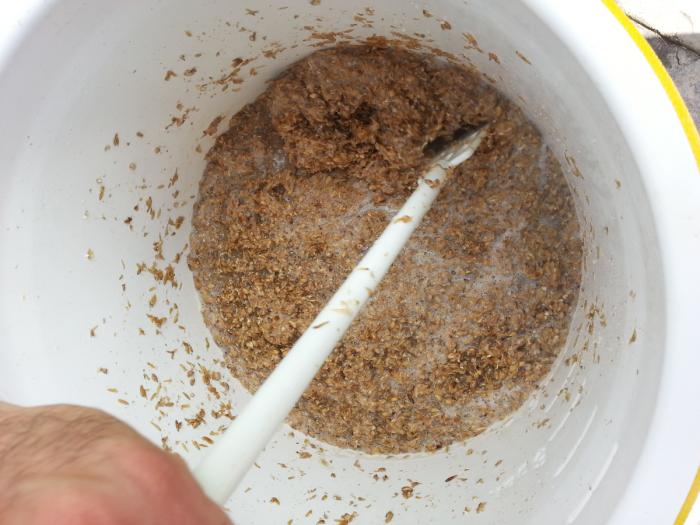
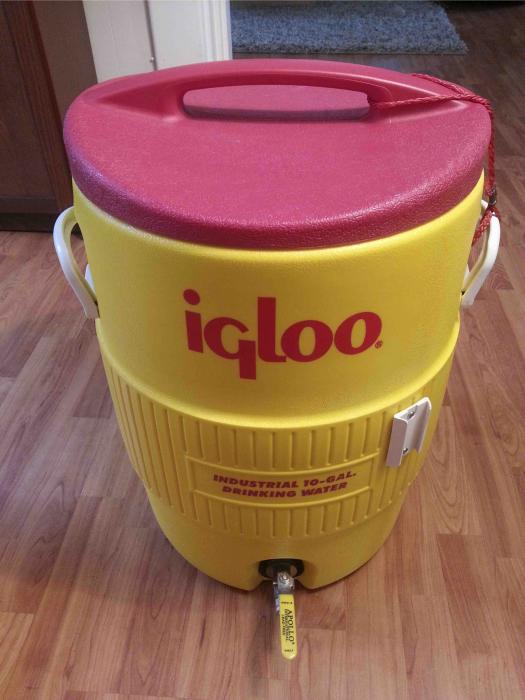
I'll start out with pictures of the final product and of the final inside view. I have also included a pdf document in case you would like to print the instructions out. It won't let me upload the pdf that contains all of the pictures for easy printing, but just PM me your email address if you would like them and I will gladly supply them for you.

Here was my parts list (again, thanks to FlyGuy for these product Cat #'s):

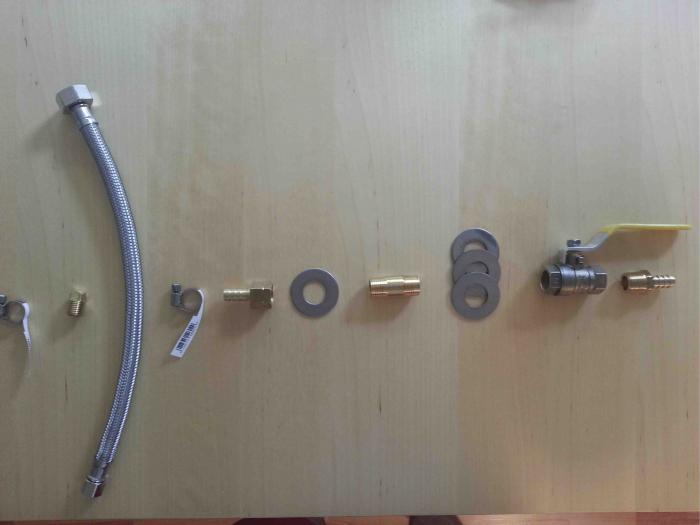
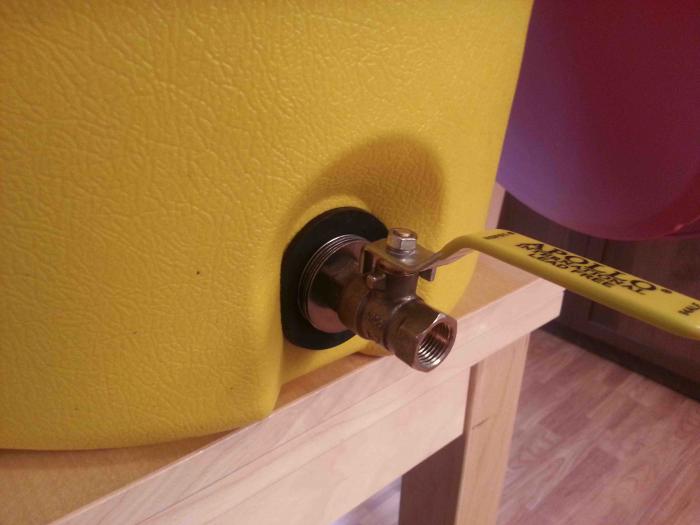
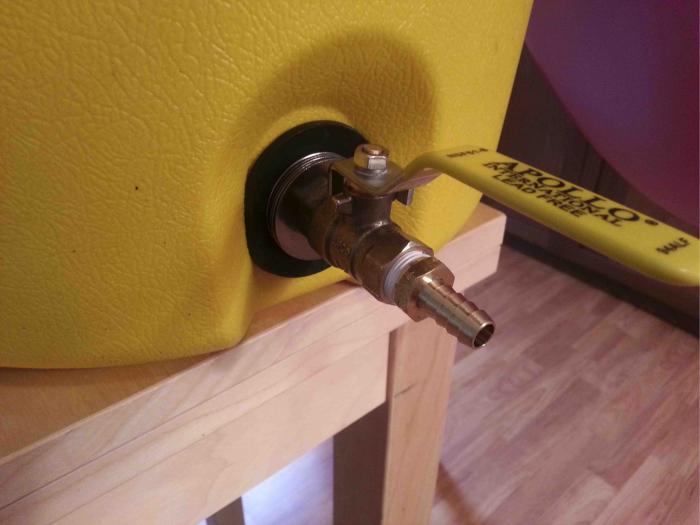
Here are the parts you will need for the conversion (see images 2 and 3):

Parts List:
- Igloo 10-Gallon Commercial (yellow one) Water Cooler
- Two stainless steel ¼” hose clamps
- One brass square head plug (Watts A-737)
- One ½” x 12” braided stainless steel supply hose
- One 3/8” female barb adapter (Watts A-298)
- Three 5/8” stainless steel fender washer
- One 3/8” MIP x 1-1/2” brass nipple (Watts A-786)
- One roll Teflon tape
- One 5/8” O-ring
- One neoprene 5/8" fender-type washer
- Five non-stainless steel 5/8” fender washers
- One 3/8” threaded ball valve (threaded on BOTH sides)
- One 3/8” male barb adapter (Watts A-294)

All of the above products were purchased at Home Depot, with the exception of the "Three 5/8" stainless steel fender washers" and "One neoprene 5/8" fender-type washer", which were both purchased at Ace Hardware.

View attachment DIY Mash Tun Guide.pdf
27-final.jpg


19.jpg


2.jpg


3.jpg
 
Step 1 – Removing Spigot from 10-Gallon Commercial Water Cooler:
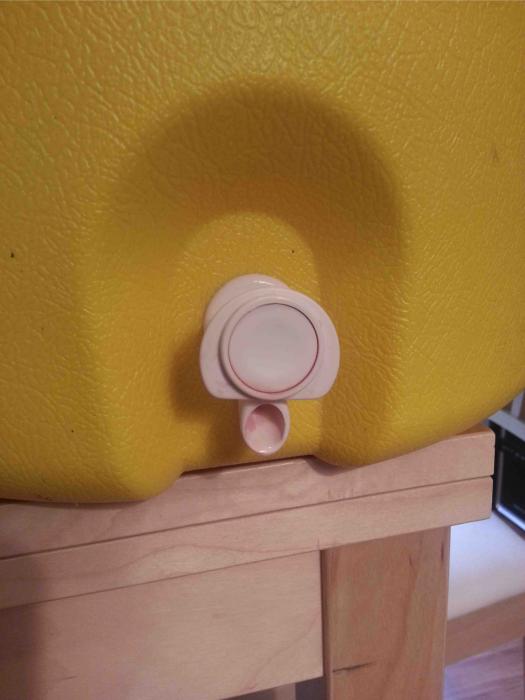
(1) Remove nut on inside of cooler with wrench. If you use your wrench to immobilze the nut, you can simply turn the spigot counter clockwise.
(2) After nut is removed, spigot assembly will slide out (images 4 and 5).
(3) Save o-ring and sealer plug for later use.

Step 2 – Preparing Stainless Steel Braid
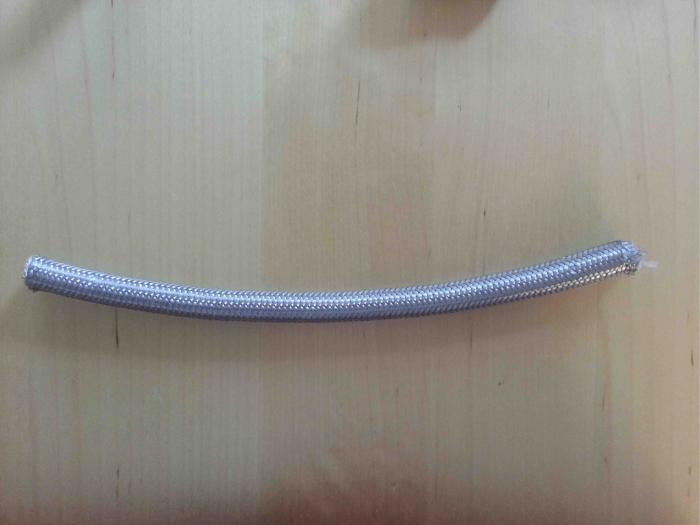
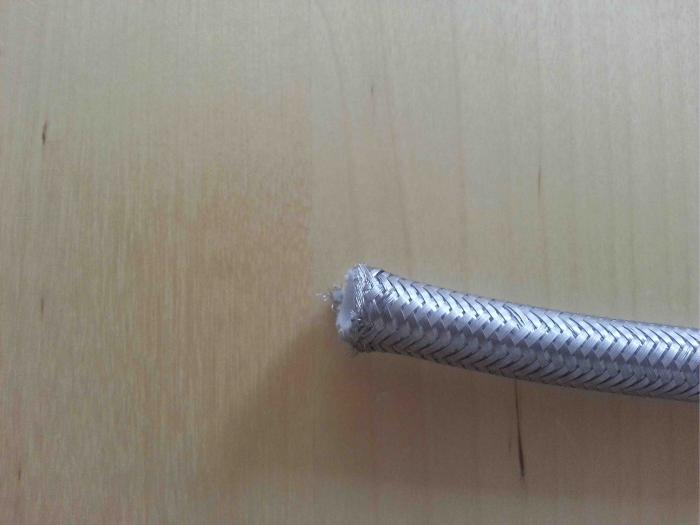
(1) Cut off both ends of your SS braided tubing using cutting utensil of choice (image 6). I lent my hacksaw to a friend and don’t own a dremel, so I simply used an old dull serrated bread knife and was able to cut off both ends within a minute.
(2) Because I used a dull knife to do the above step I was left with uneven frayed edges ofnewly cut braided tubing, so I used a pair of scissors and trimmed off the frayed edges to make the end of the braids a nice clean cut (image 7)
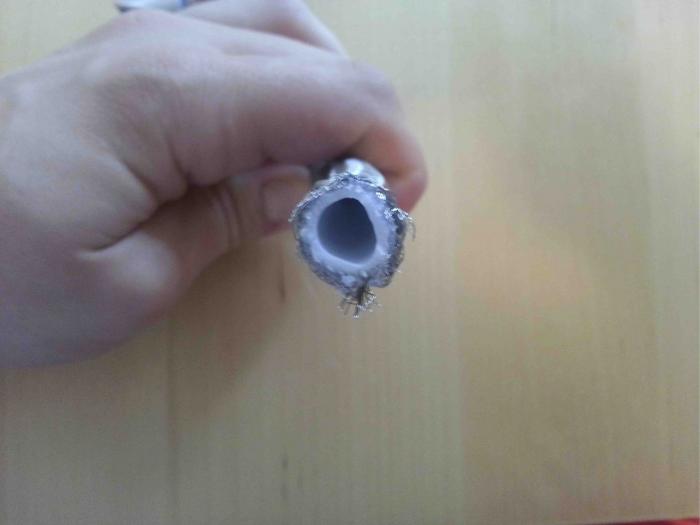
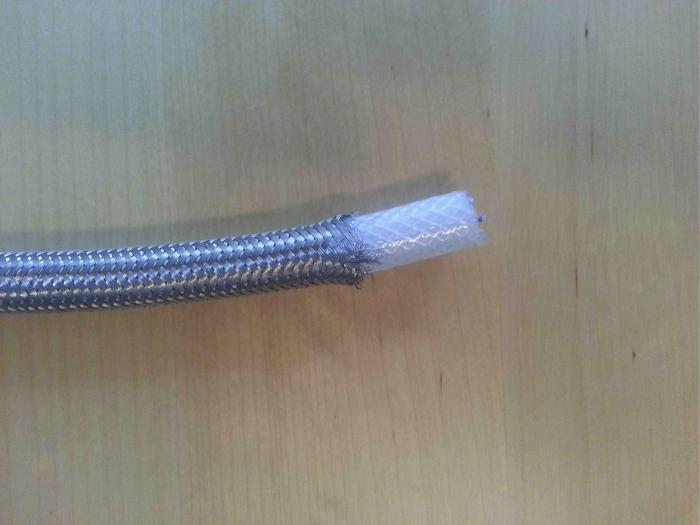
(3) Grab the end of the inner plastic tubing (image 8) with a pair of needle nose pliers.
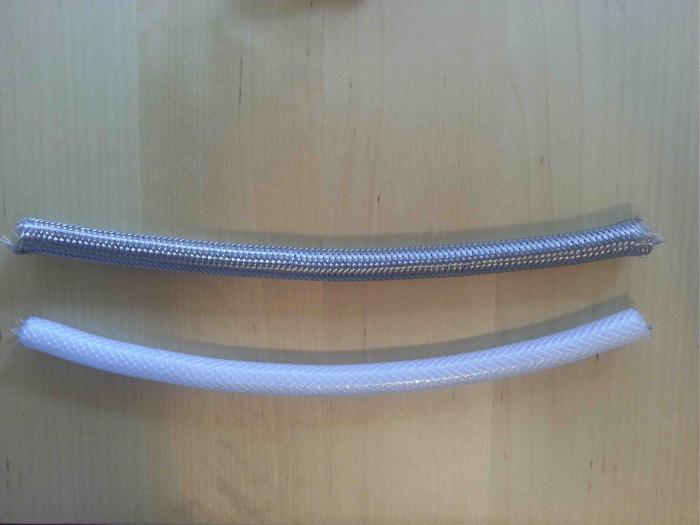
(4) While grabbing the inner tubing, slowly push the outside braided tubing off of the inner plastic tubing (images 9 and 10). It is very important that you push the outer braided tubing off and do not try to pull it. If you try to pull the braided tubing off, the braids will just pull tighter and you will not be able to remove it (imagine a chinese finger trap).
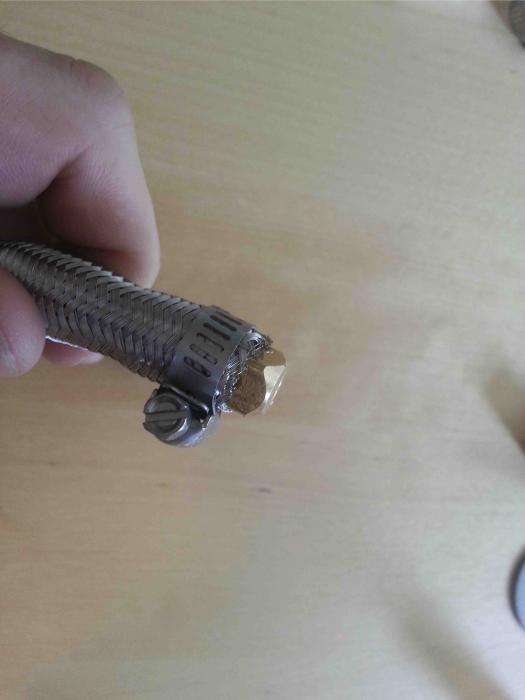
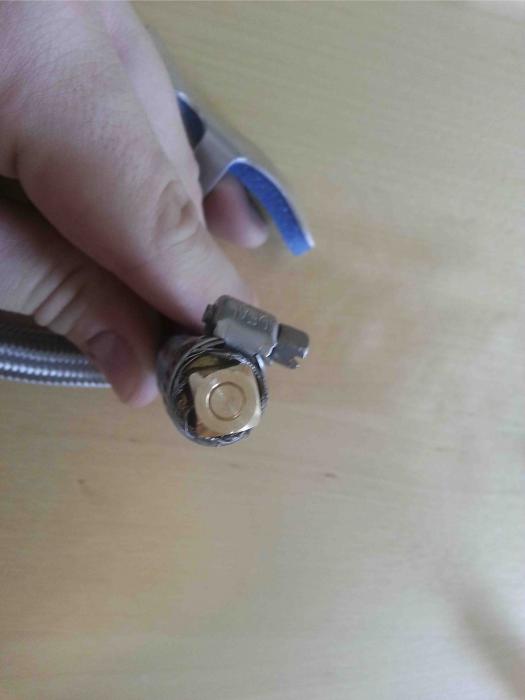
(5) Place brass square head plug into one end of the tubing and secure it down with one of the ¼” SS hose clamps. (images 11 and 12)

NOTE: FlyGuy actually changed his original build and got rid of the hose clamps because they began to rust. He chose to insert heat-safe vinyl tubing with notches in it the entire length of the braided hose. I could not find any heat-safe tubing so I chose to go with the hose clamp method for the time being. For instructions, see https://www.homebrewtalk.com/253344-post62.html

4.jpg


5.jpg


6.jpg


7.jpg


8.jpg
 
Step 3 – Preparing Inner Nipple and Attaching Braided Hose
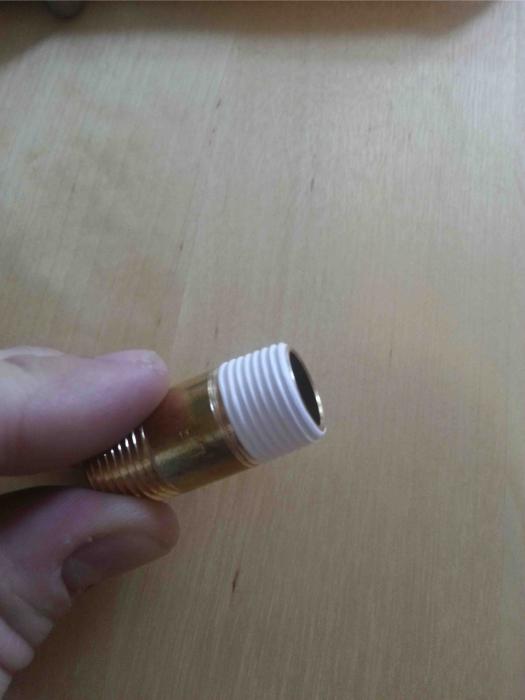
1) Apply Teflon tape to one side of the threads of the brass nipple (image 13).
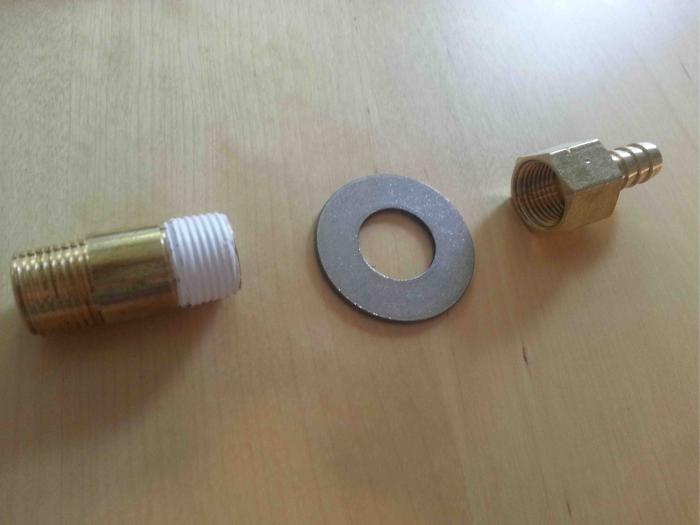
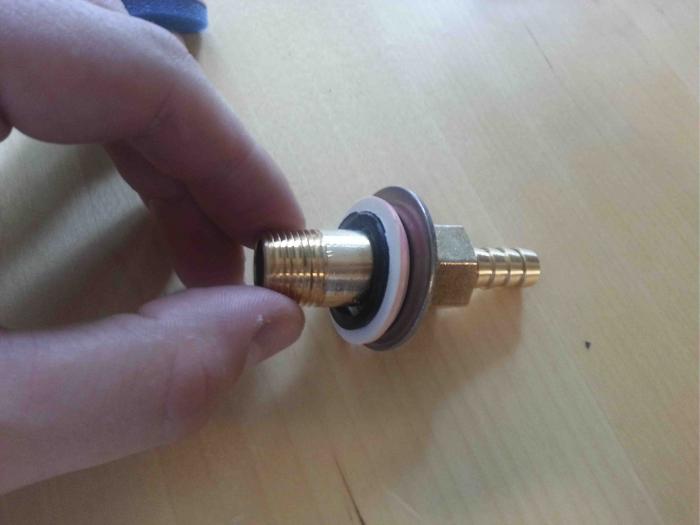
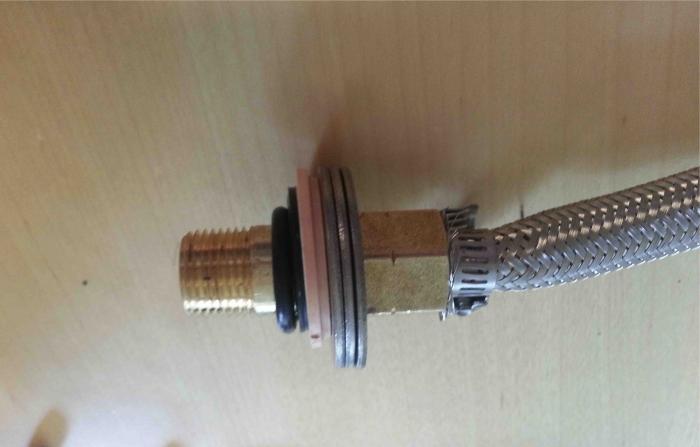
(2) Slide three 5/8” stainless steel fender washers over nipple and attach the female barb adaptor (images 14 and 15). Notice that my image on has one washer on the nipple, but I did in fact use three washers but for some reason forgot to include all three in my picture.
(3) Add the o-ring and sealer plug that you harvested from the original cooler’s spigot (from step 1.3) between the three washers (again, picture error I actually used 3 washers) and the un-used end of the nipple (image 16).
(4) Add newly purchased 5/8” o-ring (not from original cooler; image 17).
(5) This entire assembly will go on the inside of your cooler (image 18).
(6) Before placing in cooler, slip a ¼” hose clamp over braided tubing and attach braided hose assembly (from step 2.5) onto the barbed end of the piece from step 3.5 (image 19)
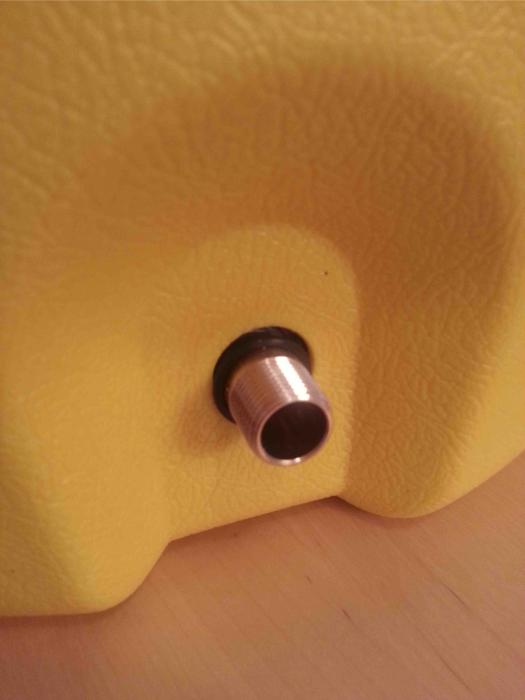
(7) Now you are left the un-used side of your nipple poking out of the cooler (image 20).

13.jpg


14.jpg


15.jpg


16.jpg


17.jpg
 
Step 4 – Creating Seal and Adding Ball Valve
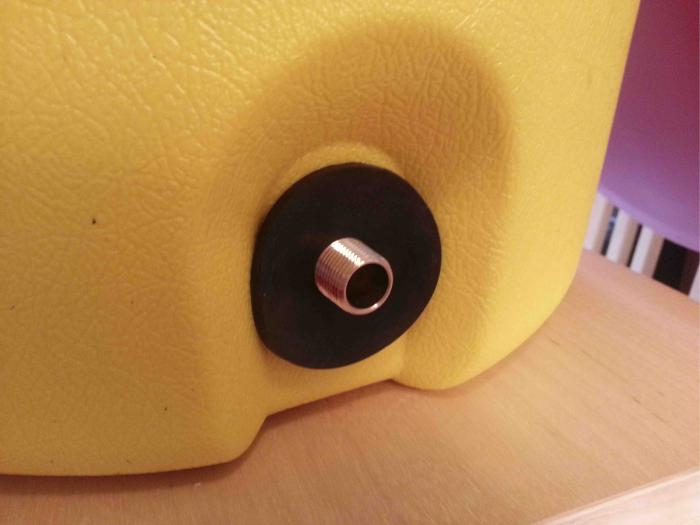
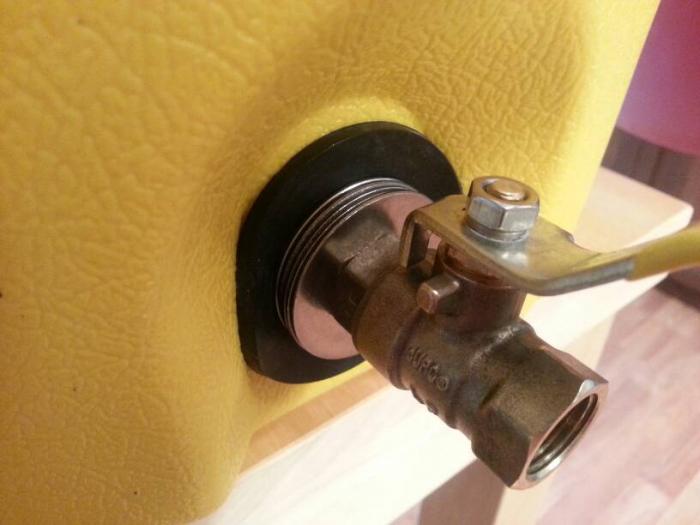
(1) Slide 5/8” neoprene fender washer over exposed nipple (image 21).
(2) Apply Teflon tape threads of the brass nipple (image 22).
(3) Add five non-stainless steel 5/8” fender washers on end of nipple (image 23).
(4) Twist ball valve onto end of nipple (image 24). You must use two wrenches—one to hold the inner assembly from twisting and a second to tighten the ball valve in order to get a proper seal along the neoprene washer. Also, make sure you orient the ball valve properly so that you can still open and close it!
(5) Add Teflon tape to threads of male barb (image 25).
(6) Tighten male barb into threaded female receptor of the ball valve (image 26).

Finished MLT
You have now successfully completed your brand new Igloo 10-Gallon Commercial Mash Lauter Tun (image 27 ).

I tested this for leaks and it easily held 5 gallons of warm water for over an hour with no leaks whatsoever!

Again, many thanks go out to FlyGuy for the inspiration to this project!

21.jpg


22.jpg


23.jpg


24.jpg


25.jpg
 
Most of the wort your going to get out of your mash tun is through the first inch or so of the mesh braid. I have never had my braid collapse even doing 20lbs of grain...looping it like that also seems like a waste...i suppose if you have the length go for it, but its hardly necessary.

Interesting. I think I might try doing the coil for the first few inches so that at least it doesn't collapse there. But it is good to know that the braid by itself will not collapse up to 20 lb of grain
 
Hope you're planning on only batch sparging. Its been proven that braids are very ineffective at fly sparging due to only pulling wort from near the braid and exit
 
I tried to make an HLT with basically the same setup minus the braided hose and no matter what I do it will not stop leaking. I have tried every o-ring washer and seal combo I can think of.
 
I tried to make an HLT with basically the same setup minus the braided hose and no matter what I do it will not stop leaking. I have tried every o-ring washer and seal combo I can think of.

I really think a neoprene fender washer on the inside wall helps. I tested the unit with 170F water for 2 hours and not a drop leaked out. Let me know if you want some pictures and I'll take some for you
 
Hope you're planning on only batch sparging. Its been proven that braids are very ineffective at fly sparging due to only pulling wort from near the braid and exit


I absolutely plan on batch sparging for the time being, mainly because I only have one water cooler and cannot effectively fly sparge
 
I added the copper wire to the inside of the braid last night and plan on doing my first mash in this cool this 4th of July. I'll take some pictures and show everyone how well everything works
 
I really think a neoprene fender washer on the inside wall helps. I tested the unit with 170F water for 2 hours and not a duo leaked out. Let me know if you want some pictures and I'll take some for you

I've never heard of a neoprene fender washer. Thanks for the tip, I'll have to look them up!
 
Just as a quick update, I have used this MLT 3 times now and have had zero leakage over 60 minute mashing. Also, I had no temperature drop at all over this mashing time. I could not be more satisfied with this setup...
 
Every local store is out of damn 5/8" stainless anything lol would a rubber washer between 2 of the stainless ones make a difference. Wasn't sure how the rubber would react being on the inside. Thanks for all the info, almost done.

Sent from my SCH-I535 using Home Brew mobile app
 
I have used some of the rubber fender washers on the inside and it was totally fine. I used the stainless ones as spacers, and then use the rubber one against the sidewall.

-Rooster
 
I'm at work right now and I couldn't find a picture of the inside, but imagine the same exact thing on the inside. The rubber gasket definitely helps with leaks as well

-Rooster

1394470589730.jpg
 
I would careful in the long run if the washer are not food grade..I am sure it may not affect taste but who knows what is leeching in there

Sent from my EVO using Home Brew mobile app
 
A real problem with the video, both the lock nut and wire insert are galvanized (zinc)! That is poison! No middle road on this!
Not even a little is safe!
 
I have an igloo rectangular cooler right now which is working great for 5 gallon batches but I want to start doing 10 gallon soon. I figured I should upgrade to a cooler like this. Glad to hear it doesn't look temp over 60 minutes, mine currently drops 3-4 degree's depending on ambient temp.
 
I finished my build today. Thanks a lot everyone. I was wondering what the min/max grain amount for this. Mainly minimum, my next batch is a PM and using 8 lbs of grain. Is that too little? Is there a calculator for these things? Ha!

Sent from my SCH-I535 using Home Brew mobile app
 
I would careful in the long run if the washer are not food grade..I am sure it may not affect taste but who knows what is leeching in there

Sent from my EVO using Home Brew mobile app

I'm currently running all stainless the inside, for exactly this reason.


I have an igloo rectangular cooler right now which is working great for 5 gallon batches but I want to start doing 10 gallon soon. I figured I should upgrade to a cooler like this. Glad to hear it doesn't look temp over 60 minutes, mine currently drops 3-4 degree's depending on ambient temp.

It never looses temp over a 60 minute mash, but I'm not sure it'll be big enough for a ten gallon mash. I've maxed it out somewhere in the 23# range if I remember correctly.


-Rooster
 
For anyone reading this, please skip using a gasket on the outside. If your inside seal leaks, you actually want it to leak out of the front. If you don't have that indication, it's just going to fill up the insulation cavity. That removes a lot of the R value first of all, but worst it's disgusting when you finally figure it out.
 
For anyone reading this, please skip using a gasket on the outside. If your inside seal leaks, you actually want it to leak out of the front. If you don't have that indication, it's just going to fill up the insulation cavity. That removes a lot of the R value first of all, but worst it's disgusting when you finally figure it out.


Interesting. Maybe I'll take it off next brew sesh and see what happens...
 
A real problem with the video, both the lock nut and wire insert are galvanized (zinc)! That is poison! No middle road on this!
Not even a little is safe!

FLboy, I saw this and your other thread talking about not using galvanized metals in contact with liquids. I would like to clarify that the video you are citing was posted by another user and is not part of my original post and that I did not use any galvanized metals.

Thank you for bringing up your concerns, I just still think my build is valid.

-Rooster
 
To be clear, it's a small hole in the bottom corner of OUTSIDE wall of the cooler right under where the bulkhead installs. Yes, I've done this on every cooler I ever converted either for myself or others.
 
Back
Top