BIAB Keggle Build

Homebrew Talk - Beer, Wine, Mead, & Cider Brewing Discussion Forum

Help Support Homebrew Talk - Beer, Wine, Mead, & Cider Brewing Discussion Forum:

This site may earn a commission from merchant affiliate links, including eBay, Amazon, and others.

triskelion

Well-Known Member
Joined
Aug 20, 2012
Messages
264
Reaction score
25
Location
Enniskillen
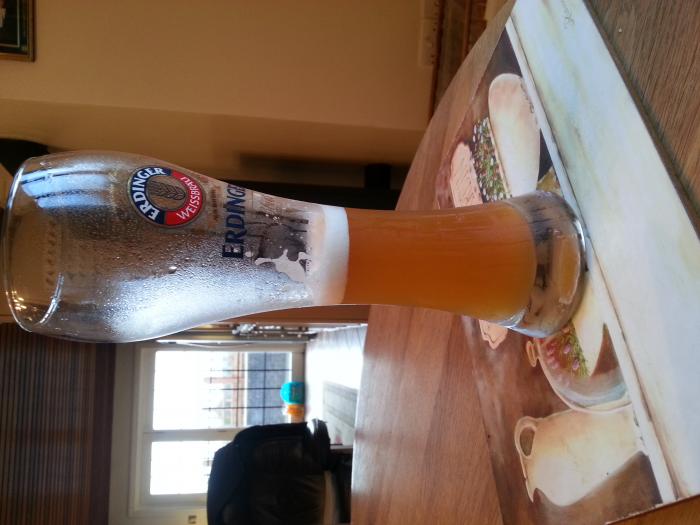
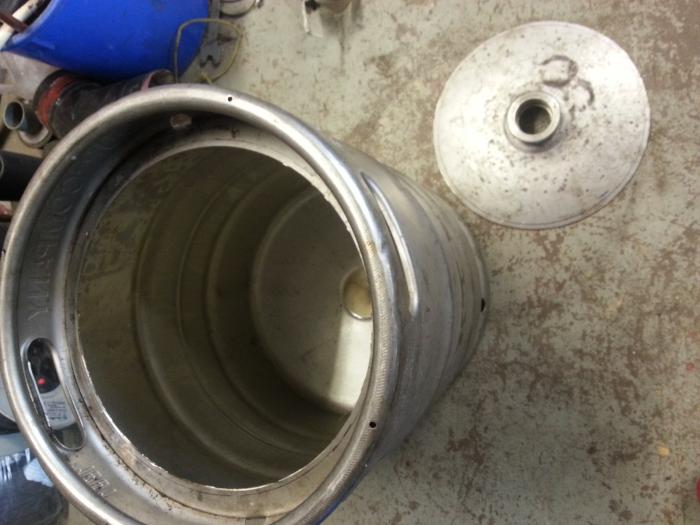
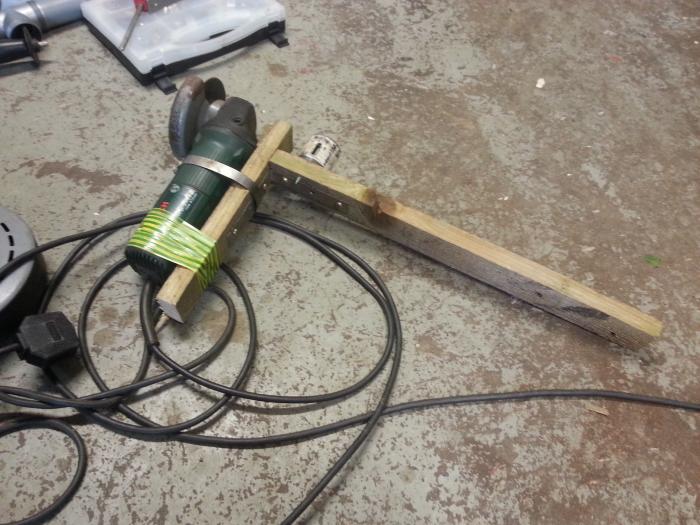
Got a keg and made a hole in it. this is the jig i made to guide the grinder. I decided not to use the top of the keg for a drain because I might be using a burco element, which would fit nicely in the flat part at the bottom of the keg. also, here's my orange hefeweizen which i am now drinking in toast to a perfectly cut circle :)
Still haven't decided on an element yet and am open to suggestion, btw camcos are going to be fairly expensive on this side of the pond after import tax.
20130515_172811.jpg


20130515_172850.jpg


20130515_204451.jpg
 
Go with the burco; you have access to them cheaply on your side of the pond, they a designed for this type of application, low profile mounting the bottom of the keg so less interference during mashing and chilling, and most have some sort of dry fire circuit built in.

The negative, is I think the largest size is 3500w.
 
Have a look at this:
http://www.mediafire.com/view/?e740grmqj9bm28d

I found this somewhere on the forum, can't remember who posted it. It basically tells you how long a boil should take based on your volume and wattage. This is what i have been going by because it seems to confirm the boil times that other people have been getting.

I'd like to use 3000W because its the maximum I can use without changing the fuses, they're all 13A.

Are you using the term "fuses" in this case to refer to main fuses for the power feed in the house (mostly converted to circuit breakers over here), or fuses that you will put in the control panel? If the former, then you are likely stuck and a 3000w element is appropriate, although if you have two circuits you could use two of them. If the latter, that would be easy enough to change to something with higher capacity, if indeed your power feed and wiring can support that.
 
Are you using the term "fuses" in this case to refer to main fuses for the power feed in the house (mostly converted to circuit breakers over here)

yes, I meant circuit breaker. I probably could change it to a higher rated one but I can think of more reasons not to.
 
Stick with what you have. 3kw will suit you well... Here in the USA we just believe "bigger is better". "More power is better"! ;)
 
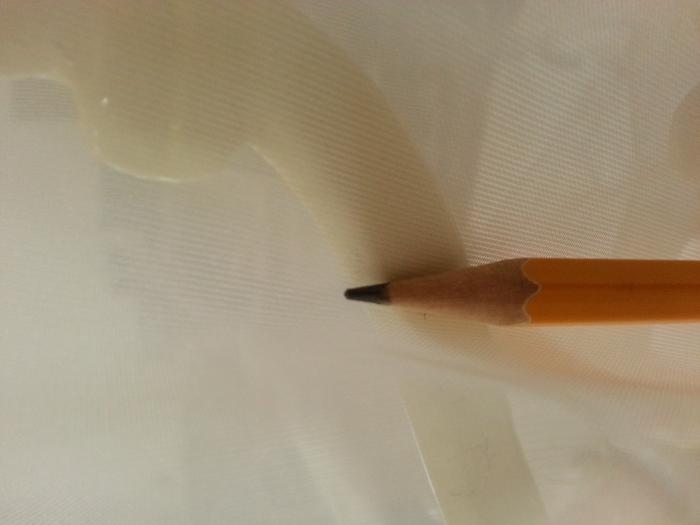
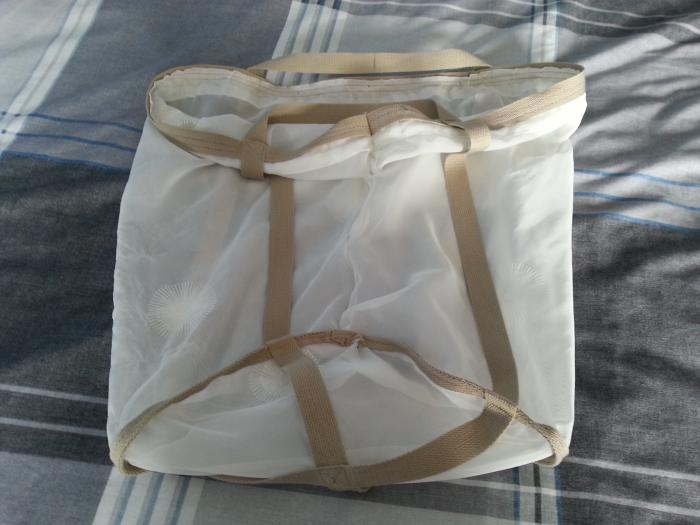
bought some unistrut and over 12m of 10mm copper pipe and I found some 2mm perforated stainless steel and this fabric for a brew bag. How does 2mm holes for a false bottom sound?

20130517_173133.jpg


20130517_173424.jpg
 
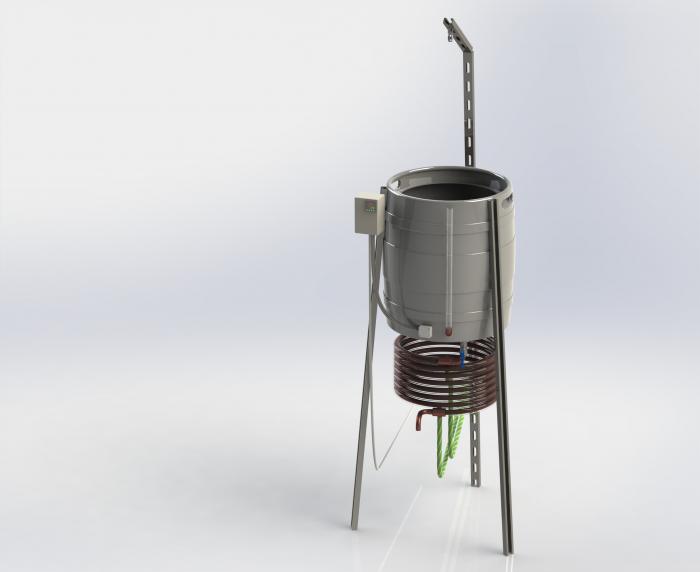
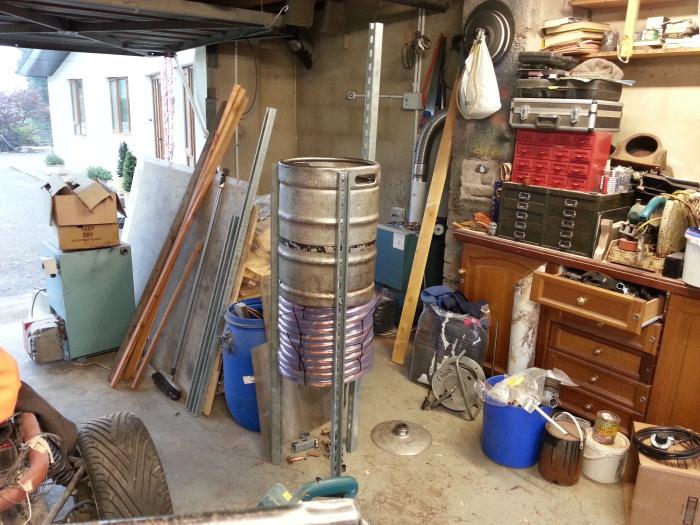
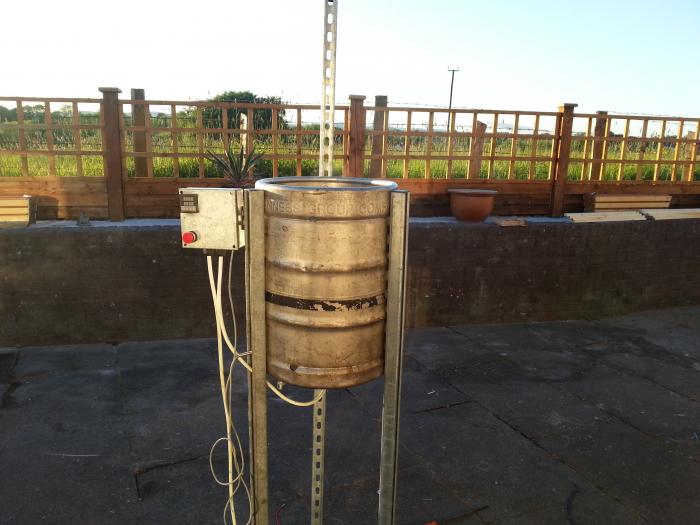
just put together a mock up, the long leg will be replaced with a longer piece. not sure about about what angle the legs will be yet, they're vertical as it is but I have some play room to widen them at the bottom a little, not enough to really significantly improve the stability though.

20130517_221956.jpg
 
Looking good!

Simply placing a short piece of the unistrut, say 2" at the bottom of the keg as a spacer should increase the angle nicely, with a long thru-bolt of course.

Or perhaps cut a short section of the keg dip tube to act as a spacer at the leg / keg bottom skirt connection to angle the leg?

I would also consider mitering, say 45 degrees the top of the unistrut, and dropping them 2-3 inches lower on the top of the keggle skirt, it is nice to have the top of the keggle uncluttered for overlapping and securing the top of the bag...just an idea?

Or for that matter, cut the top of the keg off completely, you don't need the handles, and an open top vessel is more convenient and easy to clean. This might nessecitate stainless bolts and perhaps gaskets at the top connection?

Typically I don't like keggles as they are so heavy! But CIP on wheels eliminates that issue nicely! I like this idea!


Thats a good idea, using the dip tube for spacers, I might try that.

I'm putting plastic caps on top of the unistrut, and possibly also the bottom because i'm not convinced that the castors will hold up.
 
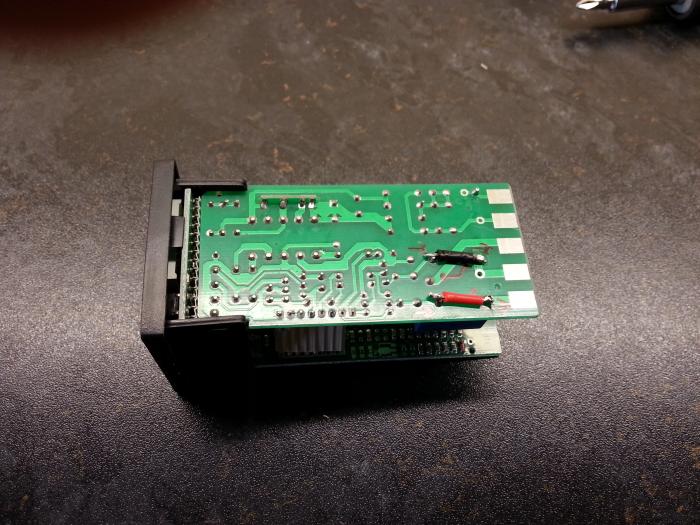
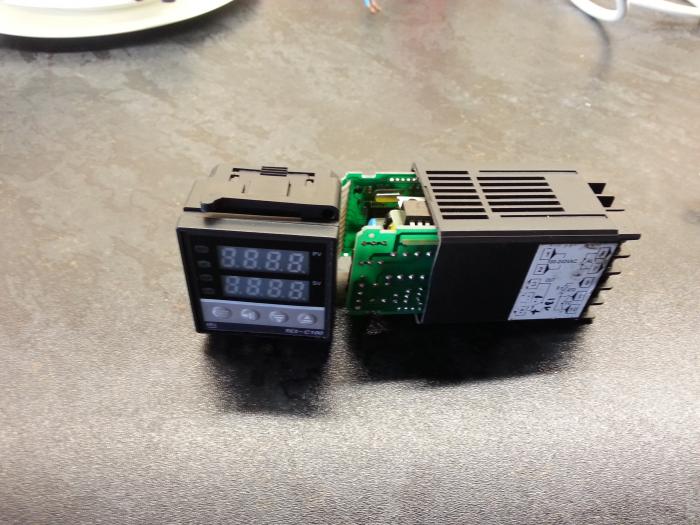
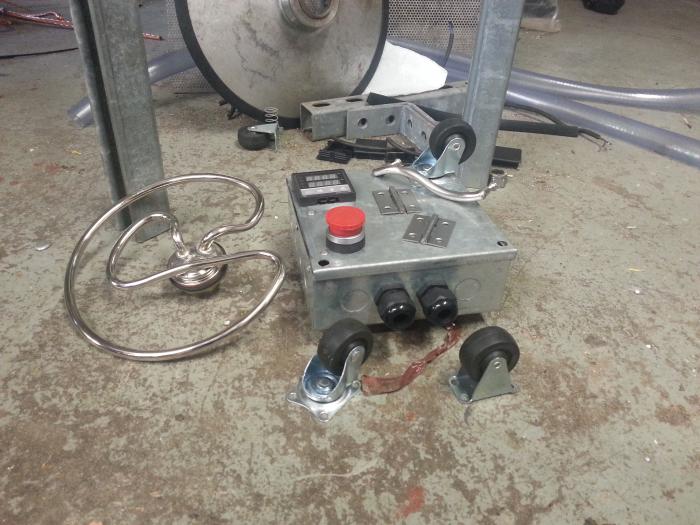
My PID controller and SSR came. unfortunately I ordered a PID with a relay rather than a DC output. So I soldered together the relay's input and output. Now the PID has a 13v output, the relay should also still work if I wanted to use it for something.
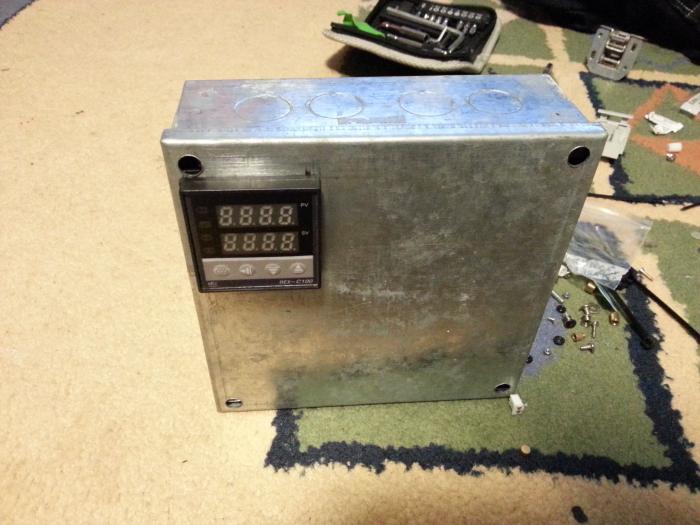
I also made another modification so that I could fit it into a slimmer box.

20130519_114148.jpg


20130519_115553.jpg
 
False bottom for BIAB? Is that to keep the bag from touching the elements? If so, in my experience, 12 to 20 mm holes are fine. I use a tamale steamer and the holes in the steam plate are 12 to 20mm. The thin Al plate sits 40mm (1 1/2") above the bottom of the pot.

I have not tried a plate with many 2mm holes. I think, but do not know, it would restrict the flow of water around the grain and bag.
 
I might also use a finer filter of some sort, probably some steel braid. most people seem to do it to catch the hot and cold break and the hops. going the 2mm hole perf should stop the braid getting stuck, in theory. It'll also keep the bag away from the element. i had some stainless perf lying around, couldn't really hurt to use some for a false bottom.
 
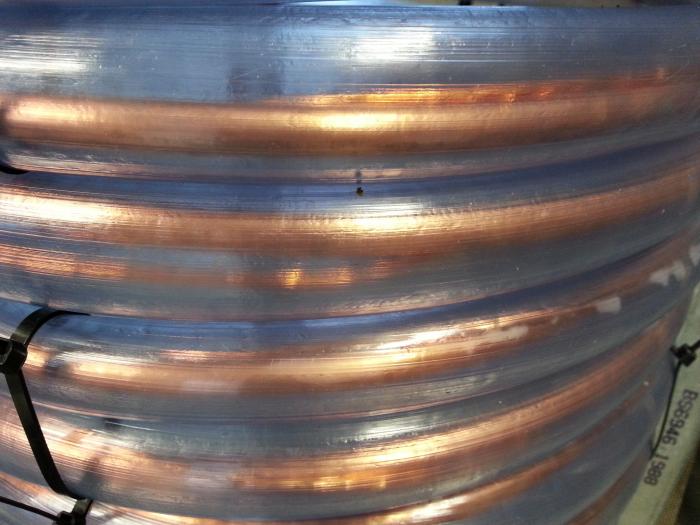
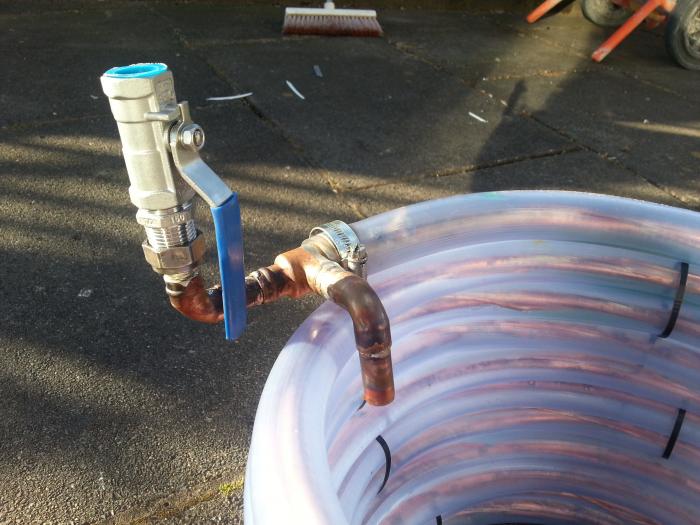
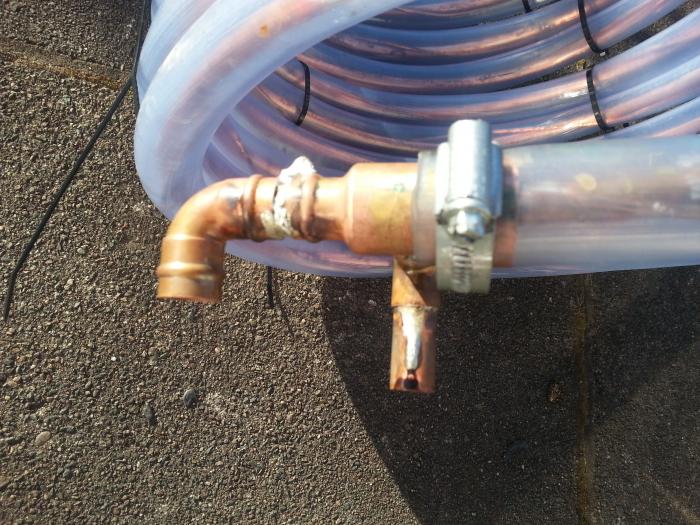
got the pvc outer tube for my counter flow chiller in the post today and made a start on it. I soldered some wire around the copper tube to keep it centered better in the pvc tube. I rolled them around a propane tank to get the shape. I'm pretty happy with it so far, although I somehow didn't expect it to be this big.

20130521_202928.jpg


20130521_202954.jpg
 
I am interested in seeing what you come up with for the false bottom. I am trying to figure what to do with mine too. Any progress on that? What is the plan? Just make a round false bottom and elevate it above the element?
 
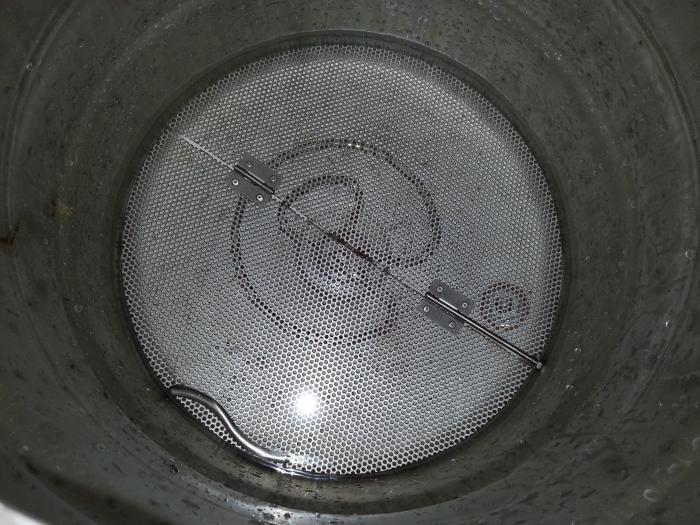
I'm planning to cut half way through the perf in a circle and fold down the edges to form a support. I'll probably cut it in half and rivet some hinges into the middle, so I can fit it in and out. Maybe put a handle on it as well.
 
this keggle building business is cool and all, but is that a Caterham I see nudging it's way into frame?
 
this keggle building business is cool and all, but is that a Caterham I see nudging it's way into frame?

Ha ha. That's a trike (dads project). funny you should mention the caterham, he actually owned a lotus 7 some time ago. maybe some inspiration for his trike build came from that.
 
I found this piece of rubber that i'd had for years and thought that it would be perfect for my keggle lid and sure enough it was. It's a good fit around the lid and makes it big enough not to fall in. I also made a double glazed acrylic window for the center, pretty much just because I could. I swapped the guinness coupling nut with one from a magners keg, the guinness nut is designed to be screwed on but not off so it was pretty beat up after I had removed it.

20130525_123924.jpg


20130525_164609.jpg


20130525_164724.jpg
 
I got a bit more work done on the CFC. I went a bit overboard with the solder I think. progress has started to slow down as I have a new job which keeps me busy and I'm still waiting on a few stainless fittings from china.

20130530_194845.jpg


20130530_194827.jpg


20130530_194910.jpg
 
It's probably too late, but it looks like the PVC outer hose is a bit big. You only need a bit of clearance....that should decrease the size significantly. Also consider that the cfc can wrap around the keg and you can drop the height quite a bit. That would decrease the risk of toppling the rig once you hoist the bag.....it will be REALLY top heavy during that stage.
 
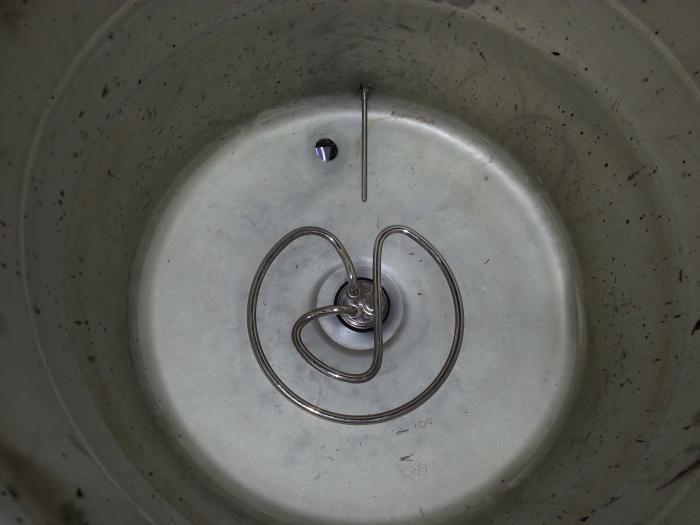
Element and RTD sensor temperately fitted, I still need to find some o rings and washers for the sensor. The sensor is low enough that I could do a 5L batch, which should be useful for doing small experimental batches that I've been doing lately with good success. I also made my brew bag, I've never used a sewing machine before, so I'm pretty pleased with it.

20130602_151626.jpg


20130602_151800.jpg


20130602_150931.jpg
 
Got my control panel mounted and I attached the probe and ball valve with good enough seals for a test run. One strange thing though, the temperature reading is not right, display says that it went from about 22oC to 26oC when it actually went from about 12oC to 70oC. I trust my alcohol thermometer more than the PID controller reading after dipping my hand in it. Anyone with any knowledge of RTD sensors out there?

20130607_205727.jpg
 
I think I have now got my PID programed, It turns out that the codes are different between the real one and the Chinese copy, luckily the Chinese for pt100 is the same as it is in english in the manual that came with it :D. It holds a boil within a degree and mash temps are held within about 0.3 degrees. It looks like the ball valve can empty 5 gallons in about 6 mins, if anyone's interested.
 
false bottom. I moved one of the hinges towards the center, after I took this picture, so that I can lift it out past the sensor.

20130609_123815.jpg
 
I'm going to make a pickup tube soon, should I have some form of filter on it? I have some finer stainless mesh.
 
triskelion said:
I'm going to make a pickup tube soon, should I have some form of filter on it? I have some finer stainless mesh.

I would think NO, the end of a pick up tube does not have enough area for a filter and would risk clogging.
 
I would think NO, the end of a pick up tube does not have enough area for a filter and would risk clogging.

It doesn't have to be limited to the area of the tube, I could have a secondary filter under the false bottom, made from finer mesh, up to the keg diameter. Just an idea, haven't seen anyone doing it before.
 
My ball valve and RTD sensor connections are a bit leaky. someone offered to weld some fittings into the keg for me, should I go for it?
 
Back
Top