linerndunch110
Well-Known Member
- Joined
- Feb 2, 2011
- Messages
- 49
- Reaction score
- 1
Ill be updating as I go.
Little story for reference:
So over this past weekend it was my birthday, and the SO suggested we track down a keg of cider for a little get together we were having. My mini fridge(i actually have 2 extra >_<) is in another state and wasn't going to be able to get it to keep the keg cold. Solution? Craigslist mini fridge for 15 bucks. The exterior is beat to hell but I'm gunna cover it anyway
It's a 4.4*?* GE one probably only a few years old. So we threw the keg in there and called it a day. Little did I know my SO also got me a kegging system for my bday(yes she's a keeper). So 12 hours before the party. I had to transfer my ale thats done to the keg, and clearly make a keggerator and maybe take a nap.
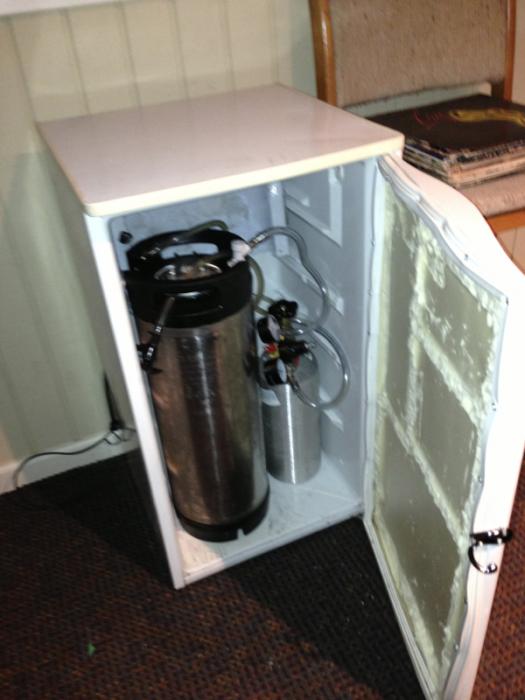
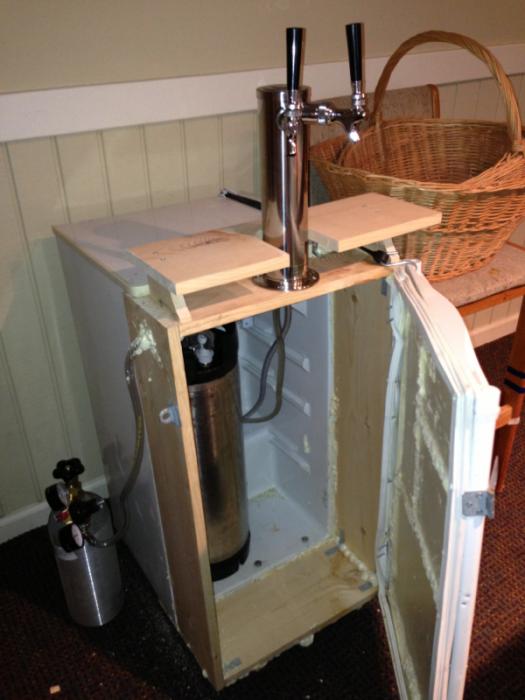
For the party I was fine with opening and closing the fridge to get to the tap so all I had to do was gut the shelves and door panel and bend out the freezer piece. I should note that I had to reattach the door seal a few times and now it's keeping tight very well.
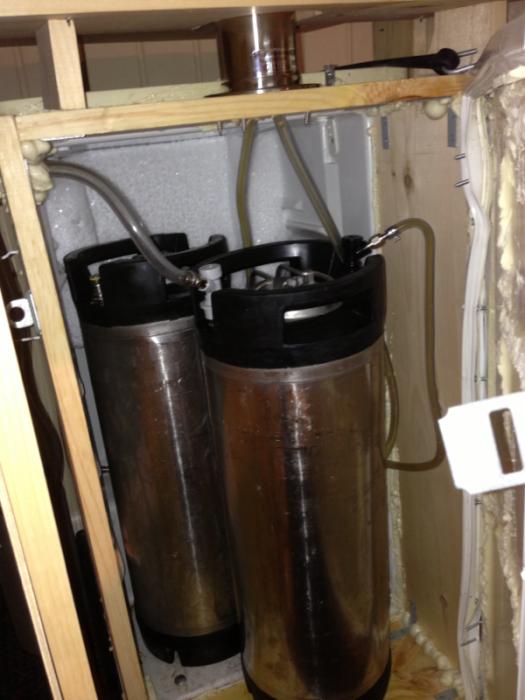
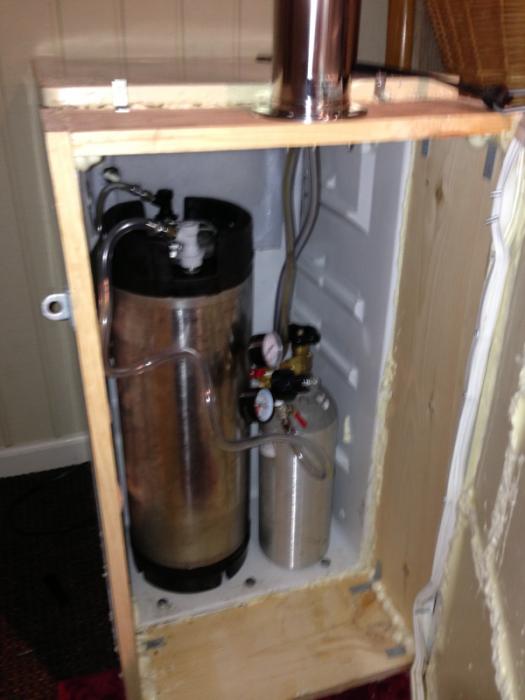
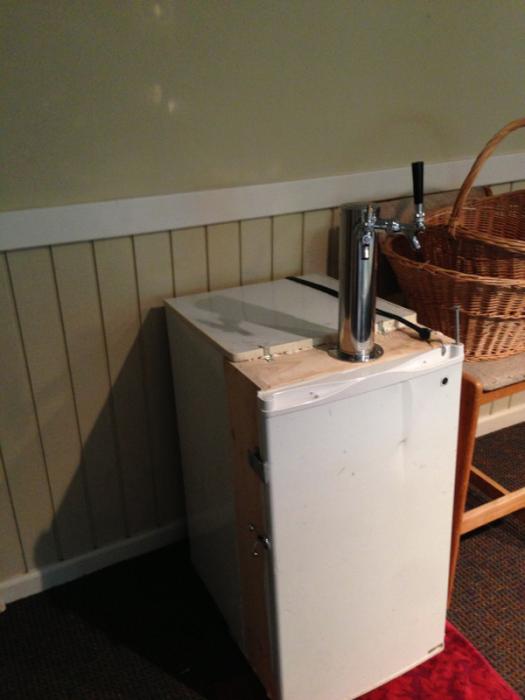
The next day I decided to make the collar. Being a dorm style mini fridge and not a keezer, collars are a bit more finicky I found, but not to much. i believe the wood was 2x8 pine. I decided on bracketing the collar to the fridge and putting the door back on with some hinges. The key here was flush as can be. Once I had the layout I went to town with some "good stuff" insulation, covering all the cracks, spackled it in some hard to get to places and then cleaned up the trim with it.
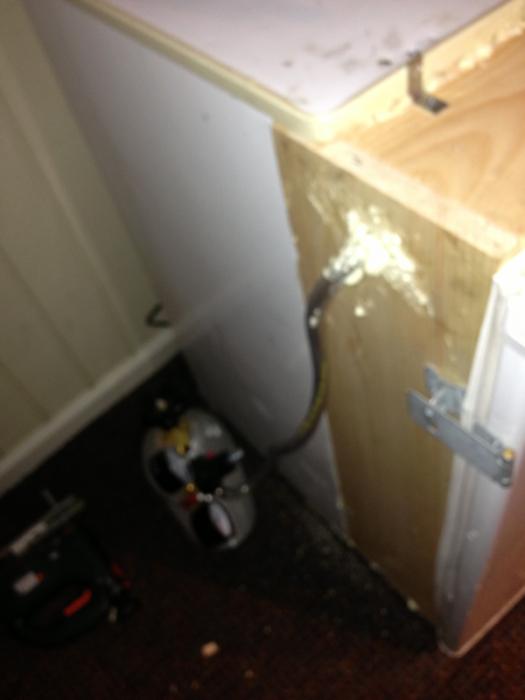
I setup my dual tower, completely disregarding the use of the hole saw and had a blast with my good friend the jigsaw. Co2 on the outside and insulated the hole.
For extra seal, I put on a latch that is purposefully tight and it works great. Also I have a bungee cord ran from the back of the fridge to the top right corner of the door until I get another dowel fit it.
Then I decided to make a step up to the tap, which would also function as a removable drop tray. The step up is a simple board with feet design, with a cut out to slide over the tower. I'm not sure how ill attach the drip tray but this whole thing was very spur of the moment.
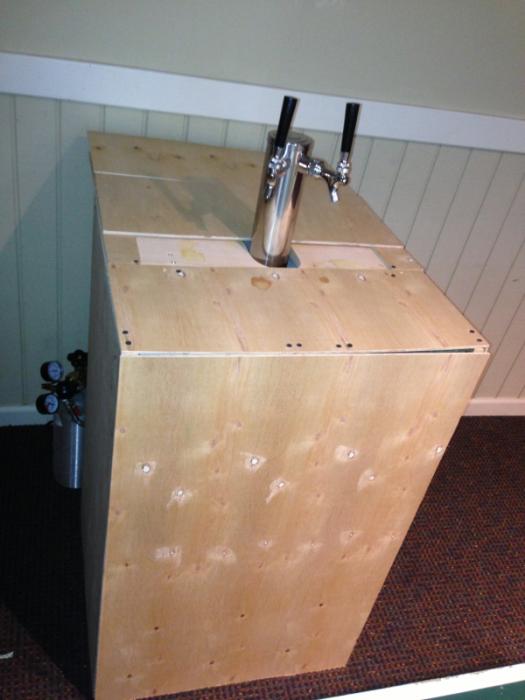
Next up is a wood shell to drop over the whole fridge assembly and run to just under the step up. Also a top sheet for the step up. I'm thinking of doing a pleather wrap, or a mosaic style tile.
I also have to throw something on the wood inside the fridge and the inner panel of the door
I should add, this came out exceedingly well for pretty much on the fly. As random as it was, I did take precise measurements, and did it right for the most part, and it could have easily been a disaster. Luckily I don't really mind since I have 2 other minis of the same size. Solid first attempt I think.
Also ill be editing this a bit to make it more readable. I'm mobile at the moment but wanted to get it all down haha.


