Hey Ya'll,
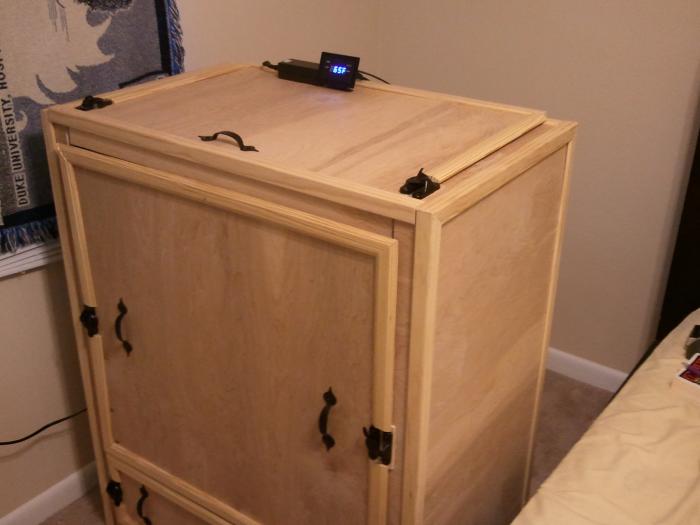
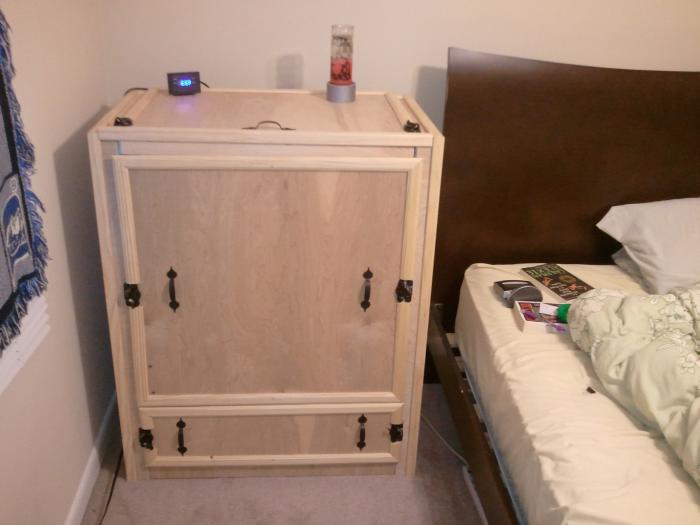
I've finally gone the next step in my homebrewing and built a fermentation chamber to control my fermentation temps. This is a big step and will improve my beers dramatically. Before I was using the swamp cooler method which worked ok but it was never really too controllable and temps did fluctuate more than I would like.
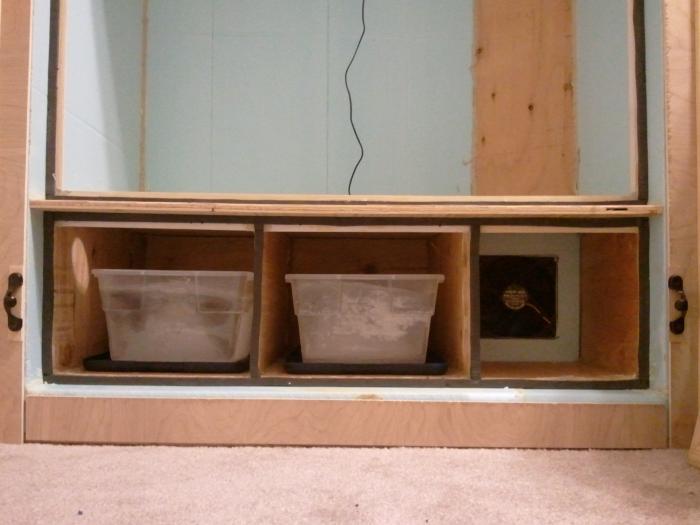
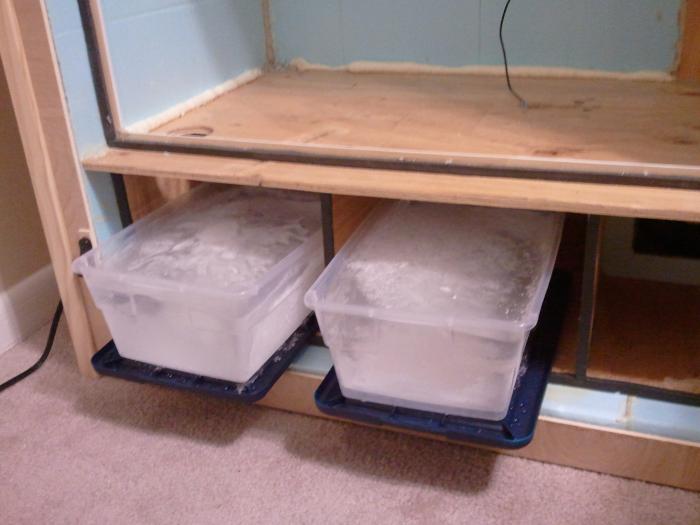
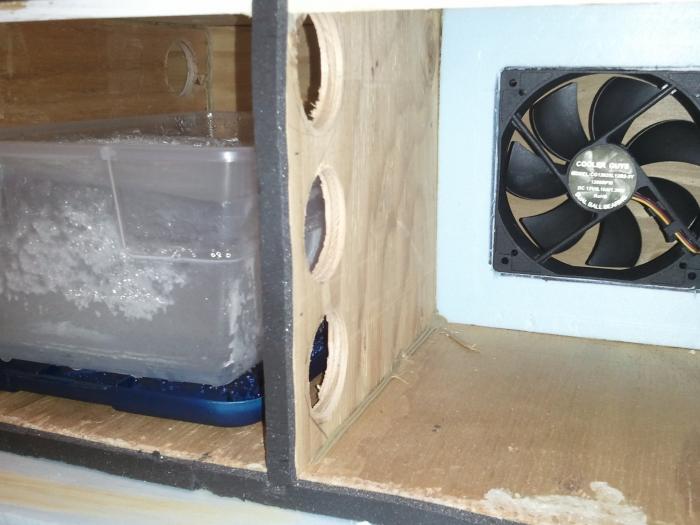
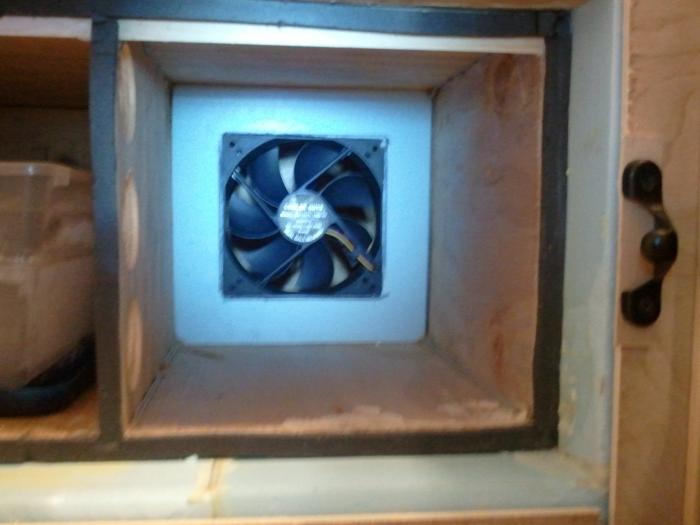
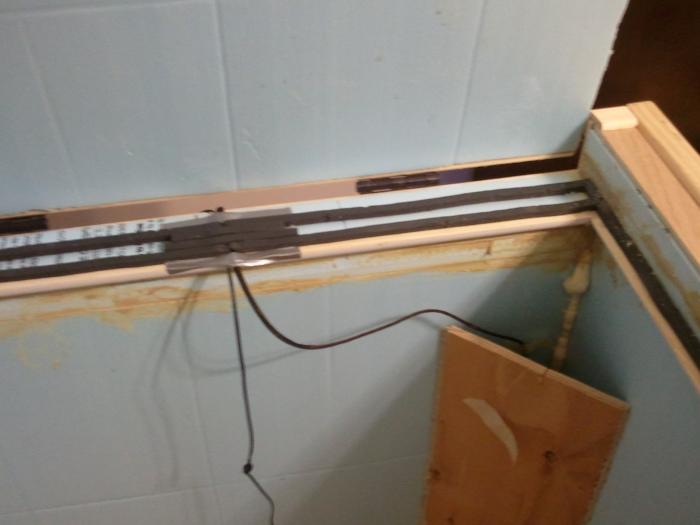
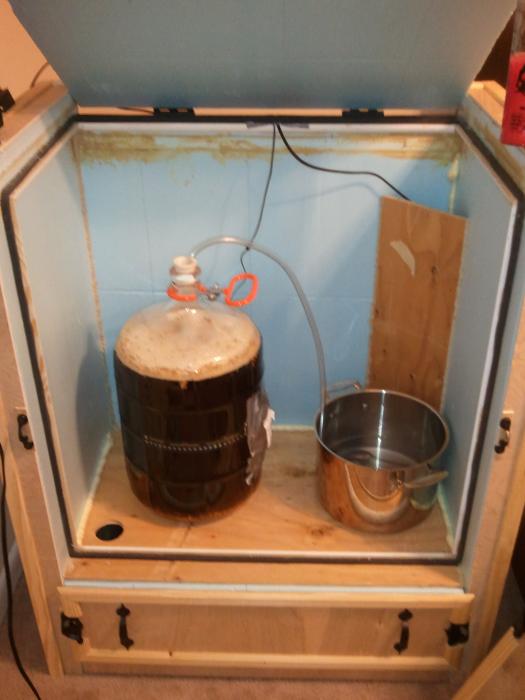
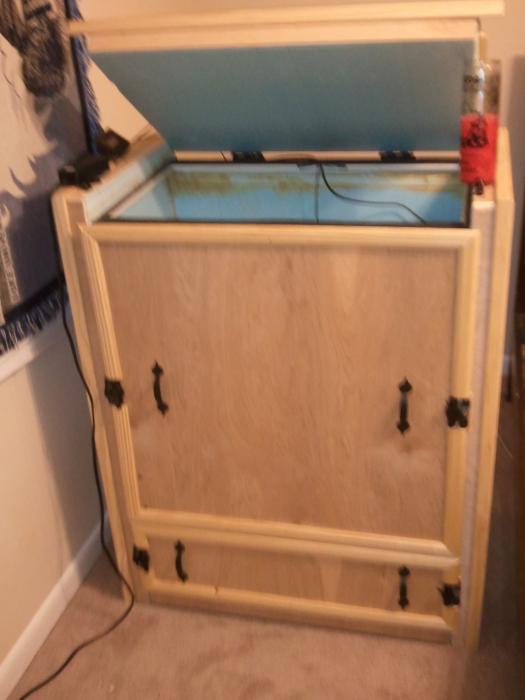
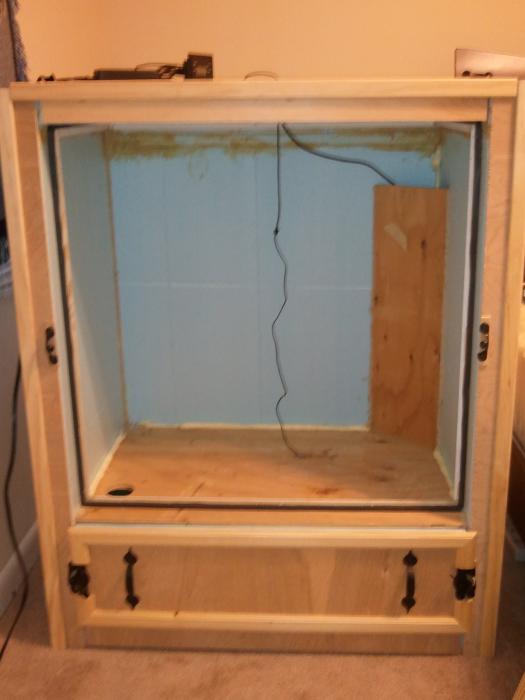
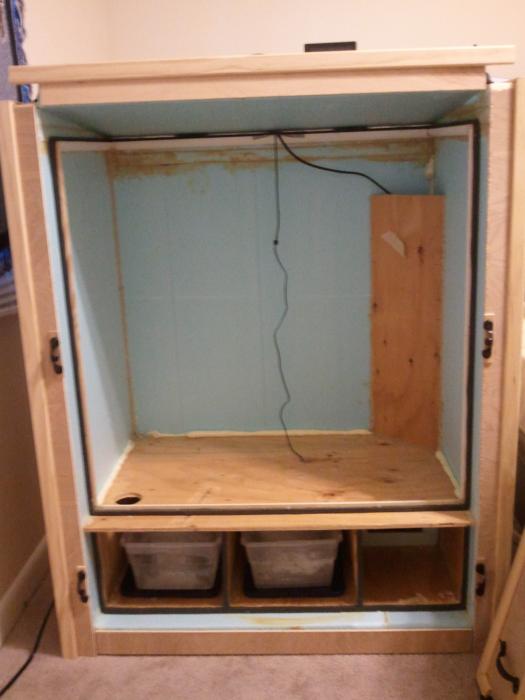
This works by a thermostat reading the temperature inside the chamber with a temperature probe, when it gets to a certain temp it kicks on the fan which sucks air from the top of the main room and drags it down and throw the bottom room where there is ice that cools the air as it passes through. It then gets pushed out a whole back into the main room. The fan continues until the temperature probe hits a certain temp. Then it shuts off the fan. The temperature probe is taped to the side of the carboy with sopme bubble wrap and a wash cloth as to read the temp of the beer and not the ambient temp of the chamber. I can easily change what temp I want the fan to kick on from the thermostat on the outside so I never have to open the chamber as I increase the temp over a few days.
Anyways I'll get straight to the details...
Materials-
2 in thick foamboard with an R value of 10 (4x8)
1/4 in birch plywood (two 4x8 sheets)
LOTS of liquid nails (maybe 5 tubes?)
Great stuff spray foam (1 can)
L shaped trim (outside)
Regular trim (outside)
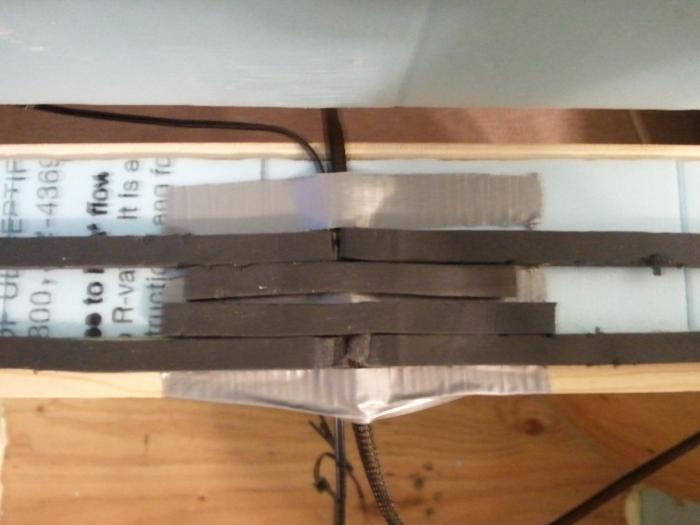
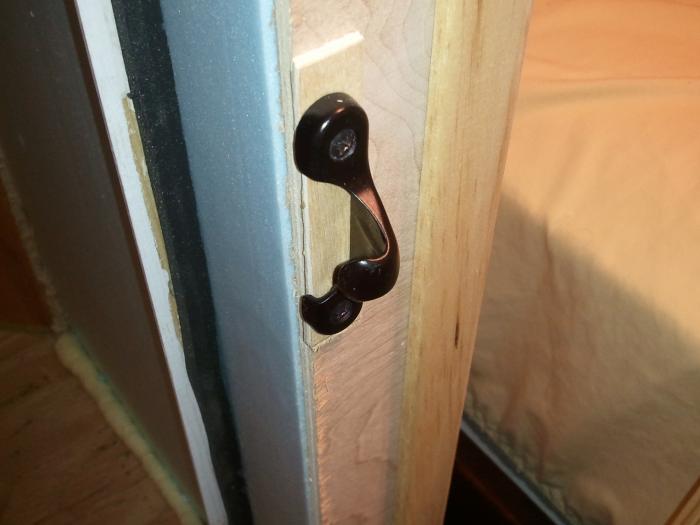
3/8in wide x 5/16 thick Weatherseal Rubber Foam (for seal inside)
Half moon shaped trim (inside to hold weatherseal)
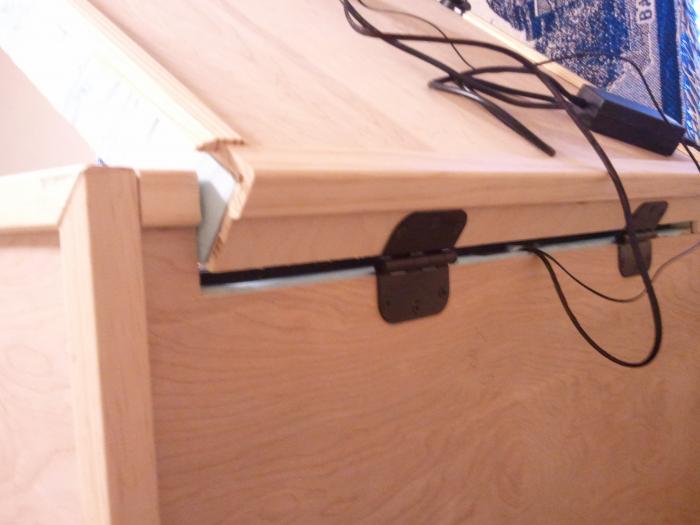
2 hinges (holds top on in back)
5 handles
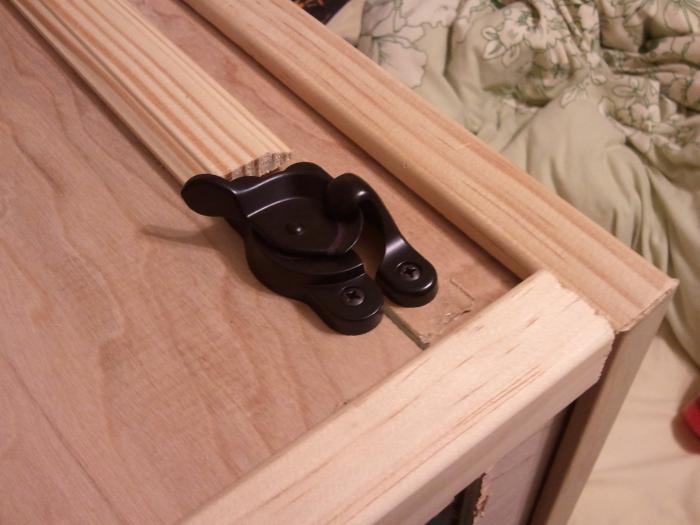
6 latches (to compress doors onto weatherseal)
4 shoebox sized plastic containers (for ice)
All electronics from COOLERGUYS.COM-
USB Powered Programmable thermal Controller with LED Display
3 Pin Sleeved Fan
3 Pin Sleeved Fan Cable extension 12 thru 72 inches
Thermal probe extension cable 48 inch
Mounting Bracket
Coolerguys 110-240v AC to 12 / 5v DC 4pin Molex 2A Power Adapter
I went out of the gates thinking I would make this to save money instead of buying a chest cooler and temp controller but I soon learned that I didn't want to make a really cheap looking fermentation chamber so I def spent more money that I wanted top but hey, you certainly don't save money by homebrewing. Nonetheless it still wasn't that expensive.
If you have any questions about pricing or details about materials just let me know and I'll try to explain more, but this isn't really a how to- its more of a documentation fo what I built.
Now for the pics:


