trainwreck
Member
- Joined
- Dec 15, 2012
- Messages
- 14
- Reaction score
- 0
just starsan.. should we oxyclean as well?

I have been having some issues after bottling. We always taste our beer on bottling day, and it always tastes good. However, 2 plus weeks after bottling, some of our beer tastes weird. Some have had a crazy high "alcohol / burning" flavor, while others, I can only think of maybee as an olive-ish flavor..
We use recylcled bottles (which we immediately clean after drinking) and de-label. On bottling day, we let them soak in sanitizer and pull them out for immediate bottling. (we make sure to shake out the excess sanitiser starsan foam.
We boil the water (and then add the priming sugar / dextrose) , and once it is boiling we add the sugar mix it and we dump it into our secondary fermentation bucket (which has a spigot). I don't overly mix the water to avoid oxygen and stirring the bottom yeast cake.
What could be causing our good tasting beer to go bad after bottling? We have been very sanitary with it, even cleaning our caps w/ sanitiser.
We let the caps sit on the beer for 10 mins for oxygen to escape / be pushed out from co2 as well, before capping. and store in a basement.
We have brewed at least 15 times and probably get a 50% bad bottling turnout, and always the beer tastes good before bottling...
Thanks,
I love Oxyclean as long as I remember to take the bottles out. It takes close to a week for that white stuff to start sticking to the bottles. If you do leave 'em in Oxy too long a StarSan soak will clean 'em right up.
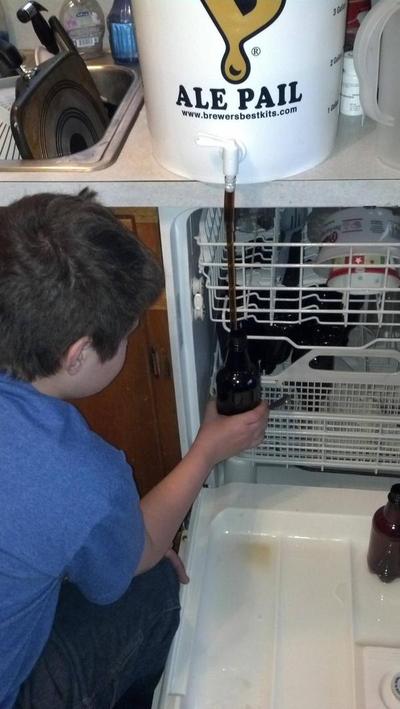
from the pictures it looks like you just use the elbow inside the bucket and nothing else correct? Any issues with leakage this way since you are not using the nut?

the spigot on the bottling bucket -
is there any reason the level would stop at where the tap is, and not at the bottom of the spigot? And does it need some sort of pump/syphon to get it going?
I have a similar thing on my cooking pot and it stops where the tap stops, very annoying...


")
heckabrew said:I just bottled my first brew using this thread as guide. I wanted to thank you all for the knowledge.
I didn't end up getting a dip tube set up but I will definitely do it on the next batch.
I also was thinking about cutting the bottle wand down so won't have to raise the bucket up higher than the counter. Has anyone else done this before or have a reason why I shouldn't do it?
What an informative thread, I've spent a few hours reading it from the start
I stopped by Home Depot and bought the 3/4" pvc elbow that screws right onto my bucket nozzle, no modifications were required. I then put a small piece of tubing on the bottling wand and set the bucket on the counter, it worked out well.
I'll take a look when I get home. Not sure if the holes might be drilled at different heights depending on the brand of bucket as well. I'll try to measure that as well if I can.
Edit - Might try sanding the bottom of the fitting? I know that mine fit with just a tiny gap between the bottom of the bucket and the elbow. I think that tight fit helps siphon most of the liquid. I honestly thought it was too close at first but it works great.
Would you mind sharing the part number? The elbow piece I got from Lowe's is too long and hits the bottom of the bucket.
Thanks!
Mine was slightly too long too, but I used a mini hacksaw to take off about 1/2" and now it fits perfectly.
Mine is a 3/4" to 3/4" elbow, no reduction in diameter. After bottling two 5 gal batches of beer and two 2-1/2 gallon batches of Root Beer I can tell you I leave a couple ounces max in the bottom of the bucket. As long as your working below the level of the bucket your going to have siphoning action. Once it gets real close to the bottom I do tilt the bucket slightly to keep the nozzle under as long as possible.Was thinking about that too. One thing that I do not like about my elbow piece is that it is still 3/4" ID at the bottom piece; does the ID have any impact on the siphoning effect?. That's another reason why I'd like to get something different.
Try to keep it snug though, that way you get more product out of the bucket.Mine is a 3/4" to 3/4" elbow, no reduction in diameter. After bottling two 5 gal batches of beer and two 2-1/2 gallon batches of Root Beer I can tell you I leave a couple ounces max in the bottom of the bucket. As long as your working below the level of the bucket your going to have siphoning action. Once it gets real close to the bottom I do tilt the bucket slightly to keep the nozzle under as long as possible.
Honestly I would try the hacksaw/sanding method if you need to remove a little material. Just make sure to measure twice, cut once
But I'm improving! Will try it this week.Honestly I would try the hacksaw/sanding method if you need to remove a little material. Just make sure to measure twice, cut once

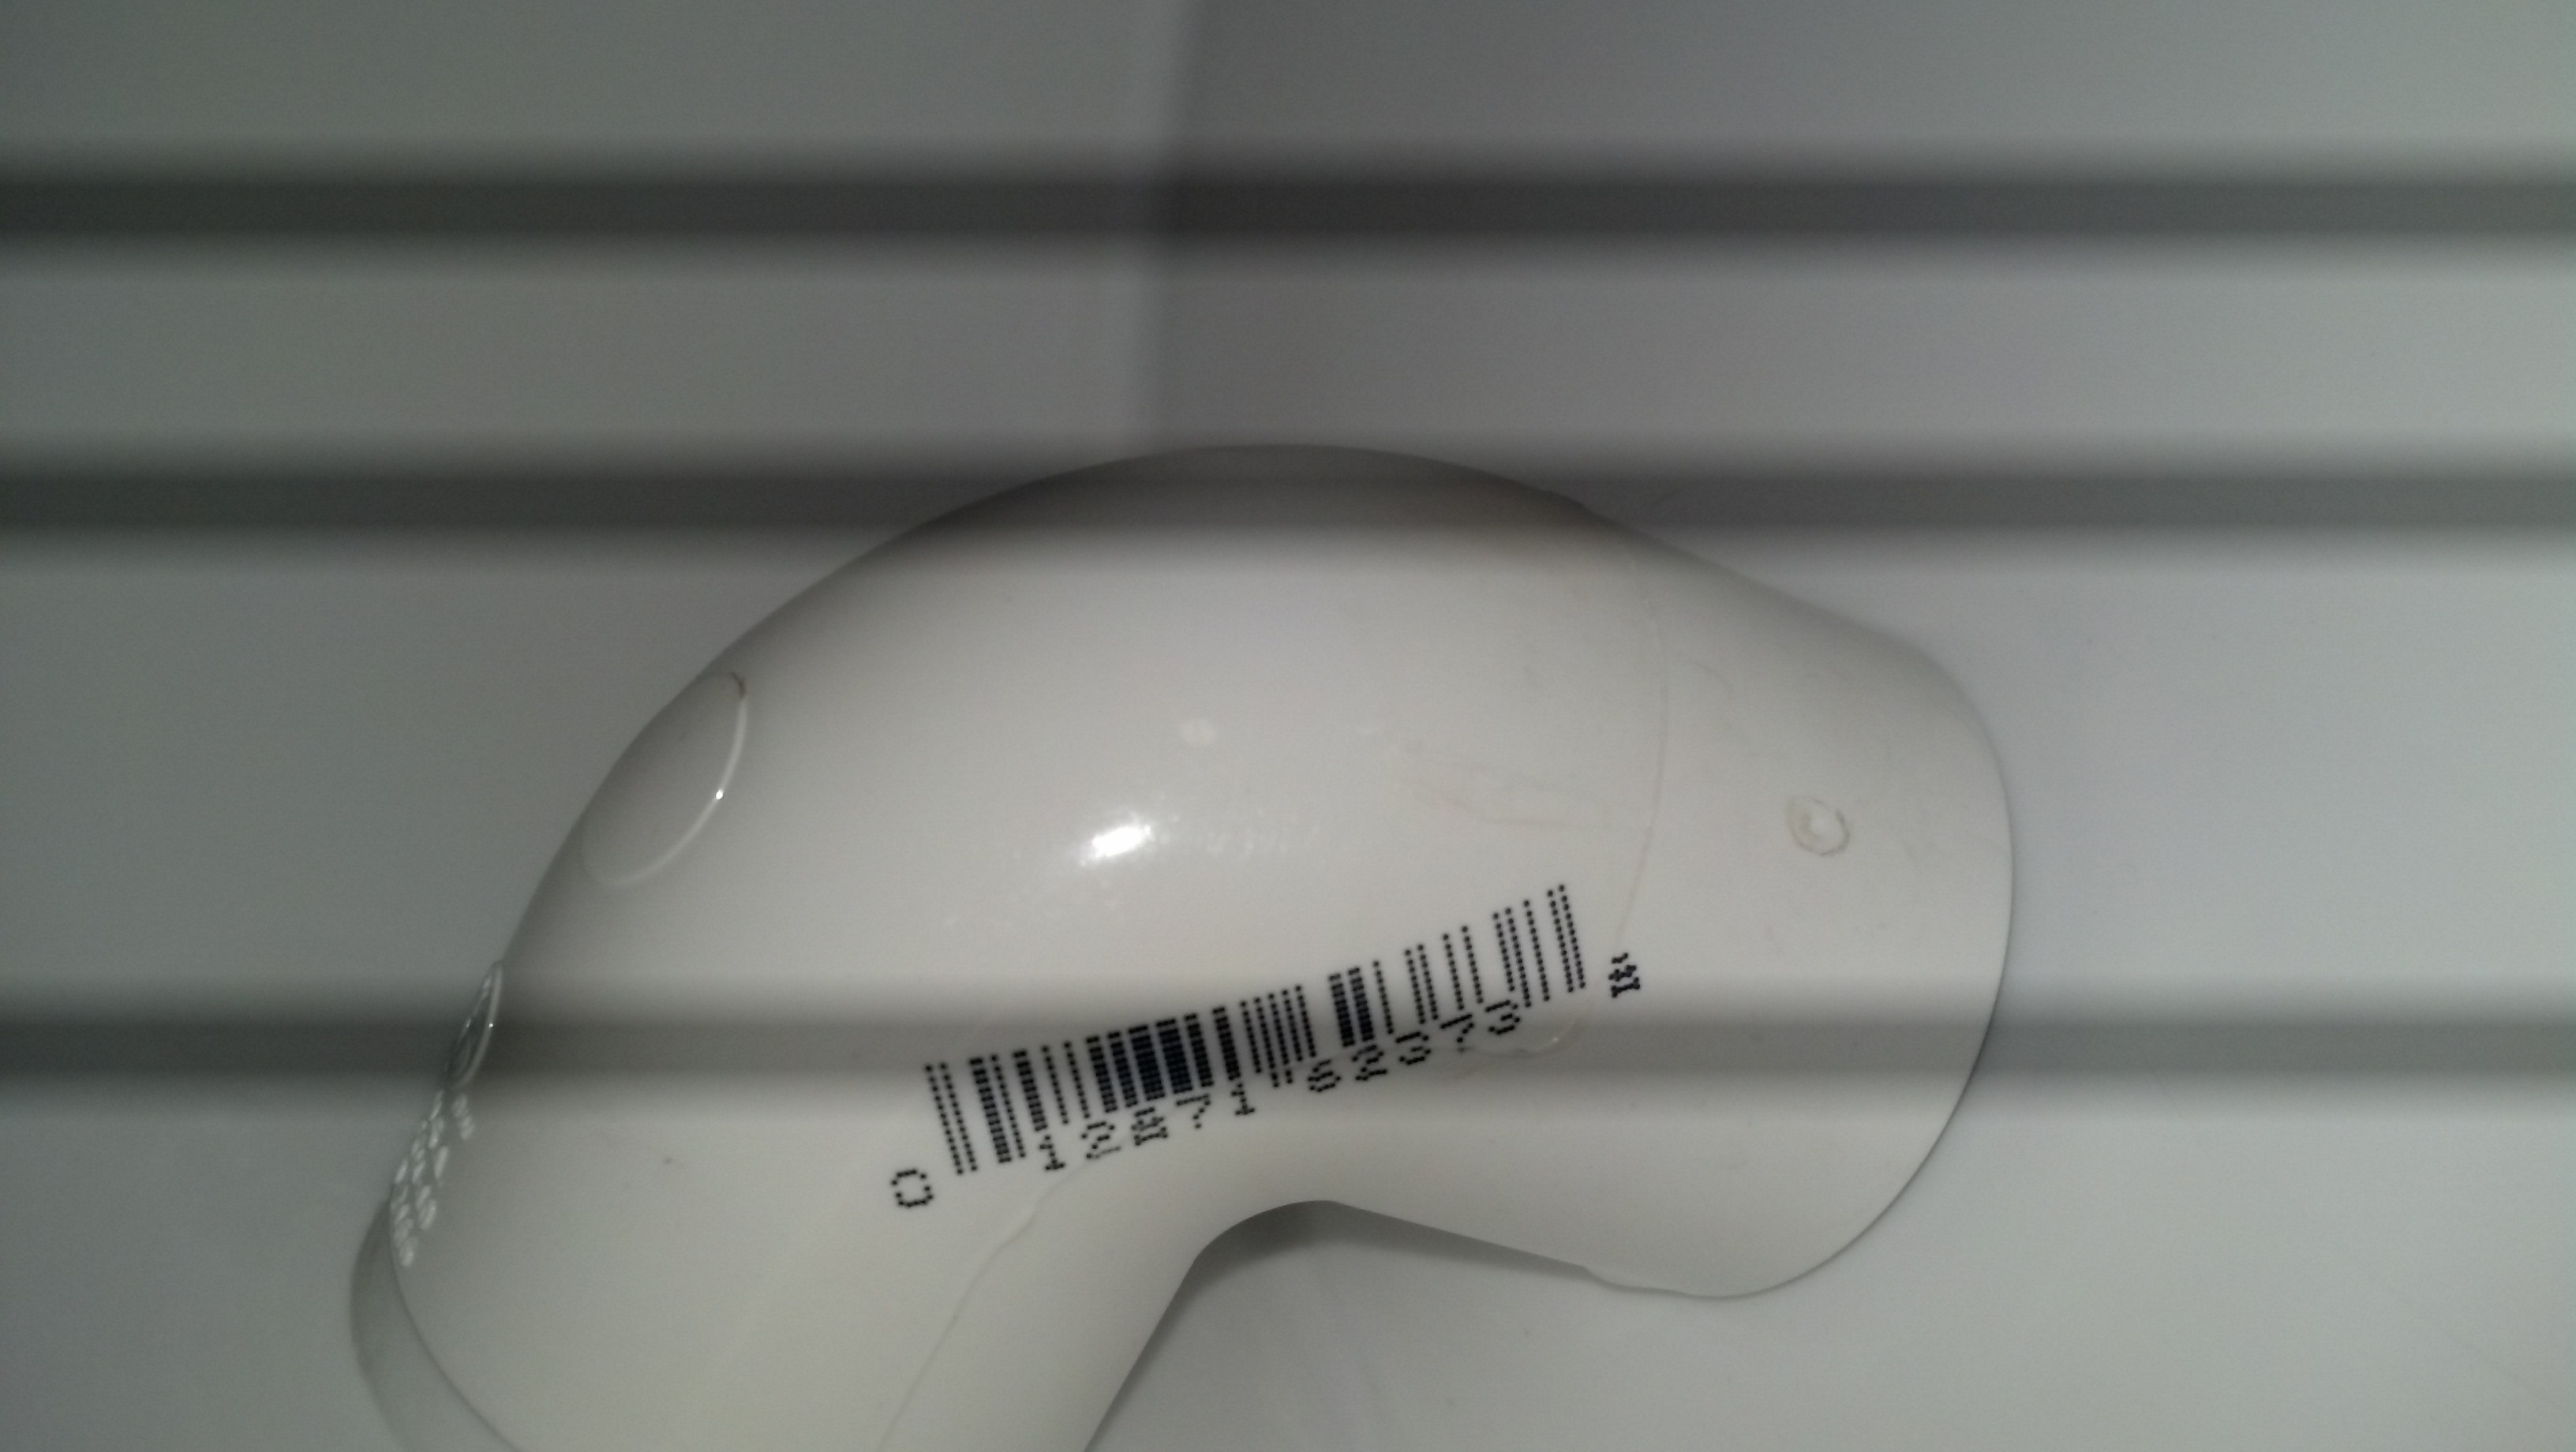
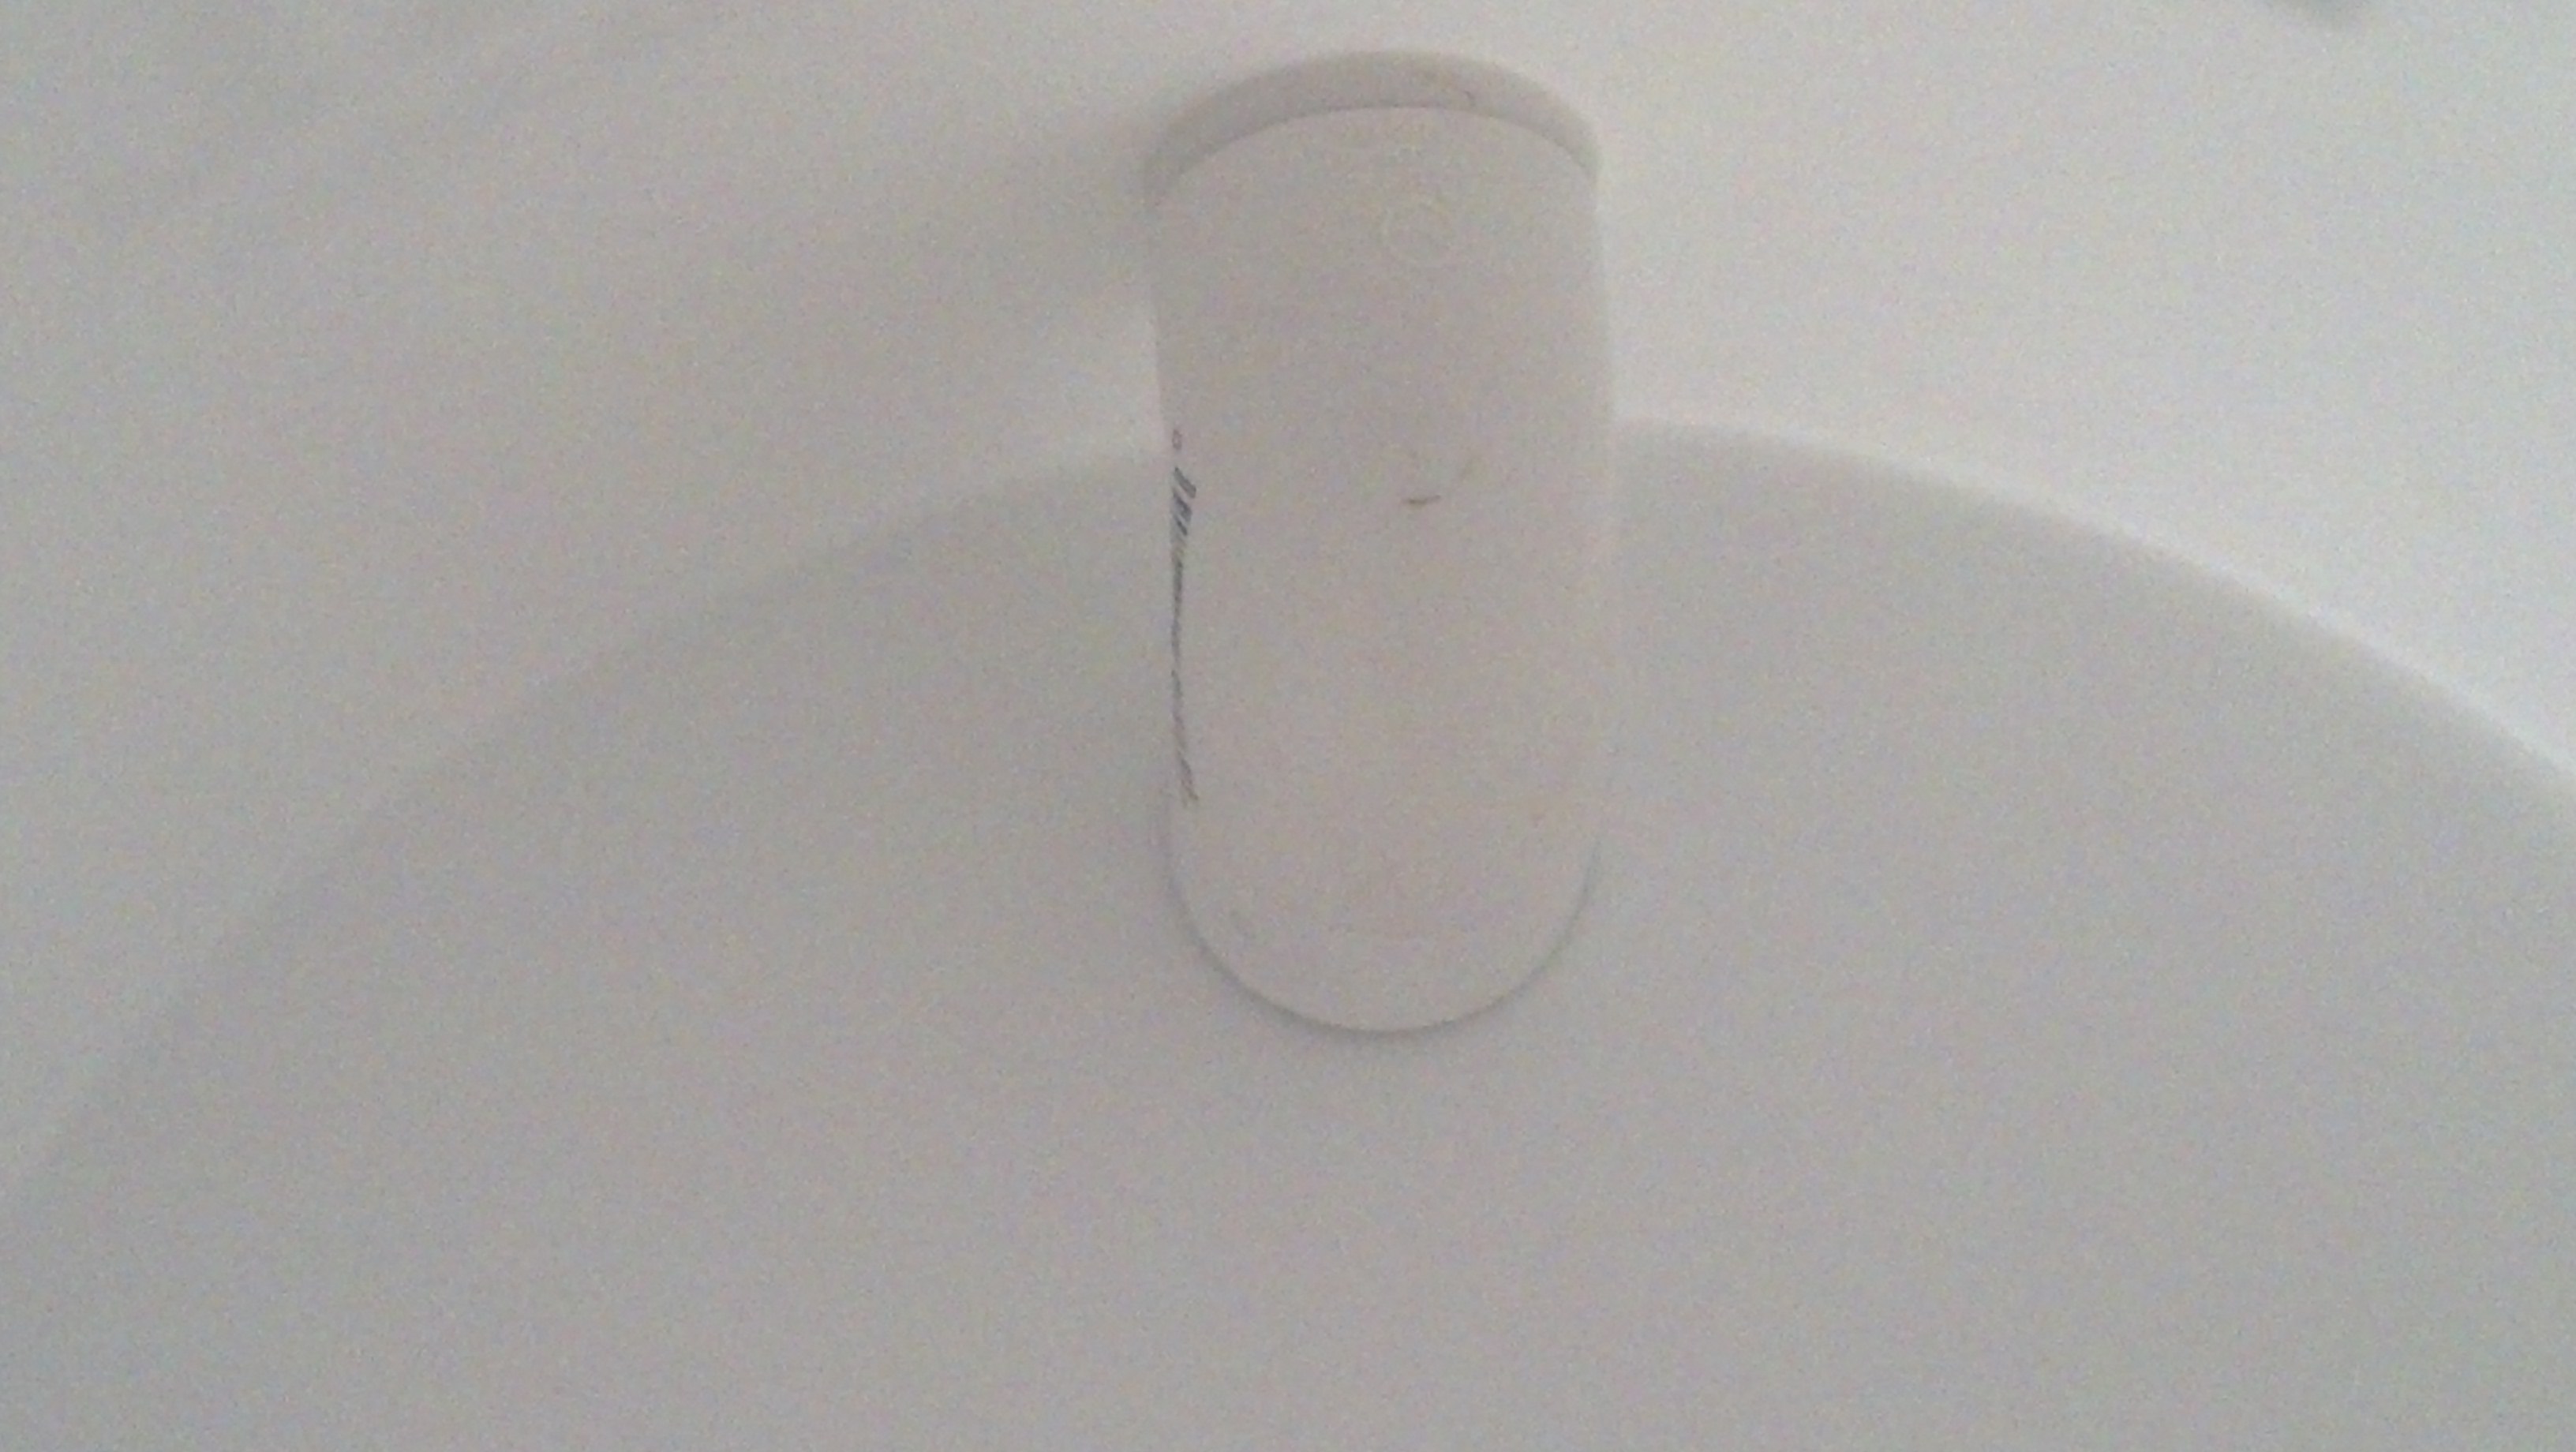
Tried to get some decent shots but it's hard to take a picture with a phone in a bucket..lol. This piece was from Home Depot, 3/4 elbow, threaded one side, not threaded other side, schedule 40. Not sure if the UPC code will help. It also has a part number molded on it that reads "D-2466".
Take your spigot off and take it to the store with you to test it.
Hope this helps.
Found a link from Home Dept's website -> http://www.homedepot.com/p/Mueller-...x-FIPT-Elbow-407-007HC/100122677#.UYl_1aLU-So
Enter your email address to join:
