Kegroom cooler, DIY Coolbot mimic - "Coldsnap" project

Homebrew Talk - Beer, Wine, Mead, & Cider Brewing Discussion Forum

Help Support Homebrew Talk - Beer, Wine, Mead, & Cider Brewing Discussion Forum:

This site may earn a commission from merchant affiliate links, including eBay, Amazon, and others.

toadhall

Well-Known Member
Joined
May 3, 2015
Messages
49
Reaction score
18
Location
Belchertown
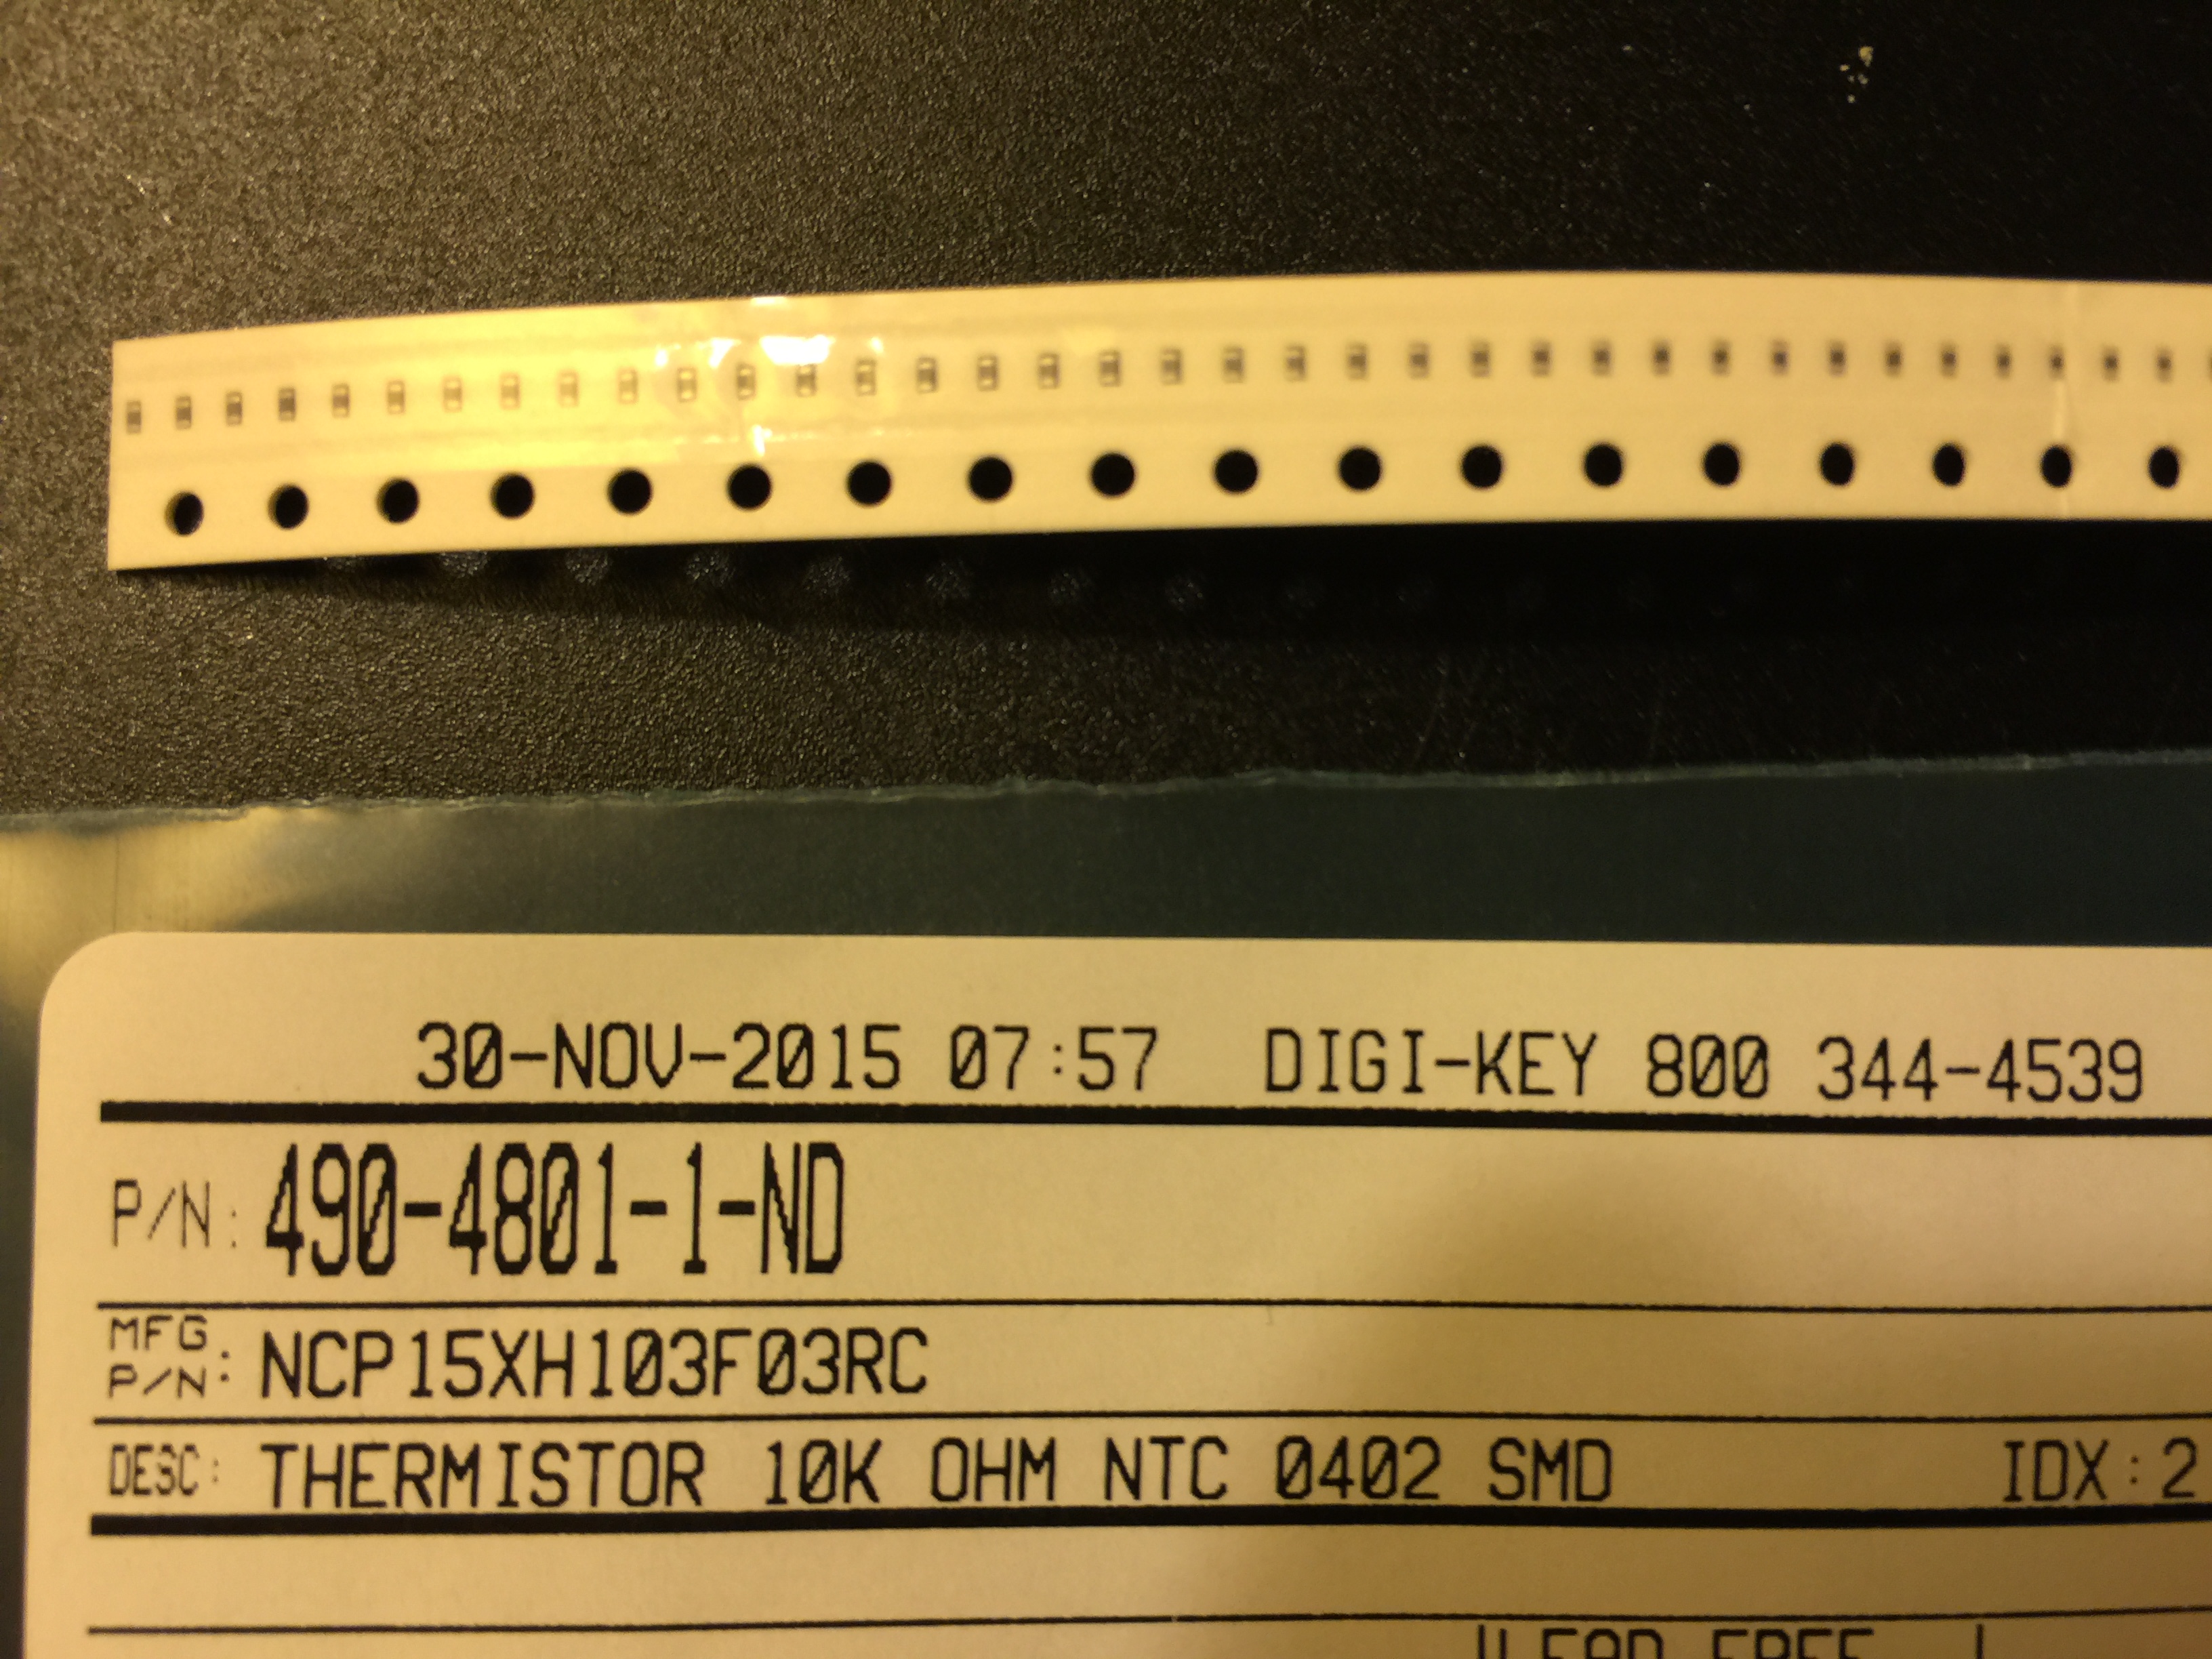
I found some old threads having to do with using the Coolbot and a window air conditioner for refrigeration of a coldroom. I got involved with some agriculture folks who were going to use a Coolbot to chill produce and when I looked into it and saw the simplicity of this concept I built a controller for them based on an Arduino (I used the Pro Mini 328P, but it could be done with any of the Arduino family). This is a very simple control concept; I worked out how to make inexpensive probes of very good quality and a "heater" using a simple 3W power resistor ($1.50), so I have a $15 mimic of Coolbot - without display or buttons - fits in a small mint tin - you just program it for a temperature you like (I set for 42F) and that's it - easy to reprogram as needed, and easy to add more features (settable temperature, display, etc) if you need that. It should control an AC in the same way as the Coolbot. I wanted a very stripped down controller for this prototype for simplicity and reliability, and have done the testing to show it is working as planned and the prototype is off to the growers for actual testing to start in June 2015; the control program may require some revision since I don't have an AC unit for testing and will have to see how it works in actual practice.

I am referring to this as the "Coldsnap". Nothing is for sale - this is info for DIY people. I'm just putting the info out there to save people some development time; it is a starting point that could be easily modified to include more features - the prototype assumes you want a cold room, like a fridge, and don't need a lot of temperature setting once your decision is made.

The info, code and images are on my website: http://people.umass.edu/~dac/projects/ColdSnap/ColdSnap.html
The page/info is under construction but I've got the essence of it up, including a schematic for the controller.

Hope this is useful to someone.

Cheers!
 
Looks good! I was actually considering getting a coolbot for my far garage bay to hang meat in the warmer hunting seasons, but now I booked your page and when I'm ready to go ahead with it I'll probably use your build. Thanks for posting this up.
 
Looks good! I was actually considering getting a coolbot for my far garage bay to hang meat in the warmer hunting seasons, but now I booked your page and when I'm ready to go ahead with it I'll probably use your build. Thanks for posting this up.

Keep an eye on the webpage - I'm making a couple of user-suggested changes (thanks Seven!) like deadband to reduce AC cycling (can be zero to some user set deg range) - and will be soon testing an option that will allow a simple variable resistor to set control for a 40F to 60F range. This second prototype will go out within days to be tested, and I will keep the webpage updated with the outcome and any changes that flow from this experience.

Cheers!
 
wondered if you will be updating the forum on the infield testing of of your coldsnap project. I am very interested in trying one of these units for my wifes small flower walk in cooler who's old unit has bit the dust. im interested in how they cool in the 40 degree range.
 
The ColdSnap units are working very well. They aren't flashy but just get the job done. There is one in use near Pittsburg (a forum member) cooling a beer cave cellar. I don't have temperature records, but he sent a picture of a thermometer in a glass of water and the temperature was spot-on; The one I built for Dare2Dream Farm in CA for ag produce cooling was installed and is reported to be working well. There are a couple of ColdSnap units out to a small goat dairy in South Carolina (FishingCreekCreamery.com), but this is recent and not online yet; I'm very interested in this last one because this fellow has 2 Coolbot units already in operation for cheese ageing, so it will be a head-to-head comparison with a Coolbot-experienced user (and an Arduino-experienced user!). This last user is interested in adding wi-fi capability for data logging; wi-fi or Bluetooth are easily done to provide input/output while keeping the basic device very simple.

My experiments with the second version - with a little potentiometer to tweek temperature settings - make it easy to fine tune without reprogramming.

I'll keep people posted here when I get some feedback from the goat dairy.

Please do get a current schematic from my website. I added a polarity protection diode and a series resistor in the Arduino Pro Mini "RAW" power connection to drop the voltage to an always-safe level at the ProMini when using either a +12 regulated or unregulated wall-wart for power.

Cheers!

Dale
 
I've been running a Coldsnap in our 8-foot by 7-foot basement cold cellar for the past couple of months (JUNE thru AUGUST). Dale built our Coldsnap which I then mounted into a small Pelican case, hooked it up to a window AC unit (G.E. model AEL06LS from Home Depot), made the simple wiring connections and fired it up. This Coldsnap is programmed to run the AC unit until it reaches 50*F. It will then stop cooling until the room temperature reaches 55*F. Once it reaches 55*F it will switch the AC unit on again. My goal was to keep the room in the 50-55*F range without short-cycling the AC unit. I keep a small jar of water in the room to allow me to check the temperature of the room's liquid contents, not the air temperature. Each time I've checked the temperature of the water it has always been 52-53*F, smack dab in the middle of the target temperature range of 50-55*F.

After testing the Coldsnap all I can say is that it has worked perfectly! I've been running it all summer long with zero issues thus far. The Coldsnap made our cold cellar project much more affordable. I highly recommend it to anyone who needs an economical alternative to similar products currently on the market.

I definitely owe Dale a cold one for sharing his knowledge and expertise. :mug:

01.jpg


02.jpg


03.jpg


04.jpg
 
Hello,
Any updates to this super cool, pun intended, project?

I dont see any updates on the other link since June.... just wondering if others have built one of these and any experience that folks can share.

thanks Kevin
 
Hello,
Any updates to this super cool, pun intended, project?

I dont see any updates on the other link since June.... just wondering if others have built one of these and any experience that folks can share.

thanks Kevin

Hi all -

Sorry - was distracted making fall brews and reworking my wood furnace controller with another Arduino Pro-Mini :)

I recently helped someone who had contacted me to get his ColdSnap unit going. He built it exactly like the description, but set it up for 39F and a couple of degrees deadband. I got this from him recently - I think he is still working out the AC size and sealing the room...
"Hi Dale, Have some incomplete testing info for you on the coldsnap project. Got everything installed yesterday in cooler . Ran out of time to do any testing. Only had 1 1/2 hours to play with it today so figured I would fire it up and check everything. In that time, dropped from 70 degrees to 44. The coldsnap unit seemed to work flawlessly, sensing when coils started to ice and running defrost mode. I think im running right up to the limit on ac size as it seems as it cycles alot."
Cycling will depend on the deadband gap, but also, especially if the room temp is quite different from the outside, it will depend on the room insulation properties and infiltration - especially infiltration of humid air. I also suggested attaching the room sensor to something (small vial of sand, etc) so that it tracks the temperature of similar objects in the room and doesn't swing wildly with air currents - the room sensor itself is very small and responsive. During the initial cooldown of even a well insulated room, I would expect a "decaying sawtooth" temperature track, as the room walls and objects and humid air give up their heat load and the temperature generally falls. After the initial heat is removed, the rising temperature rate after cycling off will depend on the insulation and seal of the room. Temperature response will also depend a bit on the room size and mass of contents, and moving the air around the room well (maybe with an auxillary fan) and things like that; a larger AC will move heat quicker, but heat gain will still cause it to cycle back on. These are things that will affect the operation of any cooling system.

I helped another fellow who runs a goat dairy in South Carolina with a couple of ColdSnap units for cheese ageing storage. Unfortunately I haven't heard back from him in some time. He already had a couple of Coolbot units and this would have been a very good head-to-head.....

The unit at the Dare2Dream farm in California worked well through the summer and early fall; I think I would have heard if there were any problems. No news is good news... It just becomes like your unsexy refrigerator after the thrill is gone...

I think that the ColdSnap design is sound and works as published. As I have said, other microcontrollers can be used equally as well. I have seen reports on this Forum of dual STC-1000 units used in tandem, one controlling the AC and one enforcing freeze-free coils. The benefit of the use of a dedicated microcontroller that you program is that you can monitor both room and coil temps and choose how to respond - how much deadband (hysteresis), and choose delay timing loops and such as that - things that are more difficult to implement with 2 independent temperature controls. Most importantly, however you choose to do it, I think we have de-mystified the Coolbot principle with a concrete example for DIY.
 
I ordered all the parts for this amazing build. I had never heard of an Arduino controller before, but now I'm excited to use one. I'm still waiting for the board to arrive from China, but I have some of the components which I ordered domestically.

I was shocked when I saw how small the thermistor chips were. When you said they were tiny, you weren't joking!

Is it possible to use a larger temperature component to build this temp probe? I would need to use a large magnifying glass just to see it and even then I don't think I have the skills to solder wires to this tiny chip!

Do you think the BC2647-ND would work? http://www.digikey.com/product-search/en?keywords=Bc2647

img_0796-66540.jpg
 
Yeah, the chip thermistors are tiny. I build them under a magnifier. I used to do a lot with micro-dissections and such before retirement so it is familiar work.

I had a look at the part you referenced:

* The linked probe has the same B-value as the one I specified (for B25-85) so it is likely interchangeable with the values already in the program - but that could be changed if necessary anyway. But I couldn't find a download for the Vishay simulation tool - indicates it is for sale, but doesn't show a price. (The Murata simulator was free and I have a Windows installer if you ever need it, but I think you can get it from Murata as I did; I run it on WinXp in VirtualBox, offline, don't know how this version would play with newer windows versions....). But you can find your own values by looking at the serial output values (Arduino IDE Serial Monitor, there are some diagnostic msgs output by default) with the probe at the temperature you want and then plugging those values into the program as the control threshold, then downloading that modified program your board (ask if you need more info on this).

* The mfg info specifies: "The body can be inserted in a tube, free in air, tape attached or glued. Not intended for fluid immersed applications or continuous contact with water. Not for potting in hard material or over-molding application" so I'm not sure about forcing it into the fins, or having it sit in condensate/ice, and it seems to exclude embedding/potting with something like epoxy into a tube as I did; so it could maybe be inserted into a tube and sealed with silicone RTV (?) so it is not constrained, but since it is 3mm OD, the OD of an enclosing tube is starting to get large to jam into the AC fins.....

If anyone finds a nice small commercially available probe that would work in this context please let me know and I can put it on my website, or post it here. We want something reasonably priced and commercially available that will fit snugly into the fins of a typical AC unit without tearing anything and survive the wet fins/condensate/freezing point environment.... The probe I made is housed in a 3mm OD brass tube, potted in epoxy, and people tell me it fits into fins nicely. So far no one has told me of any failures of the probes.

Cheers!
 
Sorry, I can't build them for people; among other things it could violate a patent - not really sure of the status of that patent application, but not interested in taking that on in that way. I posted this as a DIY project as an "end run" around the patent issue. I have answered some questions and helped a few people with technical questions about the design/build.

I got this just yesterday from someone I advised on his build: "Hi Dale, Just a quick update on the cooler project, Its been humming along without a hitch since I fired it up, works very well! Once the initial cooler temp came down , didn't cycle as much. I'm glad I added the pot as I even tweaked up the temp a bit as it was a hair too cold. Good to know its adjustable. Cant believe for the small outlay of money It would do what others charge hundreds for, Thanks much again!" (Note: I had suggested setting the temperature setpoint a tad low thinking that the average temperature of room objects would settle to the desired value, but this will depend on many parameters; so the adjustable feature is proving to be useful...)
 
I went to view your project page and its gone. Where did it go and how can I get the information?

Thank you
 
I went to view your project page and its gone. Where did it go and how can I get the information?

Thank you

I got that patent infringement cease-and-desist letter no one wants to receive. I complied. I actually requested the Forum Admin take down this thread. Sorry. For the record, I suggest that anyone interested try to lobby the Coolbot folks to pick up on this idea and offer a "Coolbot Light" - stripped down and much more affordable. I think they are missing a market niche opportunity. Not everyone can assemble electronics and not everyone needs displays and keypads. I think there is a market they are missing.. I'm so out of here. Done, gone. Bye Bye.

Best
 
First off I hear you. I get it, I understand, I don't blame you !

Second, CoolBot can, well.... :mad:

I think its bogus. How many hair dryers, TVs, automobiles or any other item ever invented have competition?

It wont stop me or many others from building their own for next to nothing.

If anyone has the great information that was taken down I would dearly love it if you would PM or email it to me. Or post it somewhere so I may grab it.

If not I will just figure it out on my own and anonymously post it as many places as I can. It wasn't a reverse engineered product. It was an idea that resulted in a different and ORIGINAL solution to a problem.

Good luck to you toadhall !
 
Yeah, I'd also be grateful to anyone that might have the project files sending them my way.

Edit: Actually, just the part number for the Murata thermistor would be a huge help. I can sort the rest out on my own.
 
Hello Dale where can I find the Coldsnap build information UMass link broken?
 
wow, you know it's not patent infringement if you're not selling right? That is a SLAPP case

I'm no legal expert, but I think there may be some incorrect "street wisdom" floating around. I posted originally with what I now believe was an incorrect understanding of patent protection, something along the lines of "you know it's not patent infringement if you're not selling right?". I'm not saying I like any of this, but they do have a patent, and I posted a way to do the process thinking like you say above. I was informed differently by their "cease and desist" letter, and did some research and agree with their take on their protections. You can read it for yourself here: https://www.law.cornell.edu/uscode/text/35/271 Read section (a) in which it says "whoever without authority makes, uses, offers to sell, or sells any patented invention" and section (b). where it says "(b) Whoever actively induces infringement of a patent shall be liable as an infringer." Thus, I took down that information and will respect their request and the law. I do not wish to encourage any illegal actions.

To the best of my knowledge StoreitCold/Coolbot has a US patent and so only US citizens fall under the restrictions. But since I am a US citizen I think I would fall under that section (b) protection for discussing that (former) project even with non-US citizens, so I am just going to stay totally away from that former project and encourage you all to respect the laws that govern you.

I should say that the exact same circuit and program can be used for controlling a Peltier thermoelectric cooler (TEC) module to directly produce cooling: using a TEC cooling engine has nothing to do with defeating an existing AC unit with a low-temperature limit, and therefore is not something that is under patent-protection (to the best of my knowledge). Some additional uses of this circuit/logic have been suggested to me. It may have a limited audience, but for the sake of helping those who would find it useful, I am reworking my original project to make no reference to patented devices or technologies; it is intended for legal uses only. I will simply call this new project "Controller" for lack of imagination and will post information soon. It simply documents the circuit and details of using an Arduino to sense temperatures and produce cooling by driving a Peltier module; it uses a second sensor to sense the temperature of the cooling fins and limit cooling so that icing buildup can be avoided. These are common control concepts that are present in almost any refrigerator. It should NEVER be used for any illegal purposes.

Cheers!
 
Last edited:
Thank you for the in-depth response. You are right, I was just popping off a gut-reaction post. I've played around quite a bit with microcontrollers, and that is where my BS detector was going crazy. I find it hard to believe that they've patented the ability to turn a window AC system on and off. It's called a thermostat - they've been around for a few years now. Also, sticking a heater on the built-in temp probe of an AC unit to defeat it is hardly novel. I think you are doing the right thing to stay out of trouble, I just find that the system is stacked. Also, it's not that hard to rewire the window unit to bypass the built-in probe.

Fantastic job, I;m looking forward to seeing your circuitry for a TEC, I have an old donated wine cooler with one that needs a new controller. Also, pretty sure I have an arduino laying around somewhere...
 
So, how is that TEC controller project going? I've been playing with TECs for a while for ferm temp control but they keep on freezing on me... Would love to try your controller. Do you have a page or thread for this?
 
Thanks for prompting me. Here is the schematic. I need to put it on Google Drive with code and other info and will get that done before the week is out. As you will see from the schematic, this is meant to drive a TEC module. (the drive transistor and power supply will need to be sized according to your load; the small 300mA wall wart is sufficient for basic testing with the test jig shown. The test jig resistor will get warm to indicate the circuit is active; it could be replaced with a light bulb etc for the same purpose. This circuit should not be used for any illegal or improper uses and it is completely the responsibility of the user who constructs it.

Controller_01.png
 
I am using the "Controller" with a 200W Peltier TEC (old Melcor unit) that is set up to cool liquid and transfer heat (hot side) to air via heatsinks and a cooling fan. I'm running RV antifreeze (propylene glycol). TEC units transfer maximum heat at zero differential; it works pretty well with only a 20C differential (capable of much greater differential). I insulate the lower (brass, with hose barbs) part of the unit. Not as efficient as mechanical compressor cooling, but it is compact, quiet and does the job, and I only use it for short times. I am using a Little Giant open frame pump (1-AA-OM) to circulate the glycol through an exchanger coil (like an immersion wort cooler). I'm just cooling in a small 2'x2'x3' box, R10 insulated with 1" blue EPS board. By my sketchy calculations that is about 2W of power lost per sq meter of surface and about 4 square meters surface area so only about 8 W is really needed at cellar 25C and 5C inside the box.

Since I'm not using air-exchange on cooling fins I don't actually use the "Frost Protection" feature, but it is there for air-exchange cold-side uses.

I will put the code and some other documents in an available place by the end of the week and post the location.

As in my first post I hope that this is useful to some people. Since we all find different parts to work with, I mostly hope the generalized control will inspire people to learn the Arduino and find suitable ways to solve their specific automation needs! I just want to remind people that in spite of the similarity of design and code to a previously posted project this should NEVER be used for any illegal or prohibited applications. It is only intended for applications that are legal and not patented. For legal uses only! Users building circuits are fully responsible for confirming the safety and suitability of the circuits and I am in no way liable for anything you build. Thanks.

PeltierCoolerModule-1.jpg


LittleGiant-1.jpg
 
Thanks for sharing your design toadhall! Do you have a descriptlion or anything that can show what items are in your design? I am not an electrician, but can solder, find items online (if I know what to get), etc. This may be stretching your generosity, but just had to ask. Thanks again :)
 

Latest posts

Back
Top