Brewing in a small kitchen- tips, tricks, hacks, etc

Homebrew Talk - Beer, Wine, Mead, & Cider Brewing Discussion Forum

Help Support Homebrew Talk - Beer, Wine, Mead, & Cider Brewing Discussion Forum:

This site may earn a commission from merchant affiliate links, including eBay, Amazon, and others.

thisgoestoeleven

Well-Known Member
Joined
Jan 4, 2011
Messages
355
Reaction score
6
Location
Fair Haven
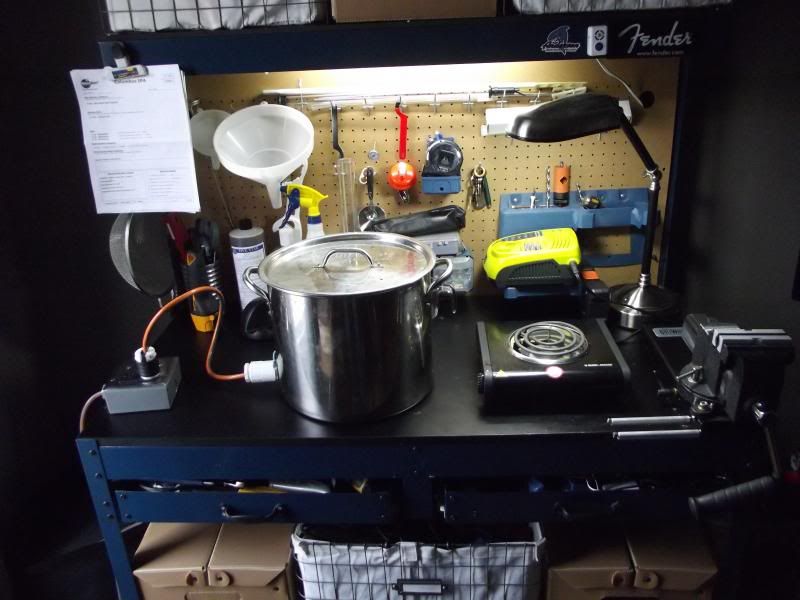
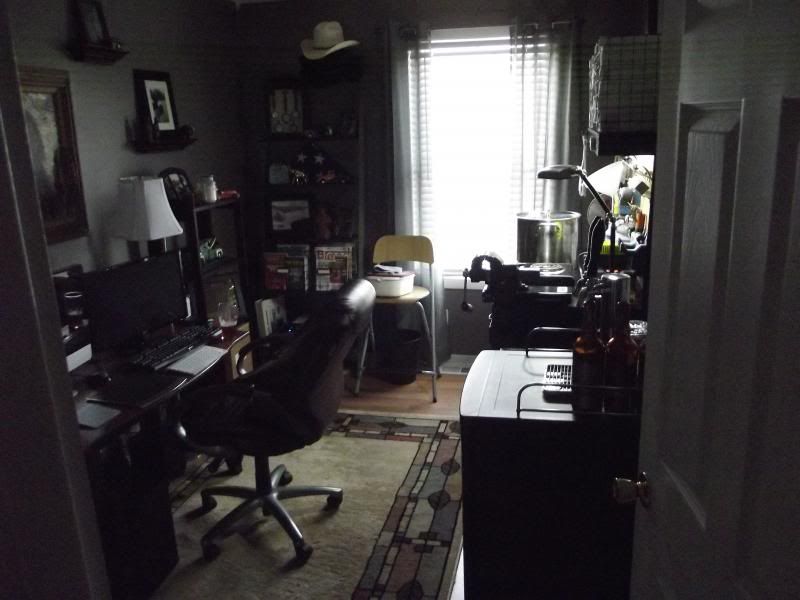
I've been thinking about this my past couple brew days, and I've found that much of the brewing that goes on isn't done on large-scale, propane-powered, electric-pumped rigs with lots of polished keggles, specialized equipment, etc. Most of the brewing that I've seen done, whether on here, r/homebrewing, and in my own experience, is done stovetop in smallish kitchens.

Therefore, I thought it would be really useful for me and people like me (somewhat proficient brewers working in a limited or non-ideal space) to have a thread devoted to tips, tricks, and hacks for making the small kitchen brew day a less daunting, more user-friendly experience. I've got a few little tidbits that I'm going to share, and I was hoping others could do the same. Anyway, here goes:

1. Make sure you THOROUGHLY clean your stovetop before starting a brew, especially if your pot is bigger than your burner. Any food residue on the stovetop underneath your pot will scorch and be a huge PITA to clean later.

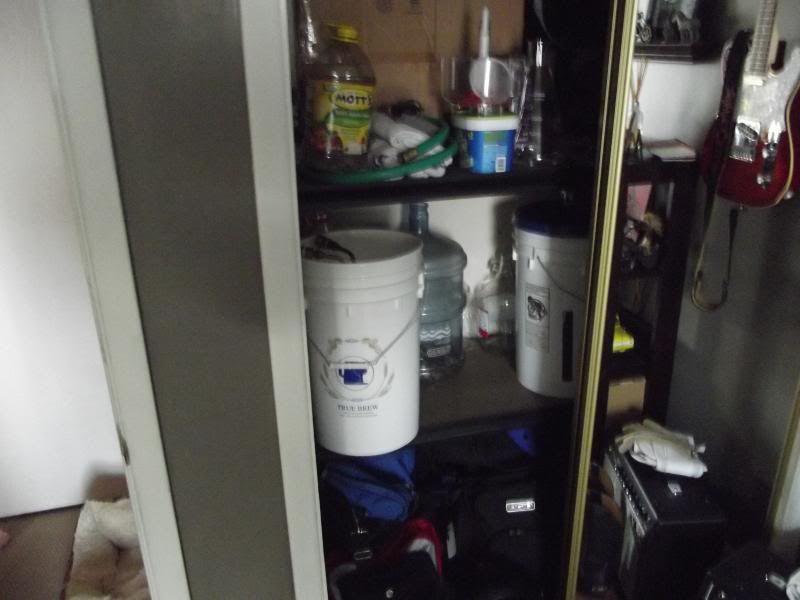
2. If you'd like to go to all-grain brewing but storage space and/or money is at a premium, I've had really good results using an old bottling bucket wrapped in Reflectix foil insulation as a mash tun. Use a large paint strainer bag in lieu of a false bottom, and drain your wort out through the spigot. No stuck sparges because you're not using a manifold, no need to purchase specialized equipment. (just make sure you've got another bucket to bottle from, you don't want fermented beer coming in contact with something that holds raw grain for contamination reasons)

3. If your brew pot won't fit in your sink and you don't have a hose (like me), hook up your wort chiller and use that to fill the pot.
 
When I was doing partial mash on an electric stove it was all I could do to get a boil going in a 16 qt pot. Now I use two 12qt pots and it’s 30 min boil on the big burner and 40 on the little one.

As an added plus, I use those pots to mash in the oven.

I use a copper manifold in a bottling bucket to lauter.

My small pots cool quickly in the bathtub.
 
Random things I've learned on the fly in my kinda tight kitchen (really just a counter space issue).

1. My gas stove will boil 3.5 gallons effectively, if I put aluminum foil around the pots base to trap heat, I can get another .5 gallons to roll.

1a. Lid on to bring it to boil helps. Lid half on to keep it rolling helps. (20qt pot)

2. 3 gallon better bottles are great for 'de-chlorination' (either just letting it sit, or campden additions) and store away easily (I use two, with campden added 12 hours pre-brew, that gives me all the brew water I need)

3. I use office clamps to hold my grain bag to my range hood to let it drain.

4. Mash in oven using my 8qt pressure cooker, over at warm (165) holds mash temp perfectly (I can mash 3-5lbs of grains, the balance is extract additions if I make 5 gallons. Can make 2.5 gallon batches AG this way).

5. My ending volume after boil for a 5 gal batch is now 3gal. I buy two spring water gallons and freeze them SOLID. I use a sanitized knife to cut the bottle off them (be careful), give them a star san dunk in my soaking ferm. bucket, and place them carefully into my pot. This makes the 5 gallons I need and drops the temp from 200 to 80 in under 20 minutes.

6. blow off tubes take up less height than airlocks and I can fit the bucket into an empty cabinet in my dining room this way.

7. arrange all your additions in small bowls before you start

8. Brew while your wife is working so that she doesn't see the utter mess you make :)
 
Im a small space brewery :rockin:

My brew bench.

DSCF0067_zpsddc5c619.jpg


My fermentation chamber.

DSCF0068_zps8a9f705f.jpg


Brew closet.

DSCF0070_zpsfcbf6328.jpg


Complete with kegorator.

DSCF0069_zps213c7810.jpg


Everything other than cleaning and chilling is done in my brew cave.

DSCF0071_zps2f500ccb.jpg
 
BIAB, 3 gallon batches, *induction burner* 3 gallon kegs. Actually I have plenty of space here, mostly doing 5 gallons with an igloo cooler mash tun, but now that I've added small batches for my little kegs I'm quite enamored of BIAB. Perhaps the perfect rig fora small space.
 
  1. First, figure out how to clean up. Where are you going to put the spent grain, messy immersion cooler, and sticky mash paddle?
  2. Stage equipment outside the kitchen and bring it in only as needed.
  3. If you use a flat ceramic stovetop, try not to let it boil over. The sugary wort can burn and stick the kettle to the glass. Yeah, it happened.
  4. Consider reducing equipment with BIAB and no-chill ( hot wort into a sealed container) or slow-chill (hot wort into a plastic fermenter with lid, let it cool for a day)
  5. Adjust your expectations. It would be really tight trying to do a high gravity 10 gallon batch.
  6. A small kitchen usually means a smaller heat source, maybe a 1500W element. Insulate the pot as much as possible and only take the lid off to stir, check temps, and when it gets to a boil.
  7. Extract. You don't have to boil the entire amount of water and you don't need space for grain.
 
1. Remodel your kitchen.

We just finished a near 3 month remodeling project on our kitchen. We went from 80 sf with 1-18" wide countertop to a whopping 30 sf of countertop space! That helped a lot. Of course, now that it's super nice, I hate to mess it up with brewing. So I've moved everything outside over the course of the last year. Got a burner for xmas, built a mash tun, etc etc. If boiling outside is a possibility, it made a huge difference in my brewing.

And I was able to commandeer the old fridge for a ferm chamber. Probably the most expensive piece of brewing equipment I have, since I had to pay for a kitchen remodel to get it.

Other than that (sorry, had to brag a little), don't unpack things until you need them.

Also, if you can fit them - some wire shelves have helped me organize everything much better.
 
The scorching stains come off really easily with Soft Scrub.

Find a way to hook a hose up to your sink. I think I did 3 batches using bowls to fill up my pot, top off fermenter, etc. What a pain! I think the total cost for the attachment and short vinyl hose was less than $5.

I haven't even bothered to try all-grain in my tiny kitchen. Extract brews in the winter, and all-grain in the driveway in the summer.

And moving everything I can to the basement was a relief too. I couldn't care less about spilling Starsan on the concrete floor down there, but I had to clean up every drop in the kitchen cause I kept slipping on it. Now I do boiling and chilling in the kitchen, but racking, kegging, sanitation, and most everything else in the basement.
 
Back
Top