Home Super Brewery Build: Hybrid Electric/Gas 3BBL Build

Homebrew Talk - Beer, Wine, Mead, & Cider Brewing Discussion Forum

Help Support Homebrew Talk - Beer, Wine, Mead, & Cider Brewing Discussion Forum:

This site may earn a commission from merchant affiliate links, including eBay, Amazon, and others.
Here's the boil kettles. 200 liter, dished bottom. Tri Clover sanitary ferrules welded from the inside for outlet, thermowell, two elements, and a tangential inlet for whirl pooling. Lids have an additional ferrule for a yet-to-be-designed/built auto sparge assembly and a spray ball for cleaning.
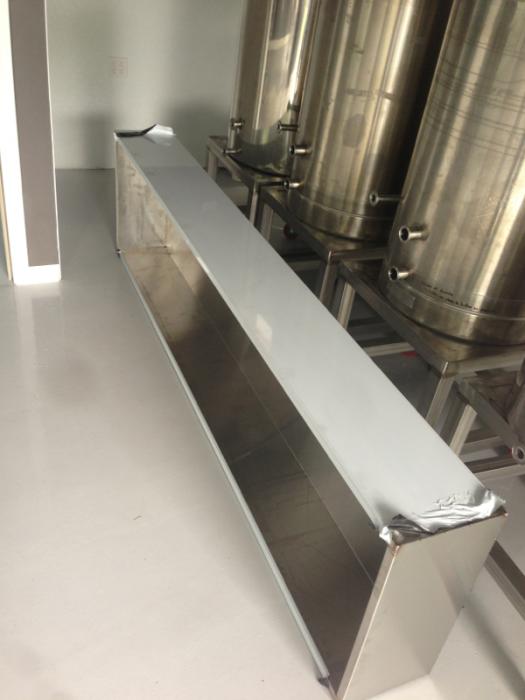
Marc, the last pic is the "mountain of stainless" as you called it I have to move so Christy can park in the garage again. I HAVE to get Humberto over to build my storage area...

Evan,

Thanks for posting the pics and putting the watchdog on guarding the kettles!
 
What was the basis for the position of your whirlpool port? I was looking for recommendations on placement and didn't find anything too specific. I was thinking about a quarter of the way up the tank and an inch in from the edge.

Here's the boil kettles. 200 liter, dished bottom. Tri Clover sanitary ferrules welded from the inside for outlet, thermowell, two elements, and a tangential inlet for whirl pooling. Lids have an additional ferrule for a yet-to-be-designed/built auto sparge assembly and a spray ball for cleaning.
Marc, the last pic is the "mountain of stainless" as you called it I have to move so Christy can park in the garage again. I HAVE to get Humberto over to build my storage area...
 
What was the basis for the position of your whirlpool port? I was looking for recommendations on placement and didn't find anything too specific. I was thinking about a quarter of the way up the tank and an inch in from the edge.

We spent a bit of time searching around but ended up going with similar setup as Stout. I have brewed on their systems and know others that have them with no issues with their whirlpool capabilities.
 
Should that not be 88/180 = 4.89 grams of CO2?

Using your number that should have been 10248 grams of CO2 (or 20496 grams using 0.489)
and therefore using the same conversion to volume at STP (522.03 litres / 1024.8 grams) it gives ~10500 litres
:

Ah that website's math was incorrect. They did 44/180 instead of 88/180 which is correct, but doesn't come up with 4.89 grams, but .489 grams. Since you can't have more grams of CO2 than the sugar you started with. I get 2053.8 Grams of CO2 with the .489 grams from 4200G of sugar. (4200*.489=2053.8 CO2) and from that I get 1047.85 Liters. (2053.8/1.96Grams per liter~(obtain by (44.0g/mole) x (1 atm) x (1 L) / [(0.0821 Latm/moleK) x (273 K)]) ) which is 4.5lbs of CO2, much better than the other amount.

:off: :ban:
 
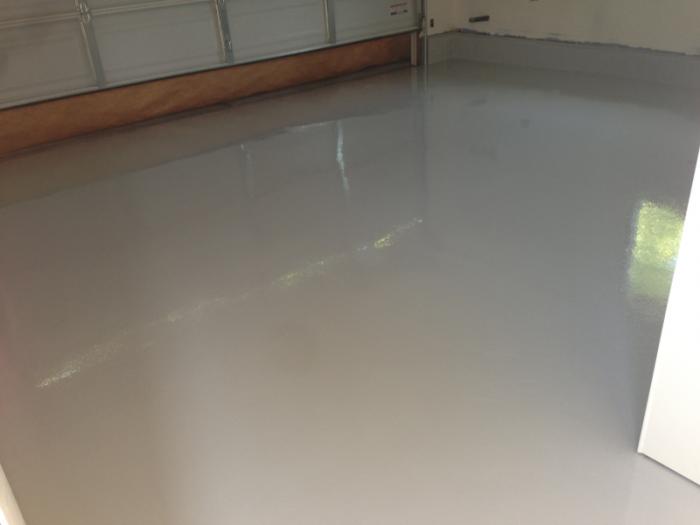
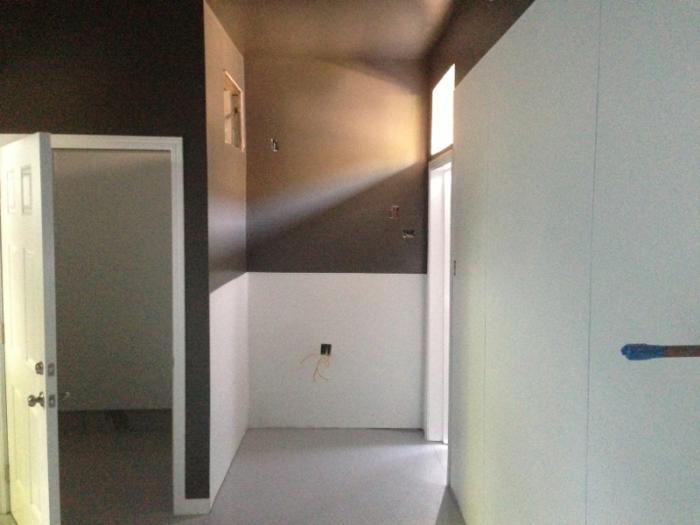
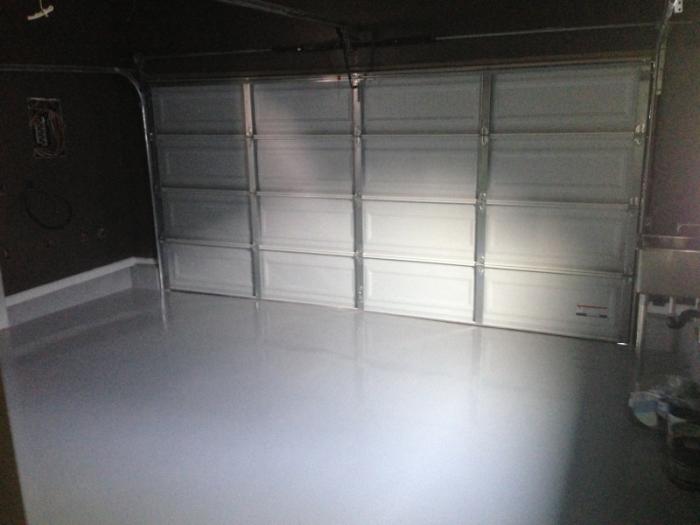
Color coat went on today, clear coat tomorrow. Be back to working on the actual brewery before you know it!
 
Clear coat on, get through Mother's Day and we'll be ready to rock and roll on Monday! Hopefully the custom hood will be ready next week so we can get that in and ducted.
 
marcb said:
Clear coat on, get through Mother's Day and we'll be ready to rock and roll on Monday! Hopefully the custom hood will be ready next week so we can get that in and ducted.

Forgot the pic

image-3616026313.jpg
 
Forgot the pic

Very nice..did you also paint 3-4 inches up the wall from the floor up? Here in South Florida we.are forced to silicone the edges from the floor to walls and when painting we have to paint up the wall 4 inches...this avoids any spills from getting under the walls or on the walls
 
Big_Cat said:
Very nice..did you also paint 3-4 inches up the wall from the floor up? Here in South Florida we.are forced to silicone the edges from the floor to walls and when painting we have to paint up the wall 4 inches...this avoids any spills from getting under the walls or on the walls

Yep, we went all the way up the 8" concrete. Also have FRP on the walls behind the kettles and anywhere that can get wet and that is sealed to the epoxy.
 
marcb said:
No idea, another HBT member referred me to a flooring company and I used them.

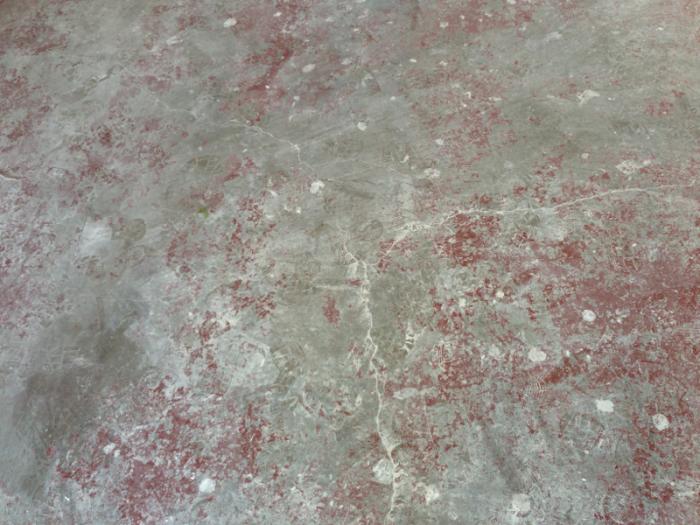
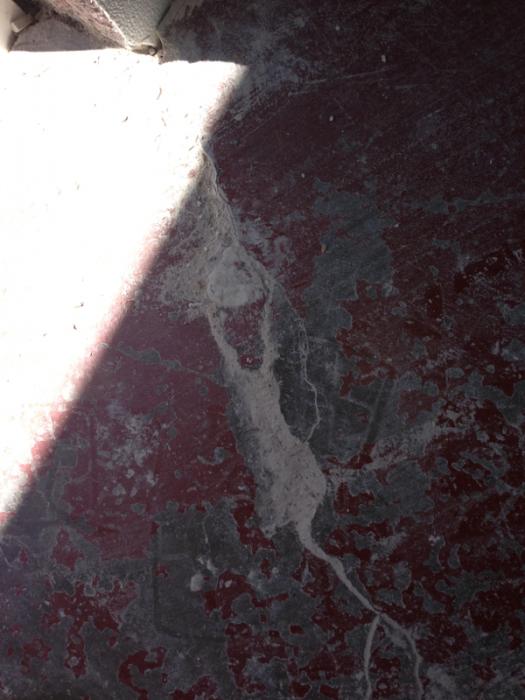
It was about $3 per square foot, lifetime warranty and they handled all the prep work, grinding and refinishing the floor. In all honesty I don't think it would have been that big of a job but I really didn't have the time this week to get it done and I need to get this wrapped up ASAP.
 
Eh. Whatever. It's just a floor.


Kidding, it really looked great when I saw the prime coat the other day.
Marc, I've been busy again. Between the $80 I spent at Santa Clara liquors the other day and the visits to the Davis beer shoppe and university of beer I'd say we have quite a selection for tasting this week. Give swmbo our best for mamas day, ill bring the kettles over one day this week.

sweet, will do. I love beer. Stuck drinking bud light today.... somebody save me! please!
 
So did they open the rollup door a foot or so and fill the space with insulation? Was that to allow air flow but to keep the dust and such out? Did they shove the insulation in or is there a frame involved too?
 
Carlscan26 said:
So did they open the rollup door a foot or so and fill the space with insulation? Was that to allow air flow but to keep the dust and such out? Did they shove the insulation in or is there a frame involved too?

That's painters paper, to keep the crap out. The side door was left open and the door was cracked a foot or so which allowed air in the top and through the cracks without all the leaves and dust blowing back in.
 
Will post pics tomorrow as there isn't any light out in the garage yet! Paint and trim finished today, sink is in! Floor touch up, plumbing and electrical should all be stitched up tomorrow.... Or thereabouts. It looks great but more importantly I now get to get back on track with my build!!!!!!!!
 
marcb said:
Will post pics tomorrow as there isn't any light out in the garage yet! Paint and trim finished today, sink is in! Floor touch up, plumbing and electrical should all be stitched up tomorrow.... Or thereabouts. It looks great but more importantly I now get to get back on track with my build!!!!!!!!

Sweet!!!
 
Got a question about the cold room, how much insulation did you use and is there a vapor barrier installed, i didn't see one in the pictures.
 
MooMooBrew said:
Got a question about the cold room, how much insulation did you use and is there a vapor barrier installed, i didn't see one in the pictures.

The interior of the cold room is all sealed FRP. So I did not do any other vapor barrier.
 
MooMooBrew said:
Got a question about the cold room, how much insulation did you use and is there a vapor barrier installed, i didn't see one in the pictures.

Oh, to answer your other question for how much. The ceiling and back wall are both 6" of rigid insulation and the two sides and front are 5" of rigid foam insulation.
 
Geez Marc, this is turning out better than I had imagined!
I can remember what we added the switch by the water bypass for-- the pump, right? I'll try to remember to grab a waterproof switch boot tomorrow.
 
barryfine said:
That's a sweet setup! Where is the tankless located? Is it an electric, gas, or propane model?

Outside the garage, natural gas rinnai ru98en. It's a beast.

image-279861122.jpg
 
Forgive me if I've missed it, but what are the ventilation specs, ie. fan cfm/type, duct diameter, etc?
 
Forgive me if I've missed it, but what are the ventilation specs, ie. fan cfm/type, duct diameter, etc?

Hi, you didn't miss it... I don't think I've posted it yet. We took inspiration from the electric brewery and went with a custom condensate hood design and an 8" inline fan. We had the hood made at a local sheetmetal shop that fastev works with at his day job, the fan I bought on amazon and the specs are listed below.

Vortex PowerFans' high performance inline duct blowers feature high power motors and an aerodynamically designed shape. These high performance inline blowers feature superior quality steel construction and baked epoxy paint finish. They have a convenient "tape flange" that allows you to place the ducting on the blower and tape it in place easily! Balanced motors with permanently lubricated ball bearings ensure vibration-free operation. Proudly made in Canada by Atmosphere, the Vortex Powerfans are also the first industrial inline duct fans that comes with a power cord, ready to plug in, installed by the manufacturer. These blowers feature a 5 year warranty. Vortex Powerfans are performance, reliability, and quality all wrapped up into one package. Includes galvanized mounting brackets for horizontal or vertical installation. Specifications: Size = 8", Diameter = 13.0", Length = 10.5", CFM = 747, Amps = 1.60, Watts = 185, RPM = 2550, dBA = 54
 
DrPhilGood said:
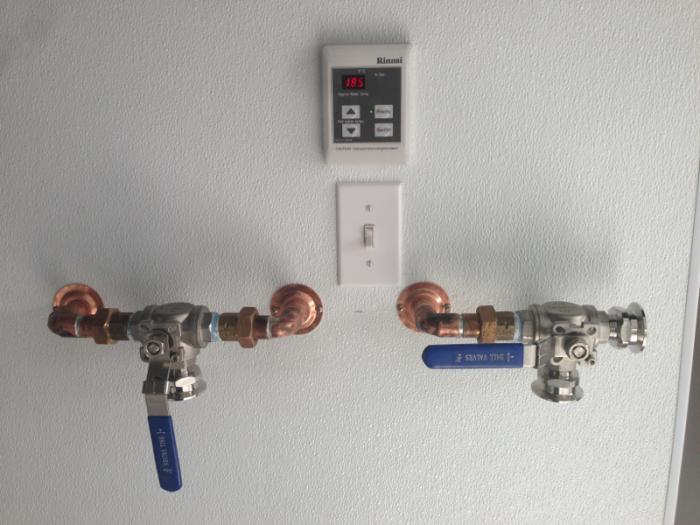
Is one of the outlets the cold water and the other the hot water?

P.s. what is the flow rate at 185 degrees?

Sort of. Think of it as a check valve after the filter and a three way valve to block the supply line for a recirc loop. The other three way valve is hot out and recirc loop feed. I plan on routing these through a pair of Williams stainless CFC's for herms to keep my mash temp on target for step mashes.

The flow rate listed is 3-4gpm at 185 degrees but we'll see, haven't really tested. Realistically I need far less flow than that as I will use this for sparge on demand.
 
Chamuco said:
Amazing progress Marc!

Thanks Chad. Hacked one of the damaged AC units into place and got the lights back on yesterday! Tomorrow will hopefully get the hood and cold room ready to rock

Getting close, ran through the recirc valve setup today to clean it out and get it ready. Hoping to be ready for a pilot batch next weekend! Keep your fingers crossed.....
 
Back
Top