brew4you15
Active Member
- Joined
- Mar 15, 2016
- Messages
- 32
- Reaction score
- 3
Thought I'd post my recent kegerator build here, as I found so many similar threads helpful for my build.
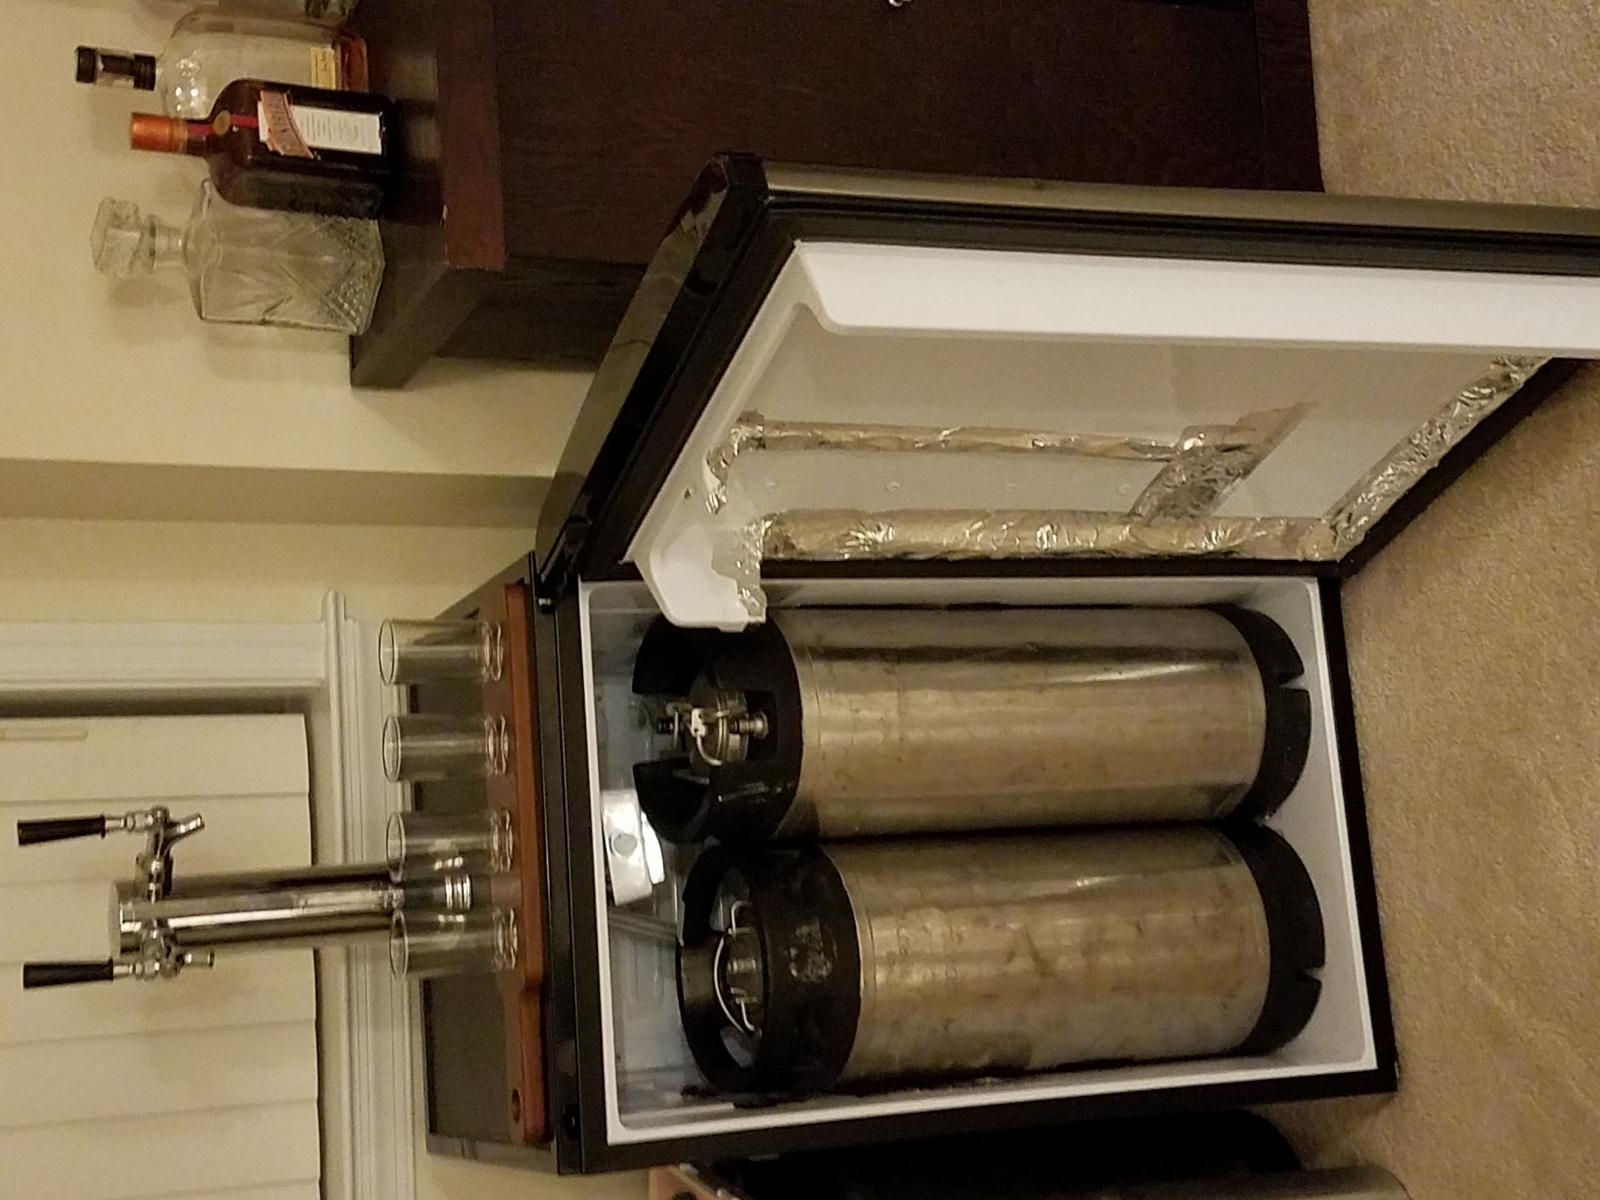
I used a 4.4 cubic feet Danby mini fridge that I bought from Costco for $150.00. Model number dar044a6bsldb.
I wanted to fit two corny kegs and a co2 tank inside, with a draft tower on top. I had two pin lock kegs that I bought on sale and I wanted to fit both of those in the kegerator. Unfortunately two pin lock kegs will not fit inside this model. I ended up fitting one pin lock and one ball lock inside no problem.
Steps:
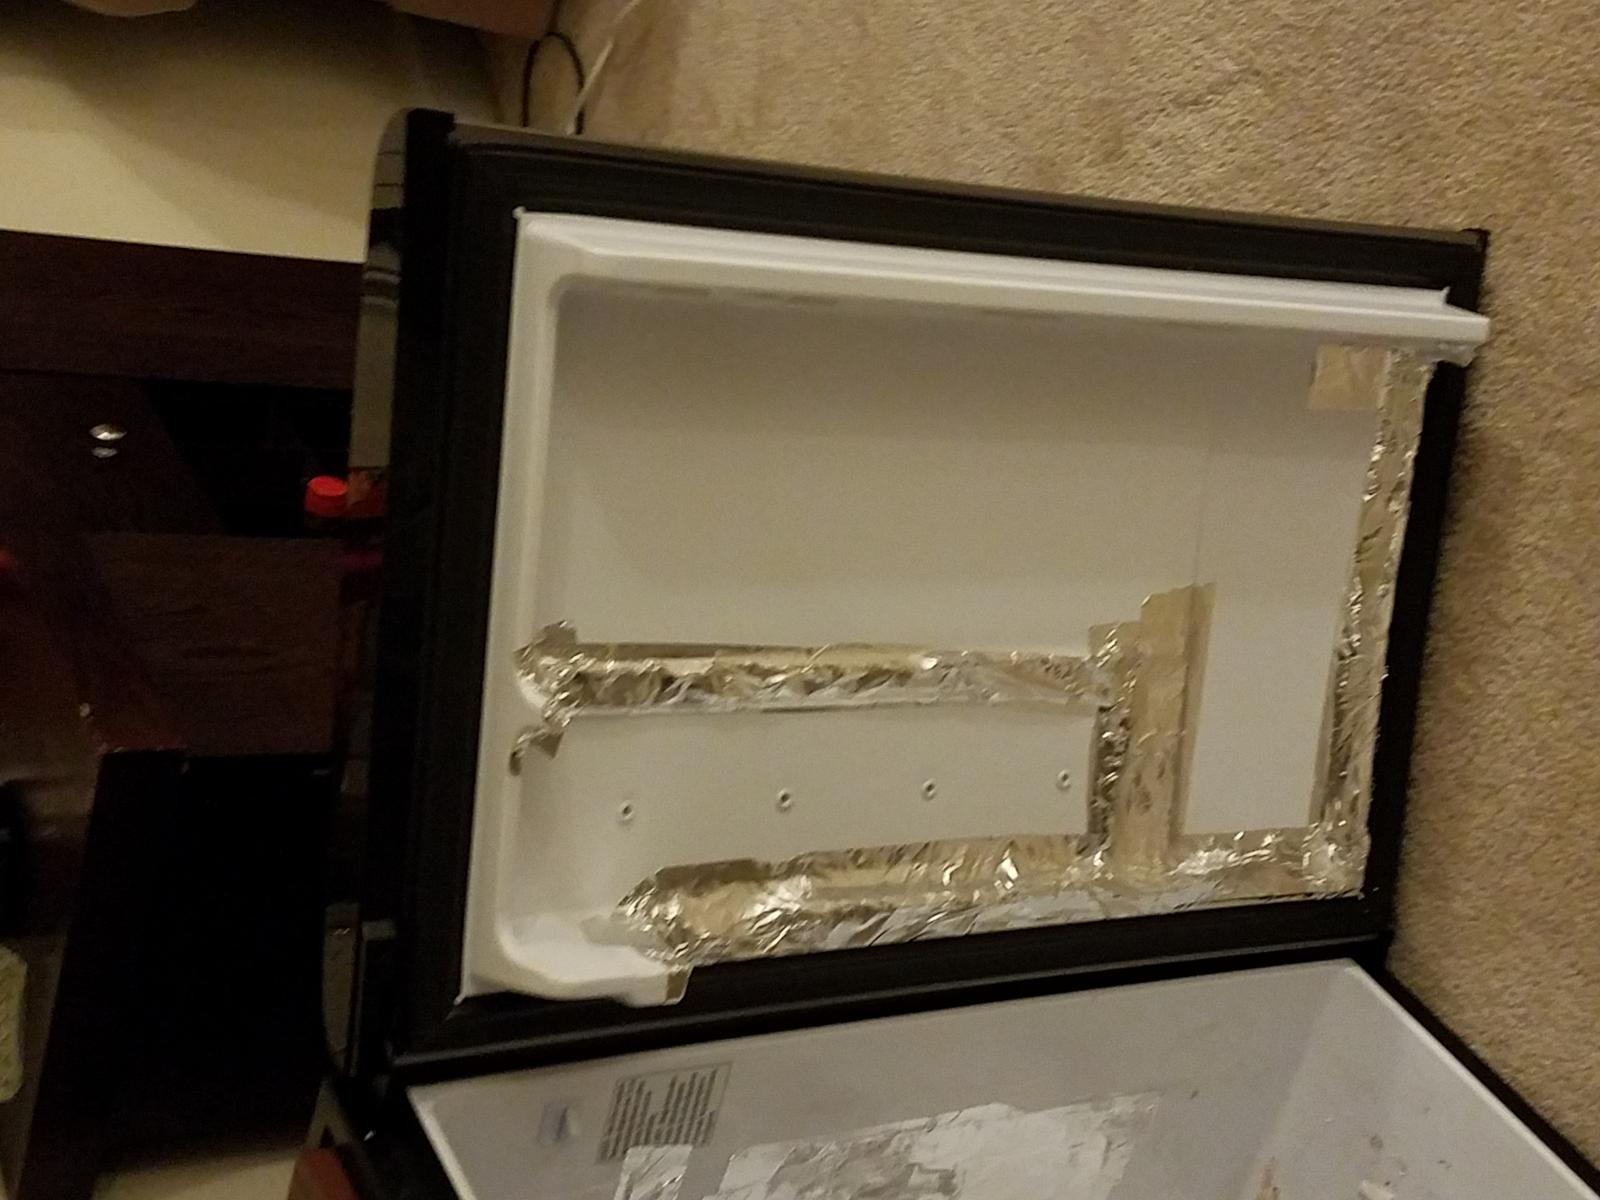
1. Remove door and use a utility knife to remove protruding door sections. I tried to use a dremel at first, but found that I didn't have the right bit piece and realized that a utility knife was a good deal easier in my opinion.
2. Cover exposed insulation on the door with aluminum tape to prevent moisture from getting to it.
3. Remove all shelving from the inside of the fridge.
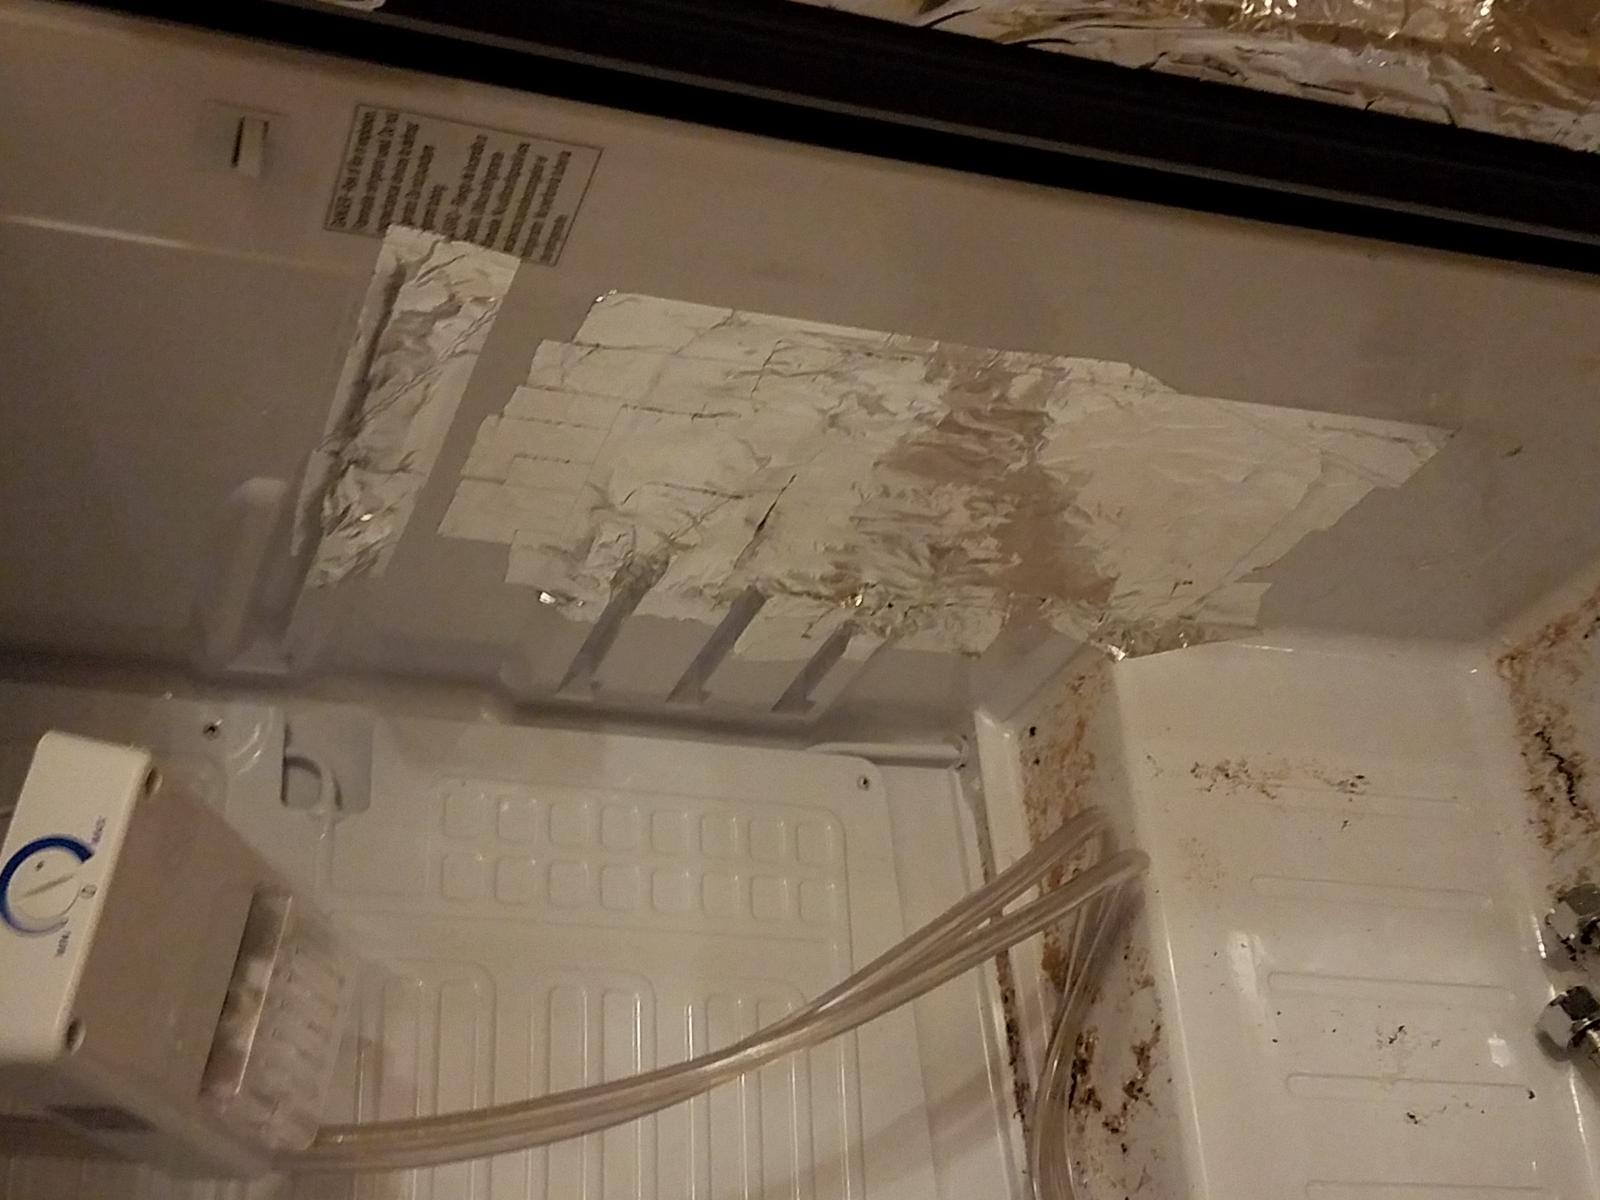
4. Use a utility knife to remove door shelf supports from each side of the fridge. I did this at first because I wanted to fit two pin lock kegs in. It might not be necessary if you use two ball lock kegs. Be careful when taking the supports off the right side of the fridge. I encountered several wires running through the insulation on that side, if you cut along the wall and gently peel the plastic back, you shouldn't have any issues with cutting them.
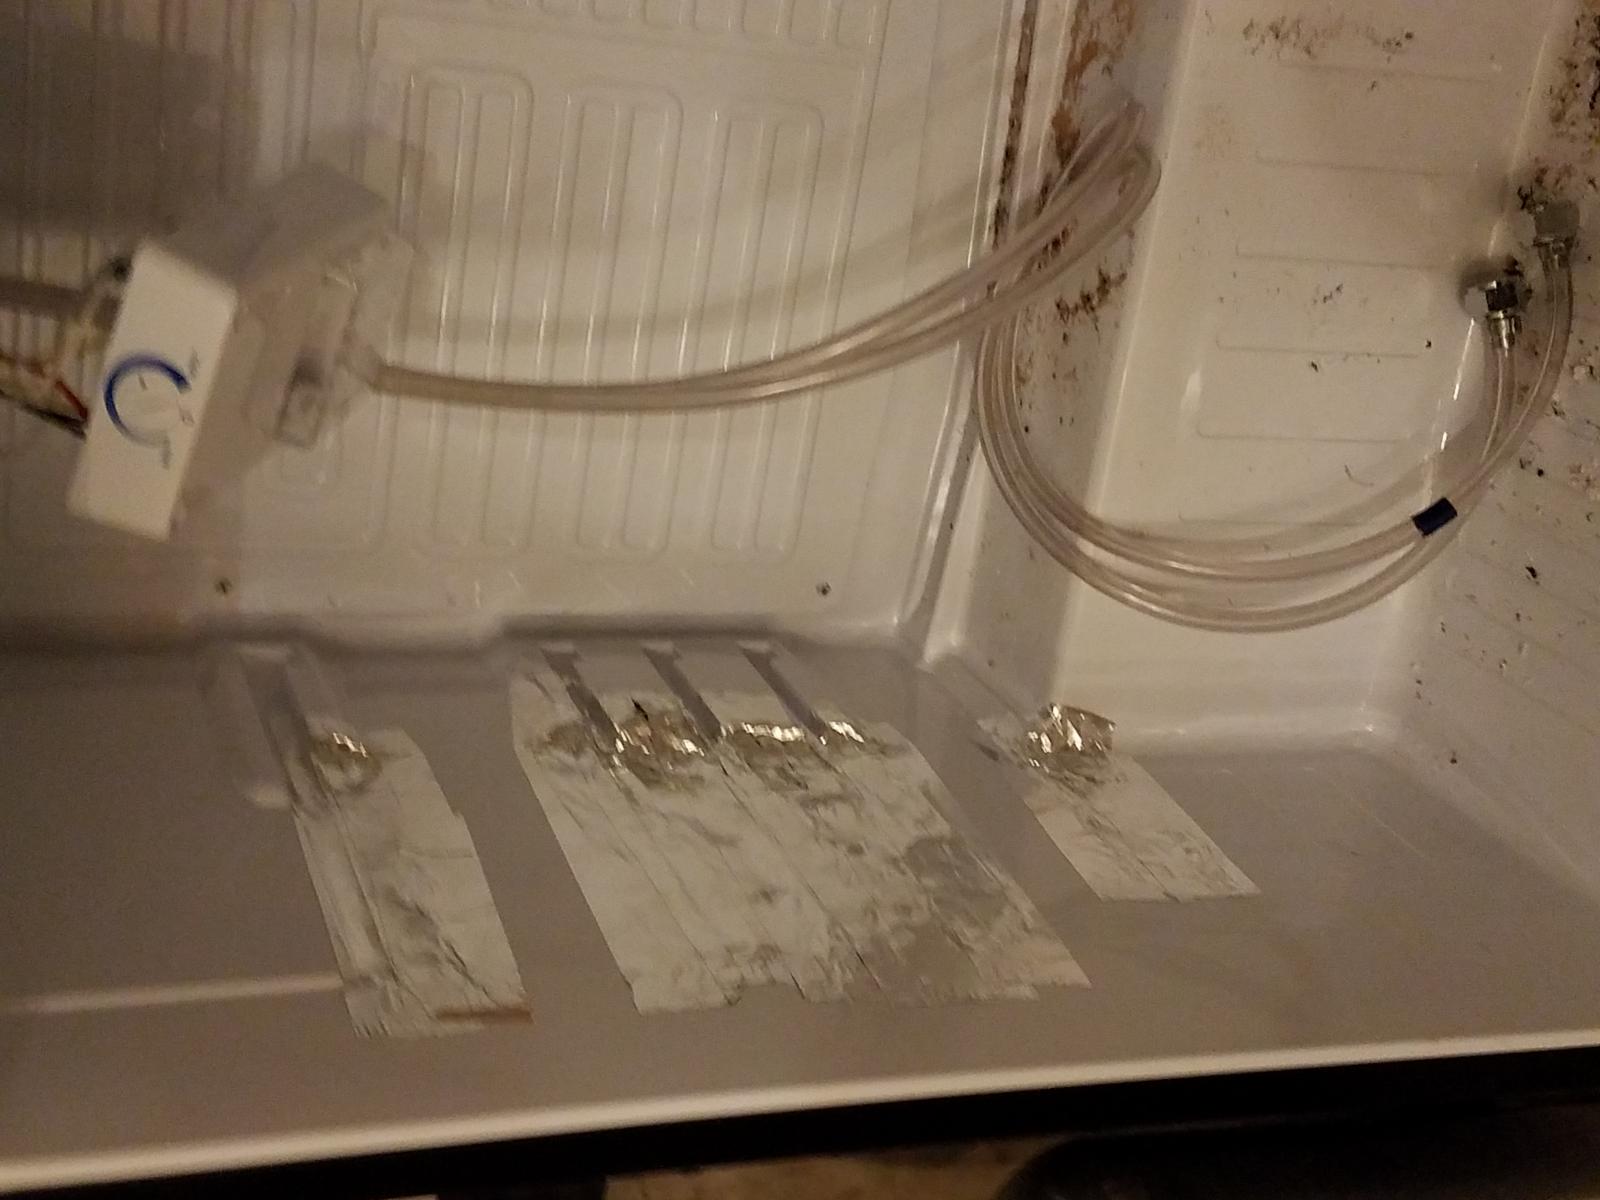
5. Tape over the cuts you made with aluminum tape to seal them up.
Time to drill the draft tower hole!
6. First I unscrewed the thermostat and taped if off to one side, to avoid accidental nicking a wired when I came through with the drill.
7. This was the most nerve wracking part of the build. I'd read that there were no cooling lines running through the top, but I was still weary about ruining a brand new fridge. I removed the plastic fridge top/cover and removed the Styrofoam piece that comes underneath and replaced it with a similar sized piece of plywood (to support the tower). I then drilled through all three pieces (top, wood, metal fridge) using a 2 1/8 inch hole saw bit. I then taped up the hole with aluminum tape.
8. Drilled pilot holes for for the tower.
9. Screwed tower down.
The fridge still works and keeps its temp, so I think all is well! I still need to clean it up a bit and test that everything works well, but I need to wait for some of my beer to finish up before I can keg it!
I'm also thinking about adding copper tubing to try to keep the draft tower cool. I might also add a white board to the inside of the door to make it look a bit better.
Let me know if anyone has any questions, or wants some more explanation. I wrote this off the top of my head so I very well could have missed a few things.
Note: Not sure why images are so large and rotated? I'll fix if someone knows how to.


