
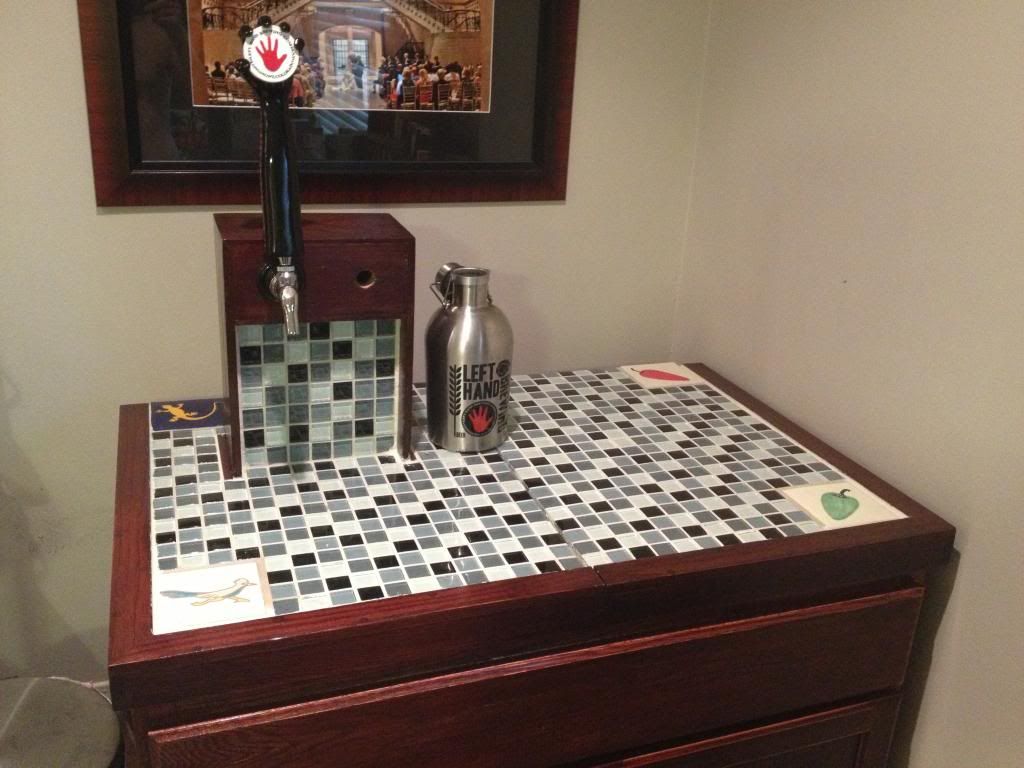
EDIT: Here is a pic of the semi-finished project. Read on to hear the build story.
This is my first DIY project post on here, so go easy on me. I wanted to build an upgrade to my mini fridge kegerator. I spent a lot of time looking around on here at all of the very nice keezer designs, but none of them seemed quite right for me.
I have a pretty limited space to ferment and serve beer, so I was looking for a sort of all in one device that could both control fermentation temps and serve beer. Most of the keezer designs can only do one or the other, and I simply do not have space for 2 keezers. I also just wanted to do something a bit different, even if it meant more work.
I have always liked the idea of using glycol chillers to control all of my temperatures. Commercial chillers are pretty expensive, so I decided to make my own using a small air conditioner. The smallest air conditioner I could find was 5,000 btu's. That is many times more powerful than even the largest of freezers, so this should be able to provide cooling power for any future projects I may have.
Once I decided on using a DIY glycol chiller, the easiest solution to house the kegs for me was to convert a cabinet. I found a 36inch wide unstained cabinet at home depot on sale for <$70.
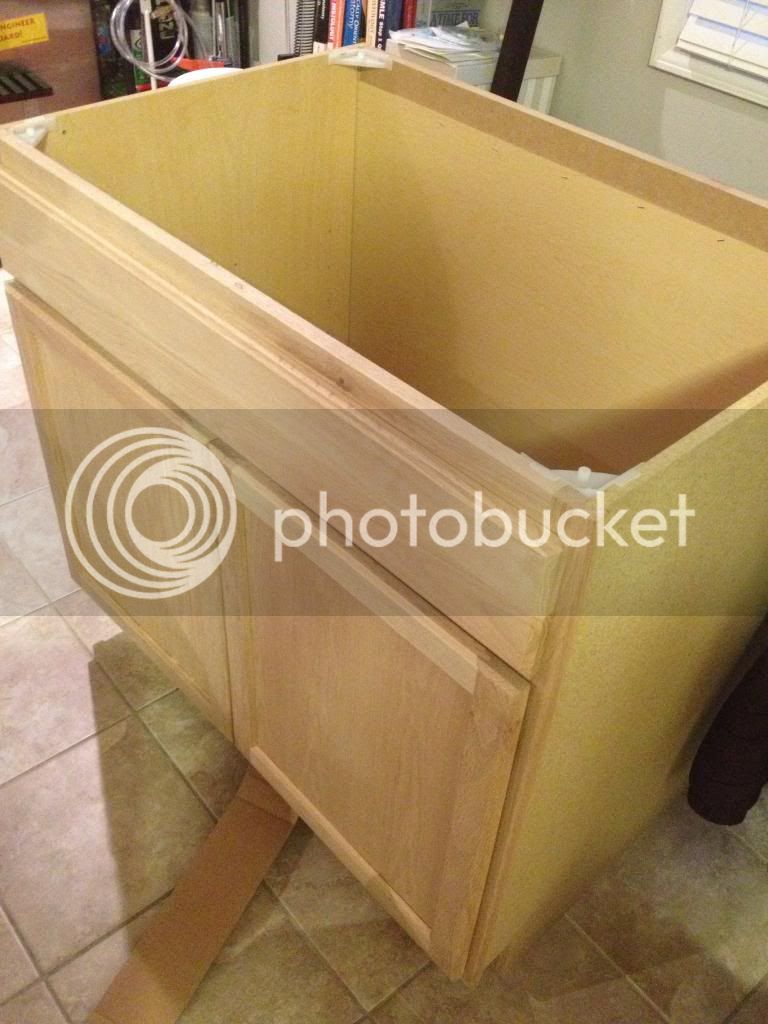
I only need space for 2 kegs, as I usually never have more than 1 beer on tap and 1 carbonating/conditioning. This left me plenty of space in the cabinet for the chiller and some storage. I used 2 layers of 3/4in XPS for the insulation and basically created a 10inch x 20inch space to comfortably fit 2 kegs. Here is a pic of dry fitting the first insulation pieces.
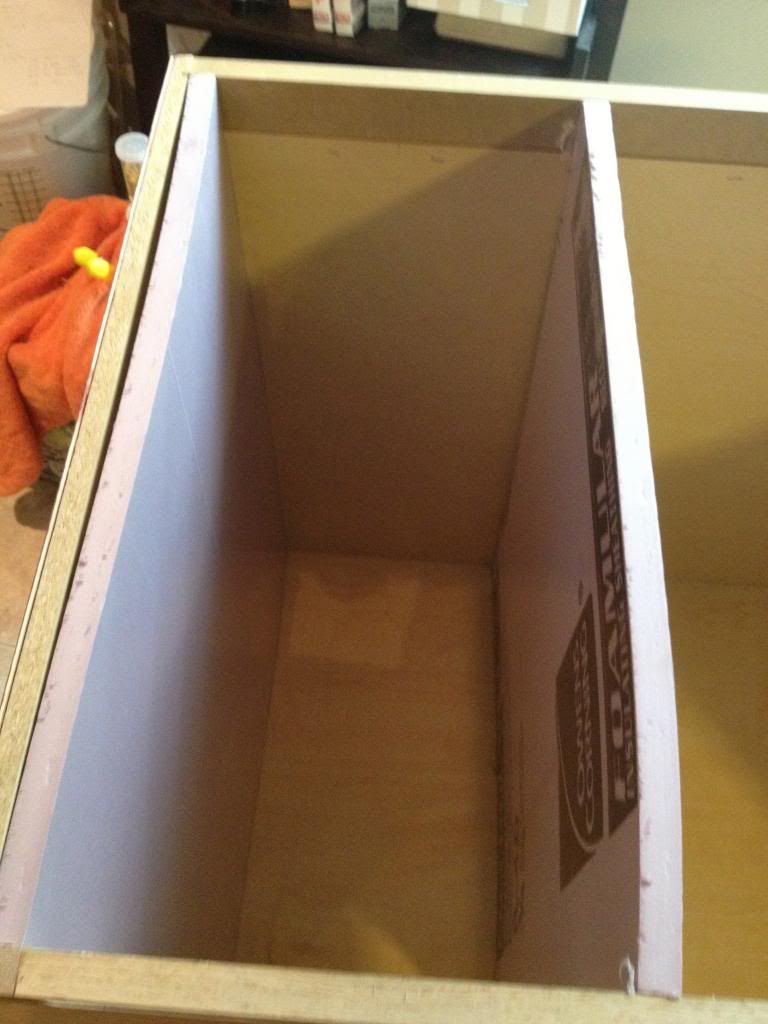
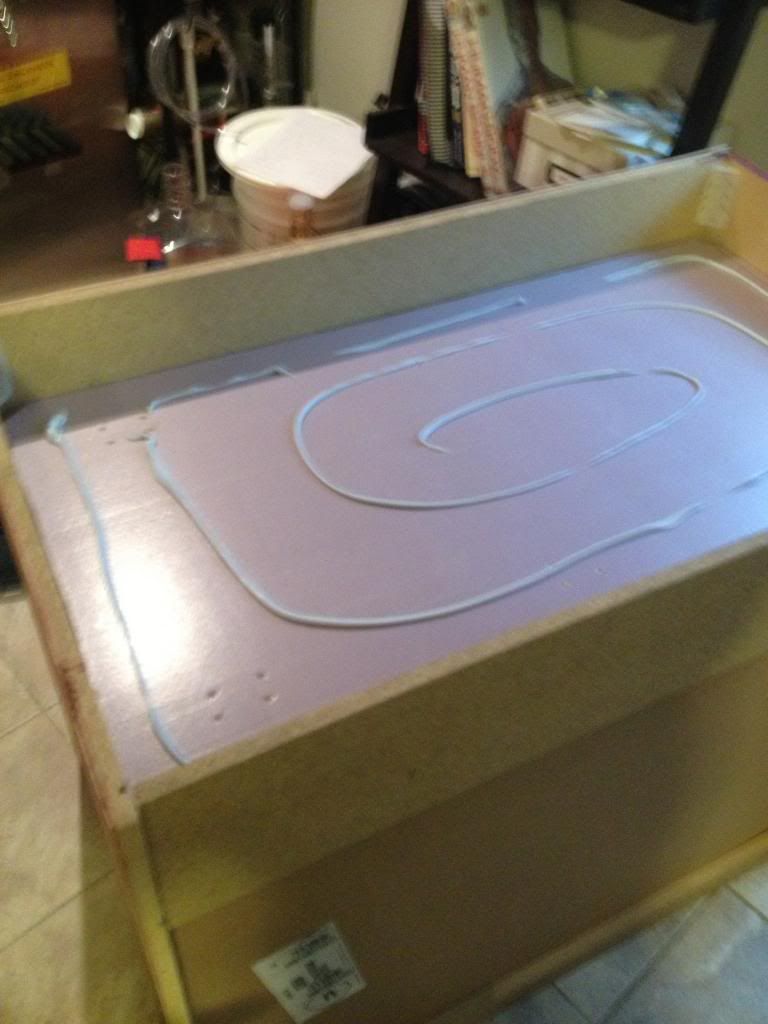
To preserve vertical space, I installed the bottom insulation under the floor of the cabinet. Here is a pic of the first layer installed with glue for the 2nd layer.
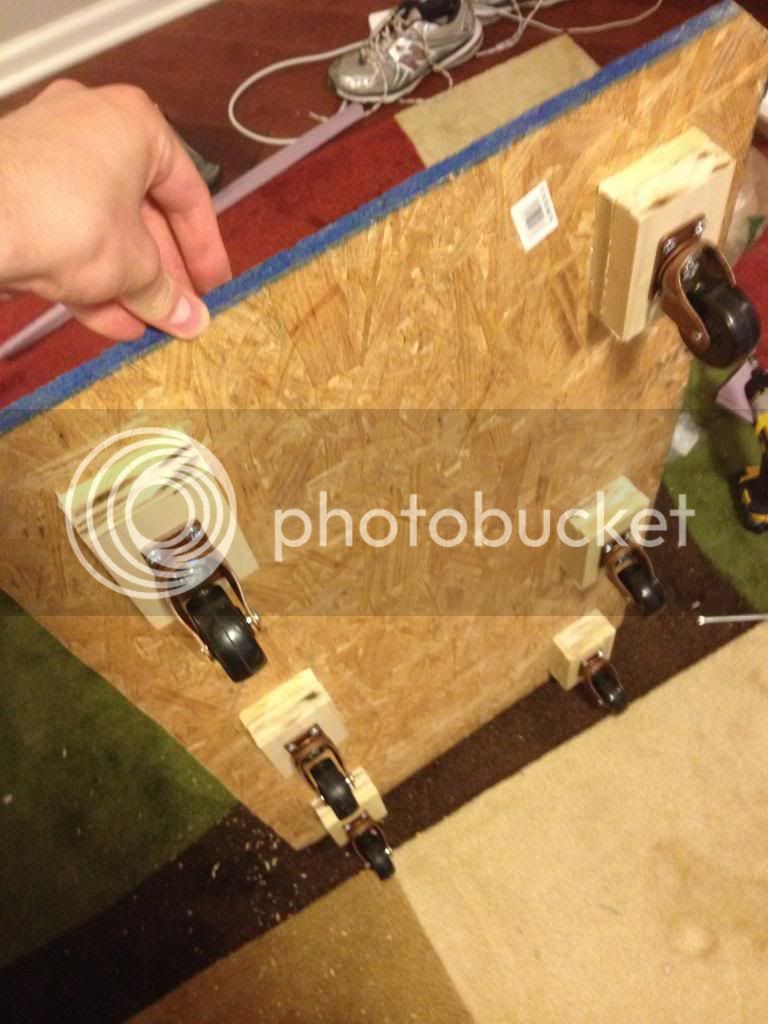
I then took a piece of 1/2 inch OSB and attached 6x casters on blocks to space them so the cabinet would sit roughly 1/4inch off the ground so it can roll but the casters are not visible. These casters can support 80 pounds each, so in total I could load this up with ~480 pounds.
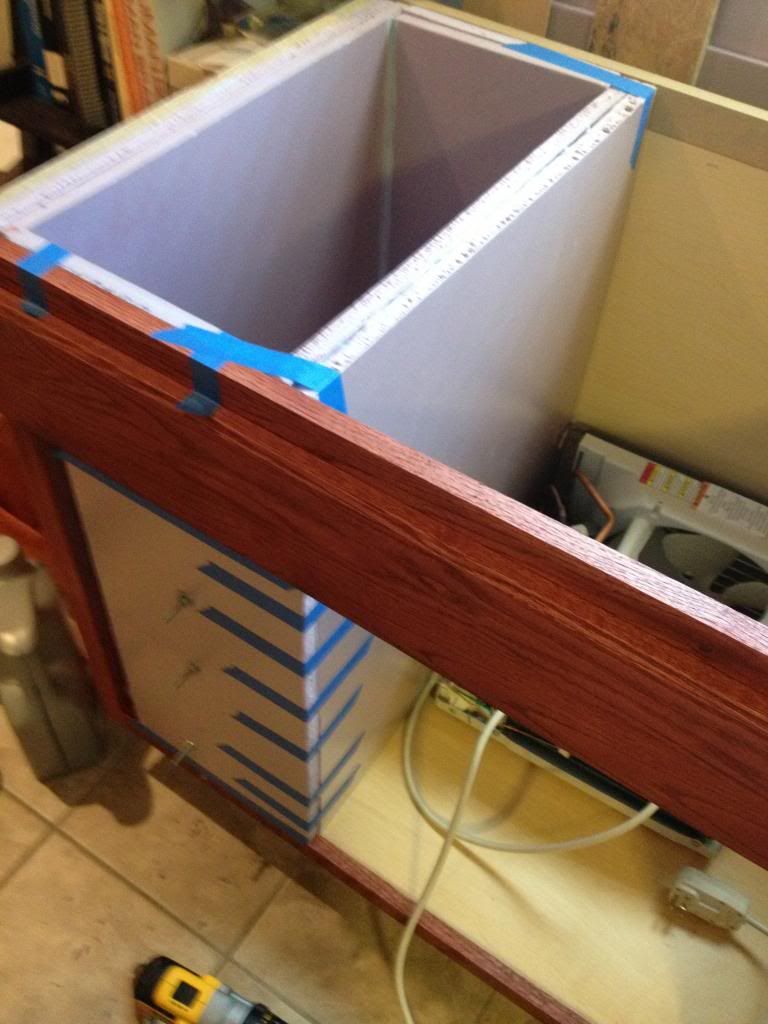
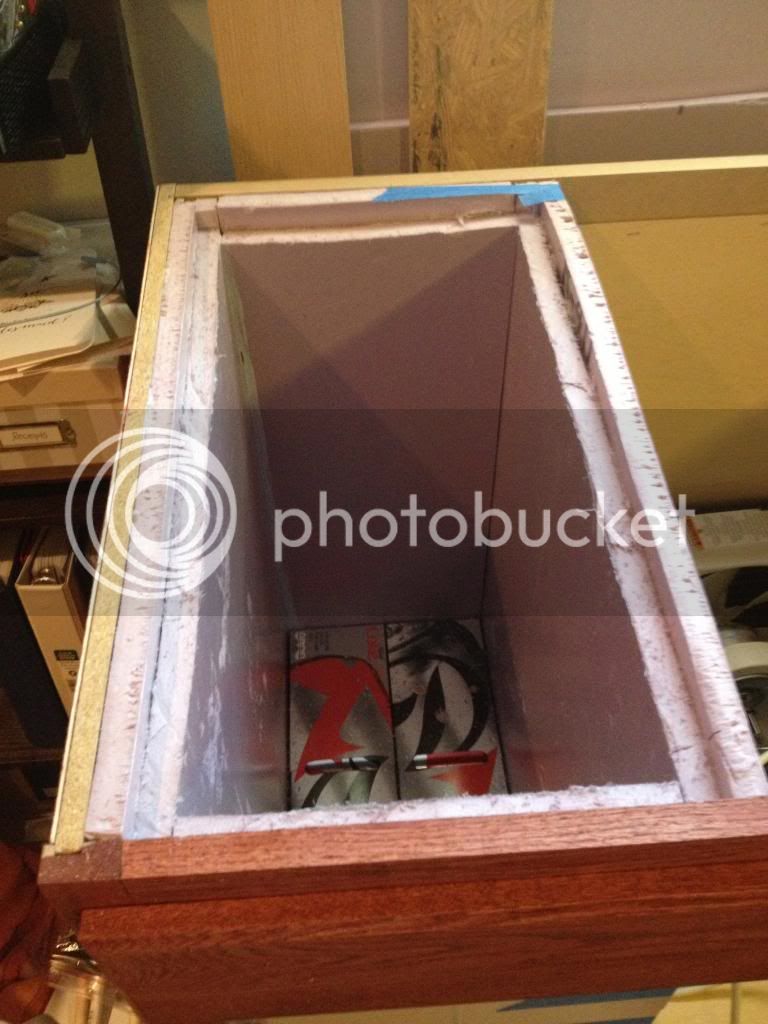
Next is a pic with the rest of the insulation box walls installed and taped drying in place. You can also see that I applied the first coat of stain. Turned out redder than expected. Might have to get some different stain.
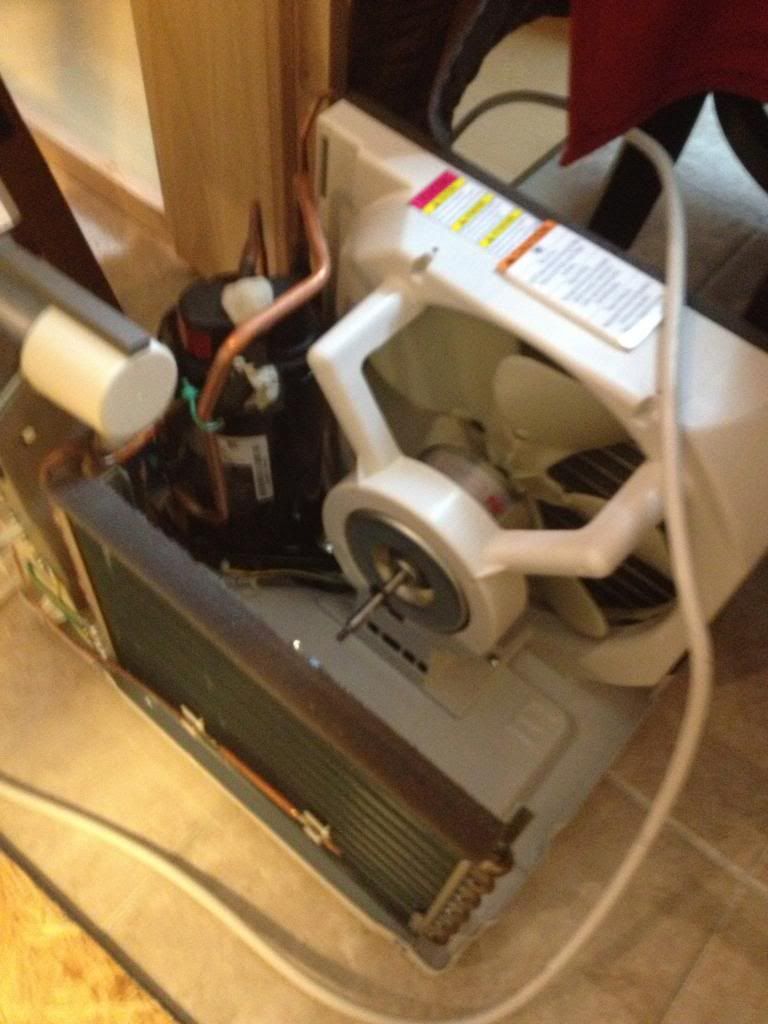
Here is a pic of the air conditioner I plan to use. Sorry I did not get a pic before disassembling it, but I wanted to make sure this one would work. All I have done at this point is remove the outer case and the cooling fan.
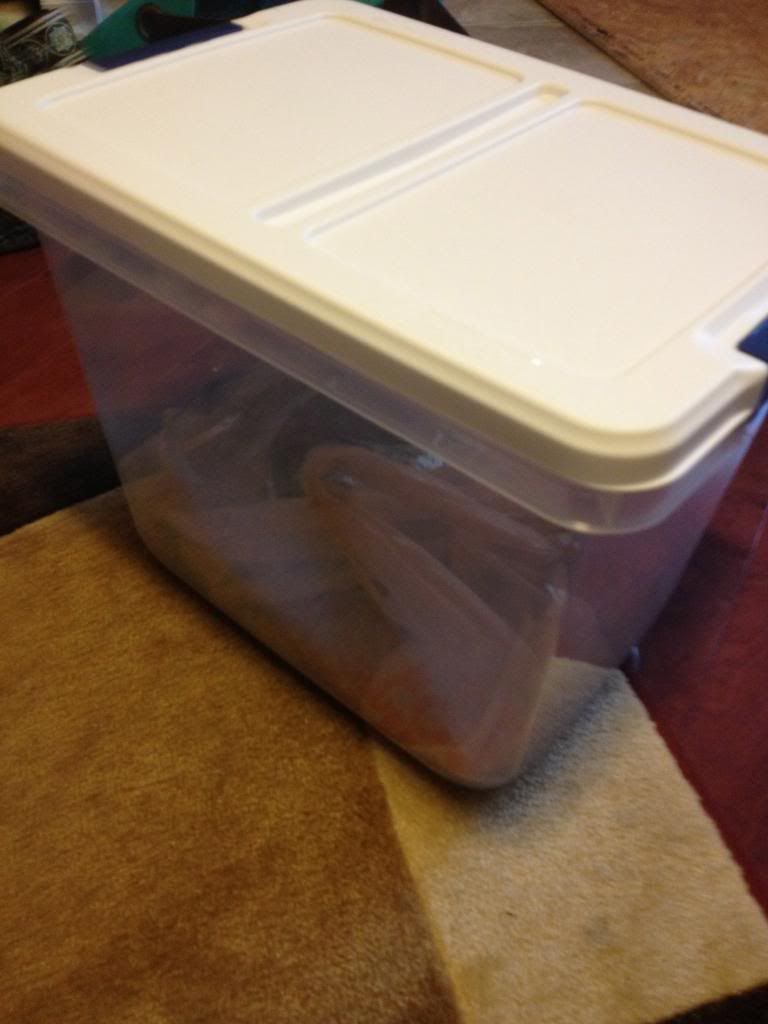
Most of the DIY glycol chillers I have seen use a small cooler for the reservoir. This seemed a bit clunky to me as all the coolers I could find have pretty thick walls, handles, etc. I plan to use this storage container to hold my chilled liquid. Obviously I will be insulating it.
Next I notched in the foam so a lid could rest inside flush with the top.
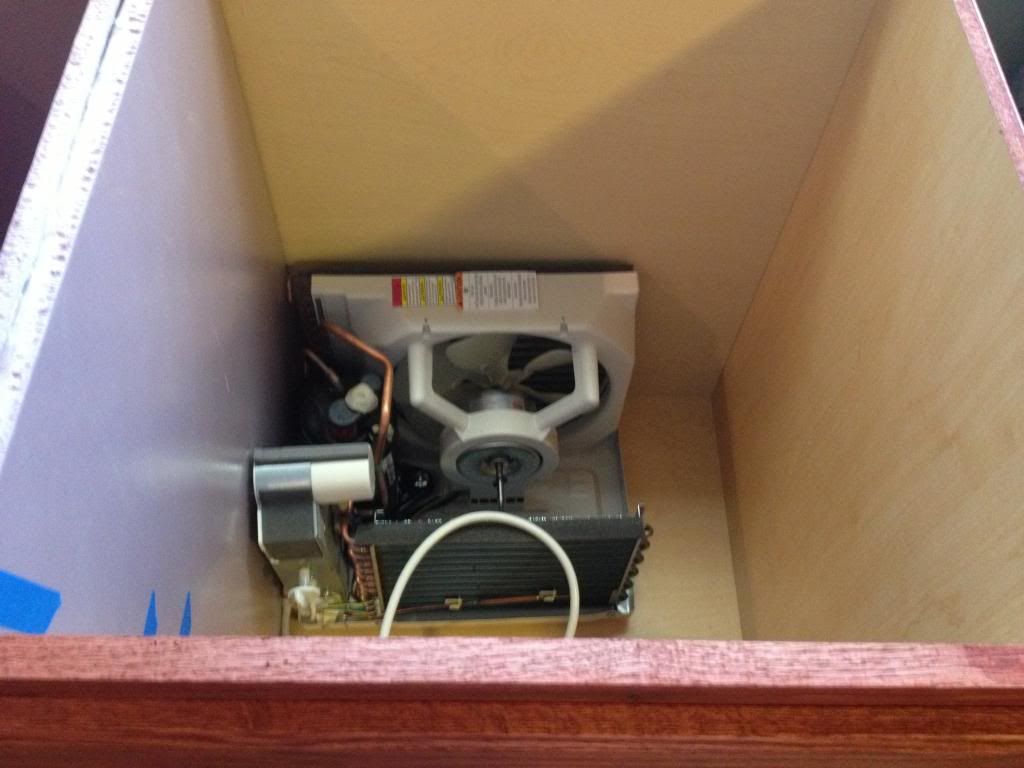
And lastly for tonight, here is a pic of the air conditioner sitting in the cabinet for size reference.
Stay tuned for more updates.

This is my first DIY project post on here, so go easy on me. I wanted to build an upgrade to my mini fridge kegerator. I spent a lot of time looking around on here at all of the very nice keezer designs, but none of them seemed quite right for me.
I have a pretty limited space to ferment and serve beer, so I was looking for a sort of all in one device that could both control fermentation temps and serve beer. Most of the keezer designs can only do one or the other, and I simply do not have space for 2 keezers. I also just wanted to do something a bit different, even if it meant more work.
I have always liked the idea of using glycol chillers to control all of my temperatures. Commercial chillers are pretty expensive, so I decided to make my own using a small air conditioner. The smallest air conditioner I could find was 5,000 btu's. That is many times more powerful than even the largest of freezers, so this should be able to provide cooling power for any future projects I may have.
Once I decided on using a DIY glycol chiller, the easiest solution to house the kegs for me was to convert a cabinet. I found a 36inch wide unstained cabinet at home depot on sale for <$70.

I only need space for 2 kegs, as I usually never have more than 1 beer on tap and 1 carbonating/conditioning. This left me plenty of space in the cabinet for the chiller and some storage. I used 2 layers of 3/4in XPS for the insulation and basically created a 10inch x 20inch space to comfortably fit 2 kegs. Here is a pic of dry fitting the first insulation pieces.

To preserve vertical space, I installed the bottom insulation under the floor of the cabinet. Here is a pic of the first layer installed with glue for the 2nd layer.

I then took a piece of 1/2 inch OSB and attached 6x casters on blocks to space them so the cabinet would sit roughly 1/4inch off the ground so it can roll but the casters are not visible. These casters can support 80 pounds each, so in total I could load this up with ~480 pounds.

Next is a pic with the rest of the insulation box walls installed and taped drying in place. You can also see that I applied the first coat of stain. Turned out redder than expected. Might have to get some different stain.

Here is a pic of the air conditioner I plan to use. Sorry I did not get a pic before disassembling it, but I wanted to make sure this one would work. All I have done at this point is remove the outer case and the cooling fan.

Most of the DIY glycol chillers I have seen use a small cooler for the reservoir. This seemed a bit clunky to me as all the coolers I could find have pretty thick walls, handles, etc. I plan to use this storage container to hold my chilled liquid. Obviously I will be insulating it.

Next I notched in the foam so a lid could rest inside flush with the top.

And lastly for tonight, here is a pic of the air conditioner sitting in the cabinet for size reference.

Stay tuned for more updates.


