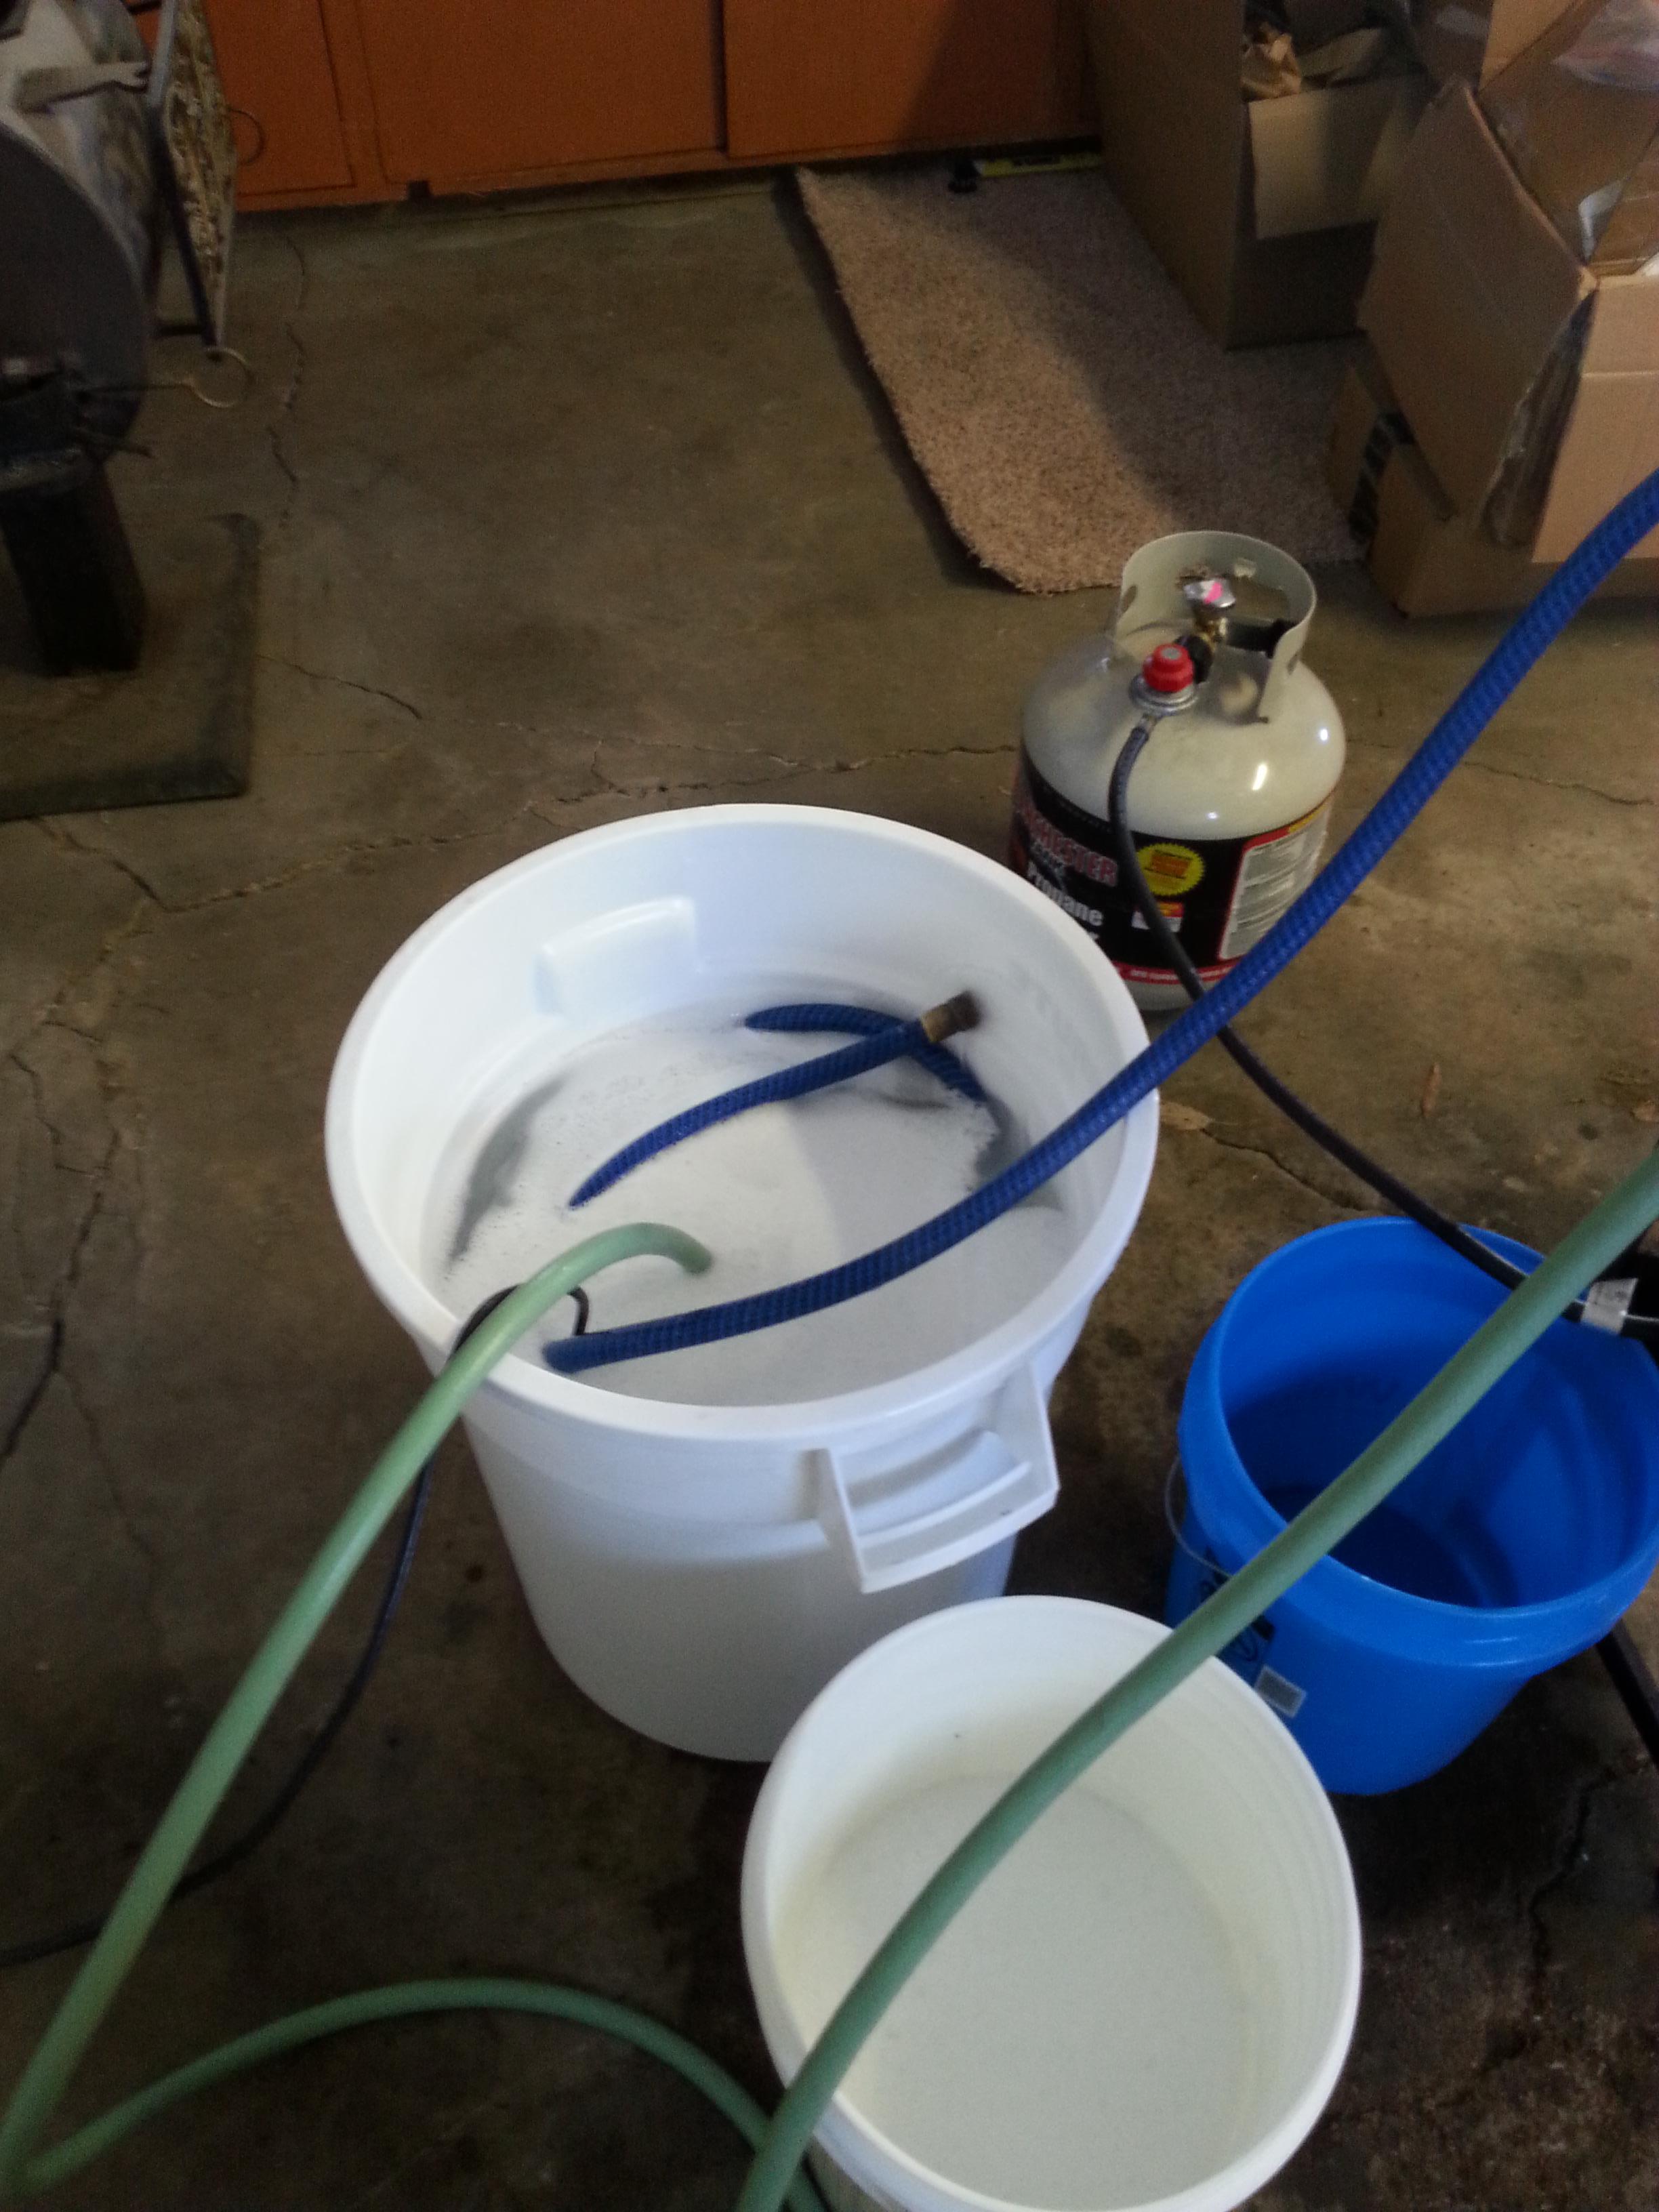
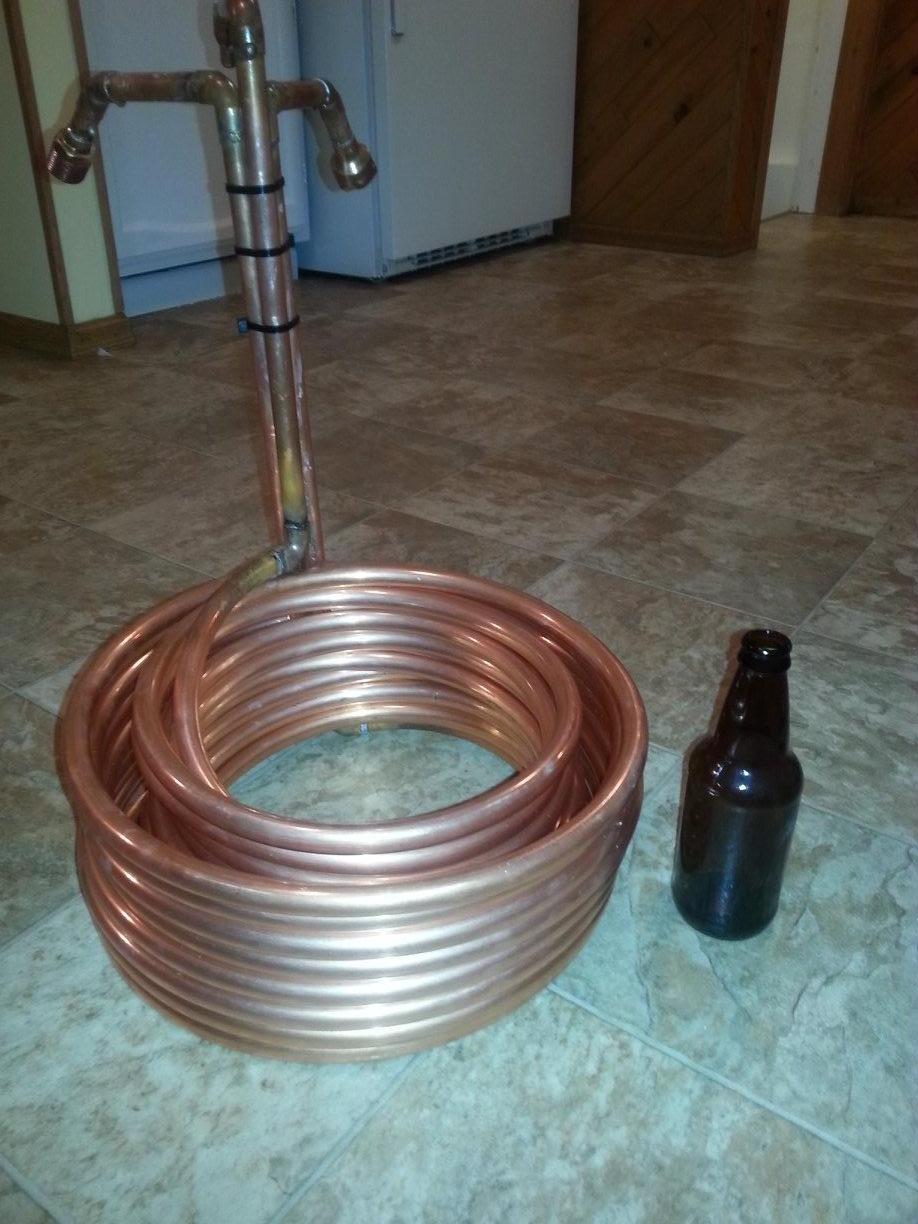
My old chiller just wasnt doing the trick, it was 25' of 1/4" copper, tool 30 mins to take out a 5 gallon batch on a good day, regularly around 45 mins. So i decided to step up my game and build a monster.
Old one:
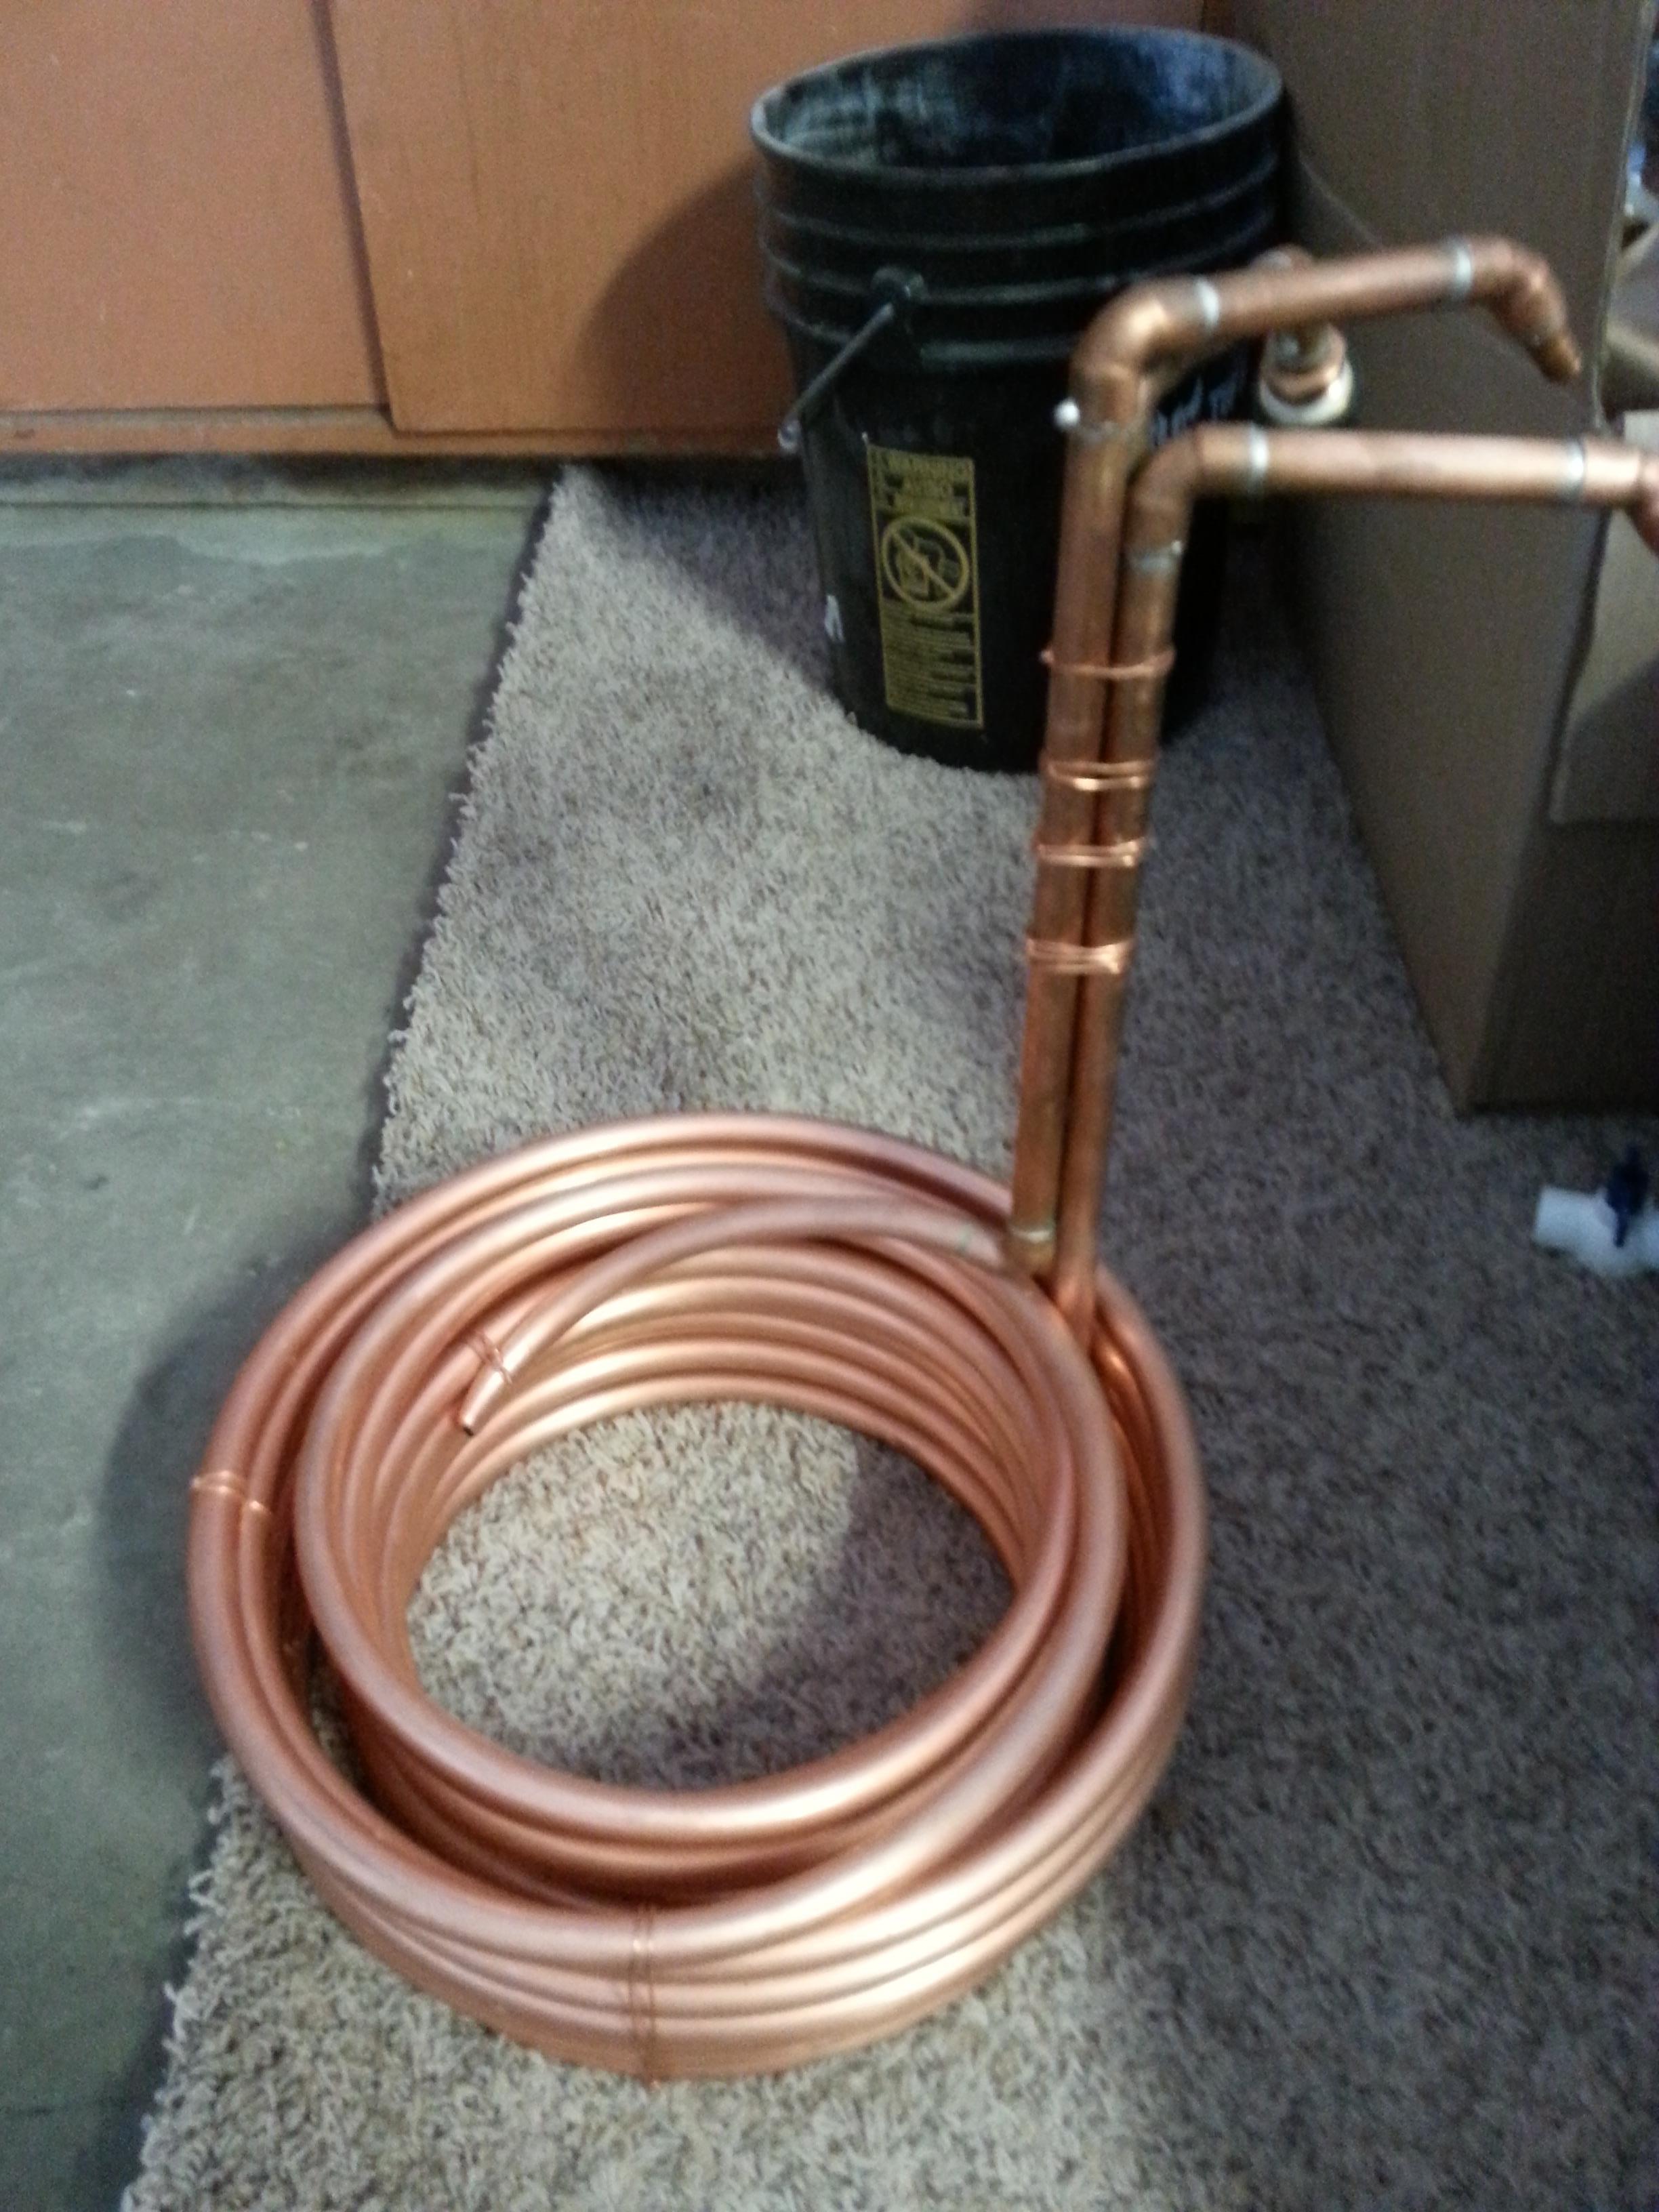
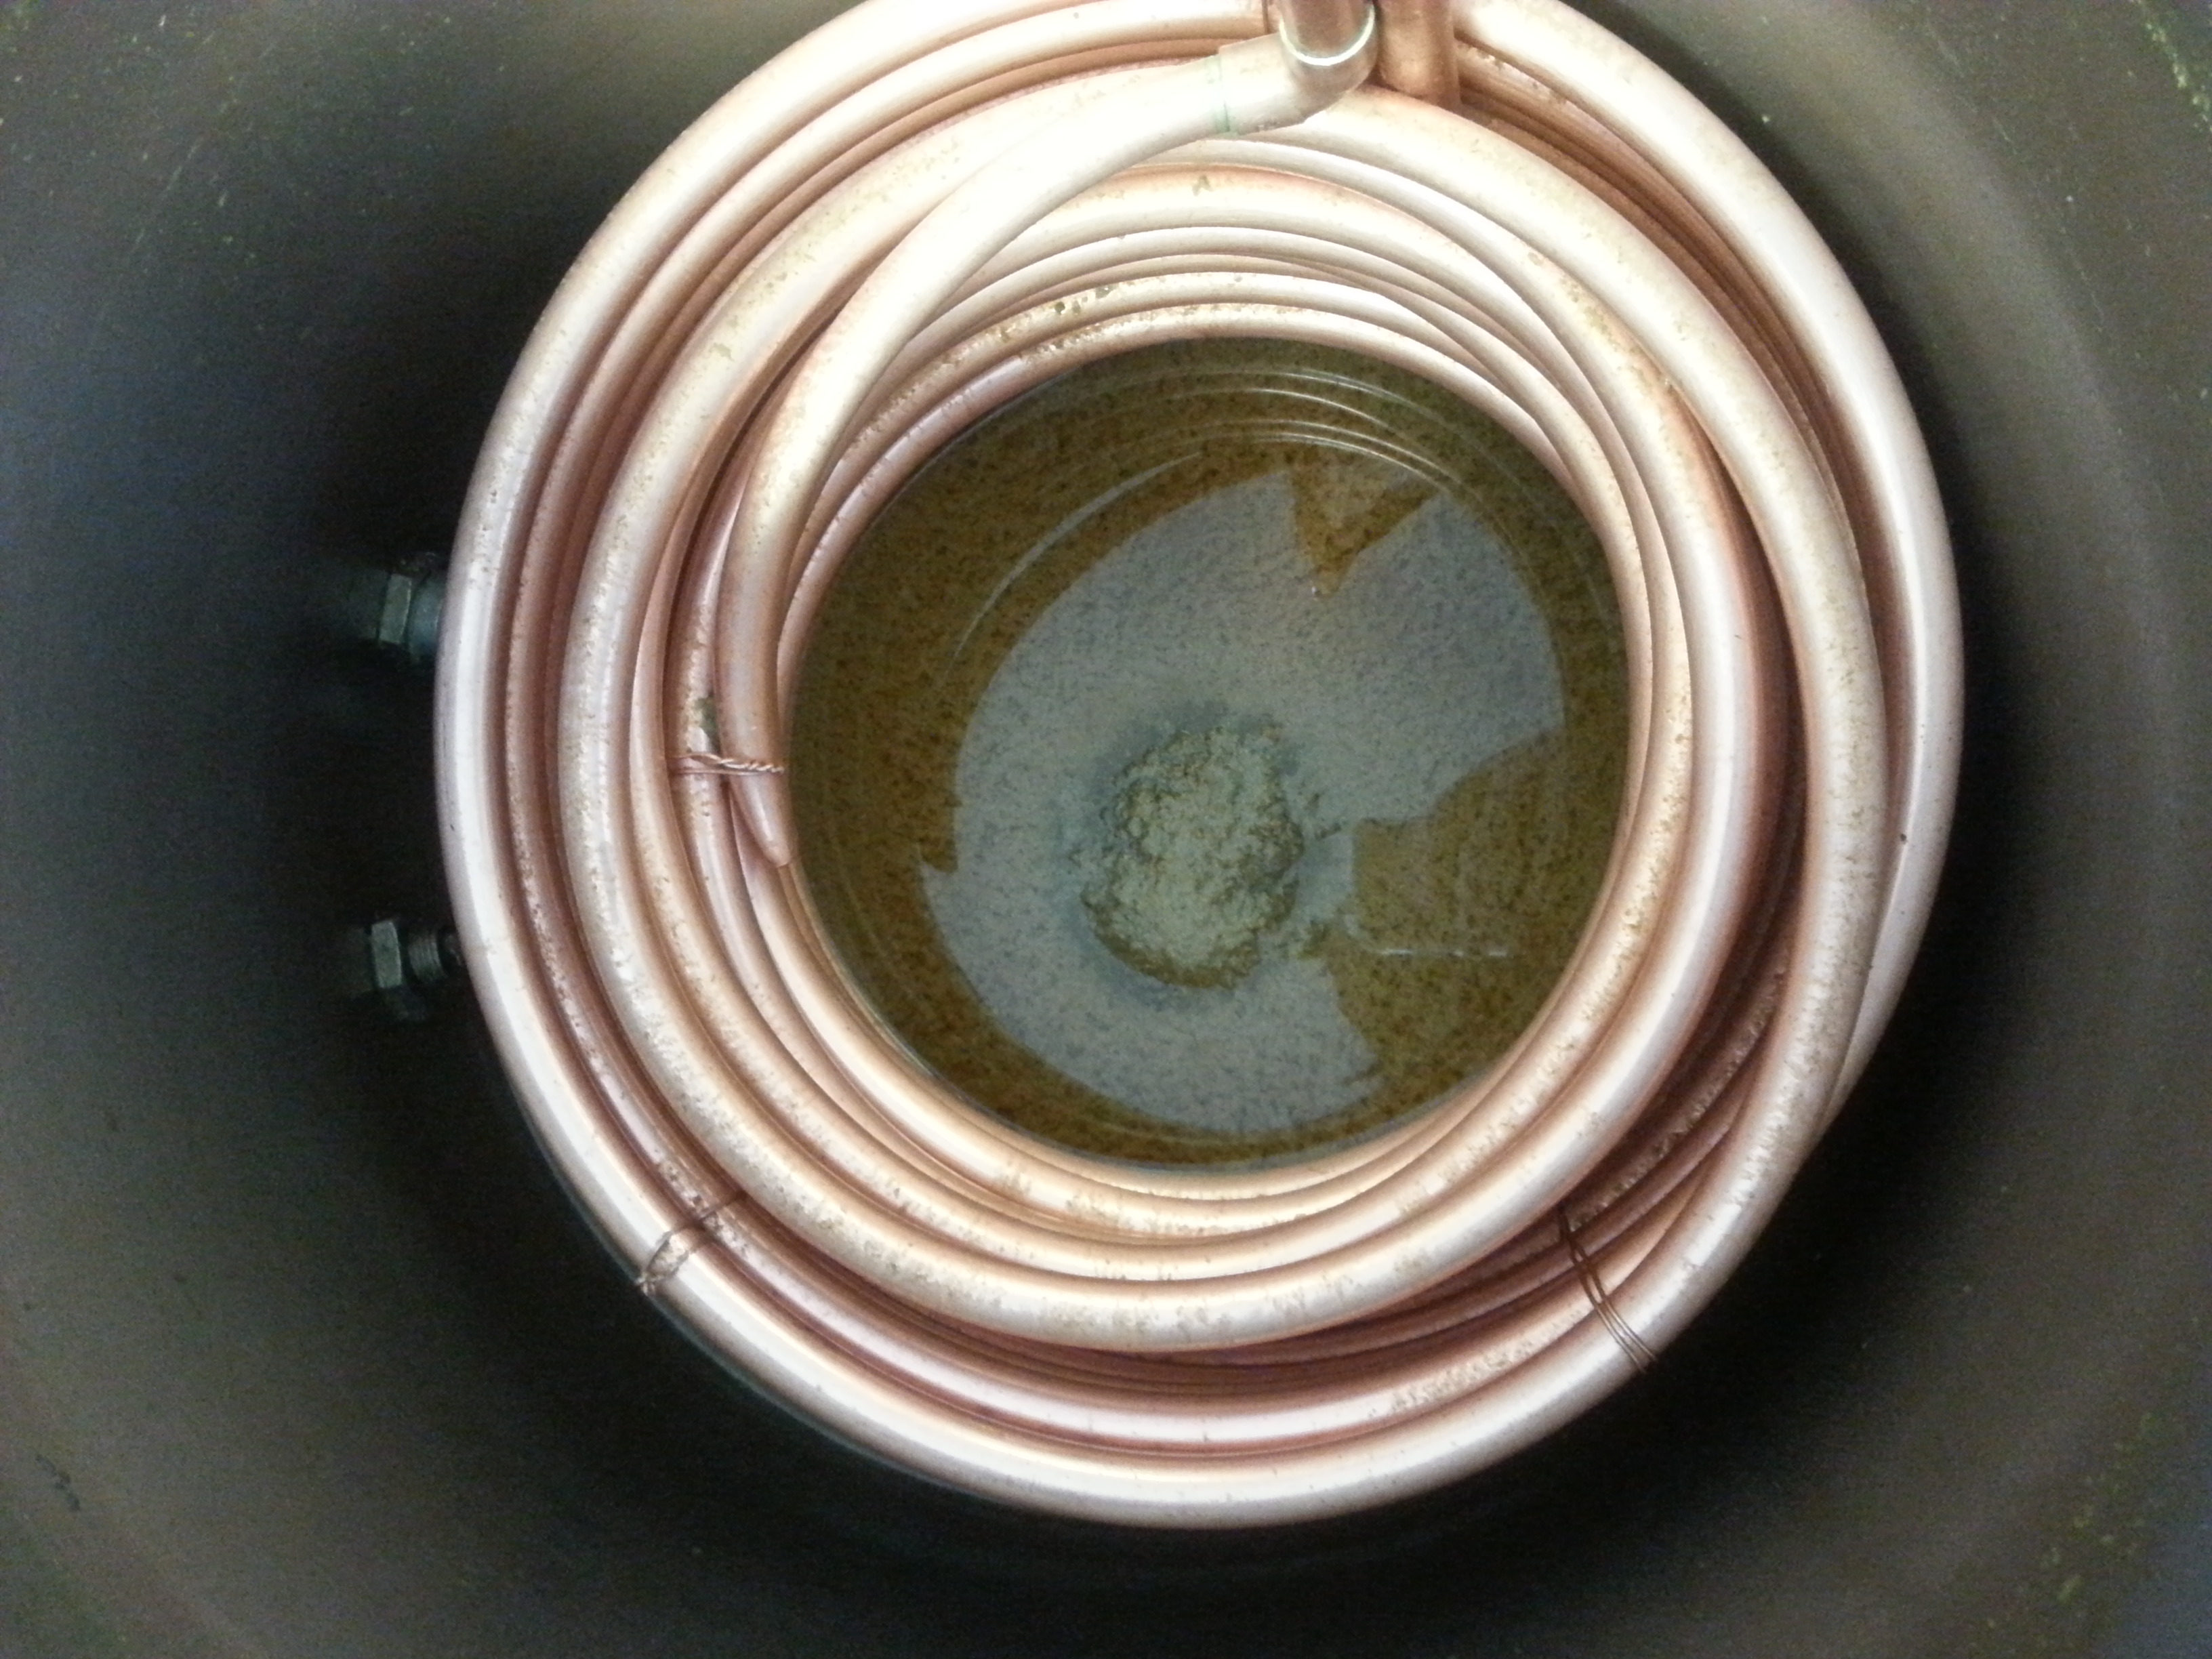
For the new one i started by wrapping the copper around my 8 gallon hlt, pretty much the diameter of a 5 gallon bucket but the width is constant for the entire height of the pot.
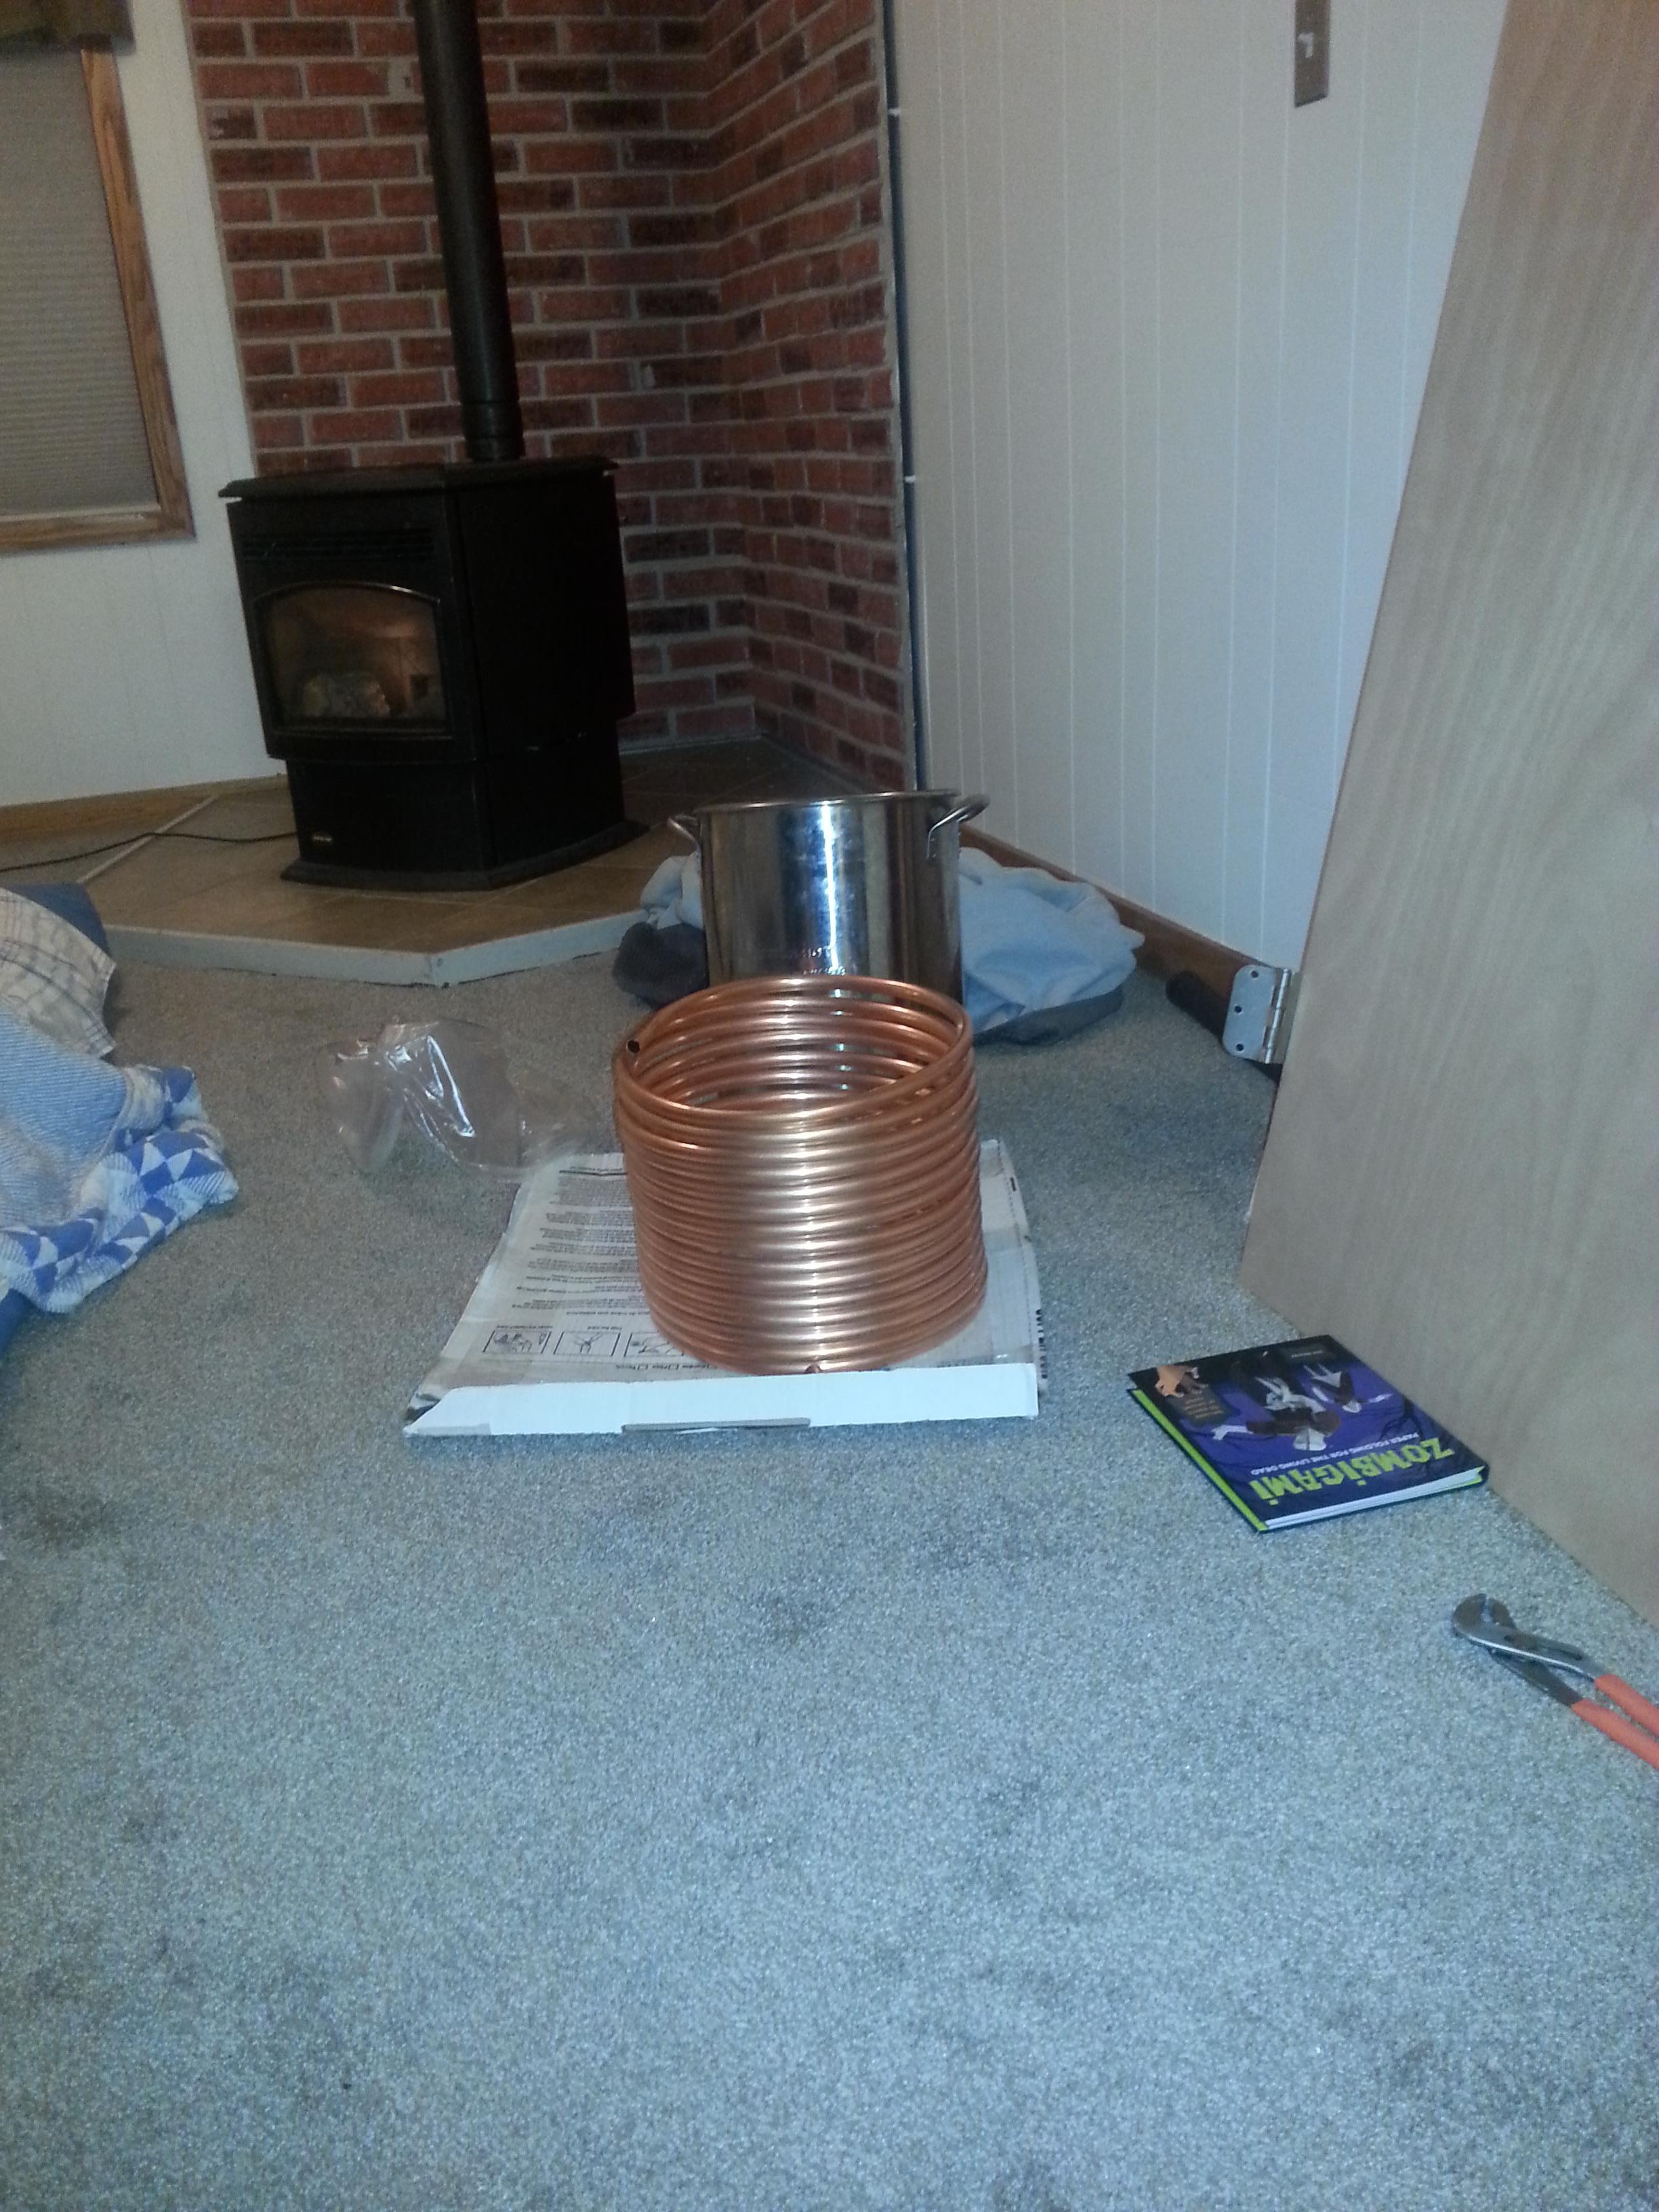
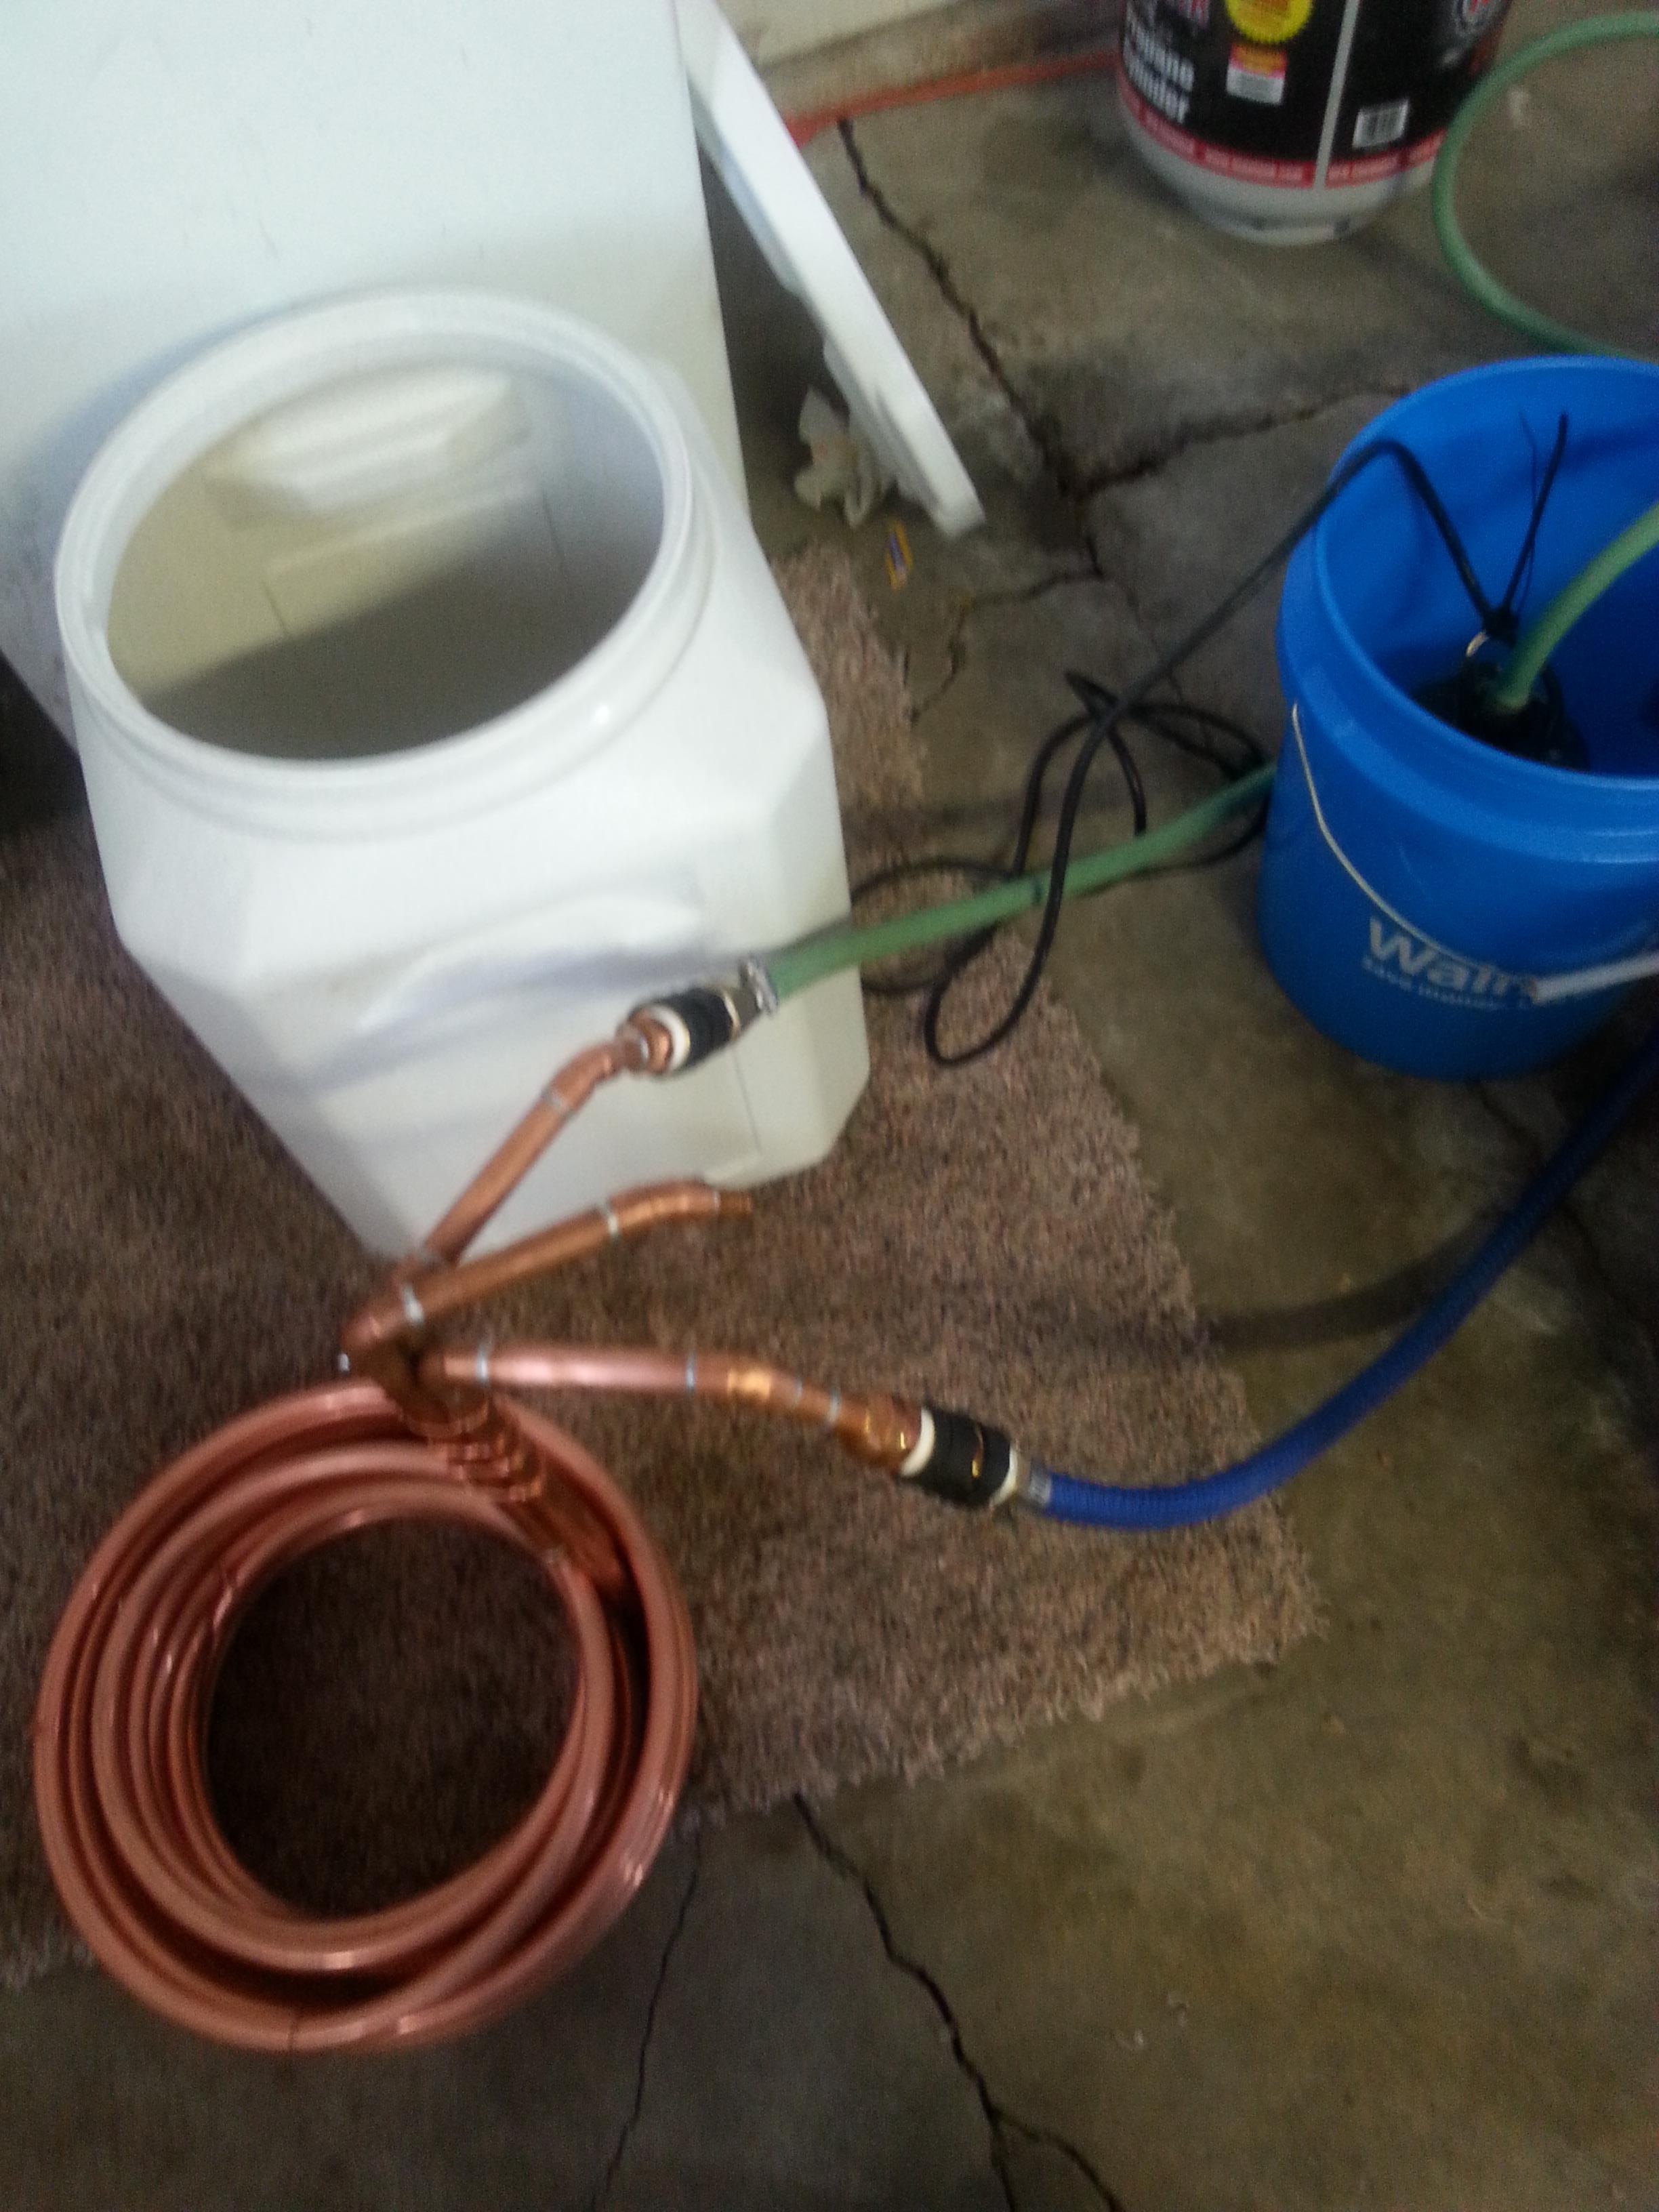
I then used a smaller 2 gallon stock pot and started winding down the coil inside itself that way the entire chiller could be submerged into a 5 gallon batch in my 15 gallon pot. I soldered on arms elbows and hose fittings, took about 5 ft of copper so technically this thing is 55'. The nice thing about 5/8" soft copper tubing is that 1/2" copper fittings fit perfect and they are cheap and readily available at any hardware store. When soldering make sure you use led free solder none of that 50/50 make you sick and die stuff.
This was my first pipe soldering experience and I learned everything from this guys 2 videos so if your new to pipe soldering this is worth watching.
http://youtu.be/1vz-XmzyDN4
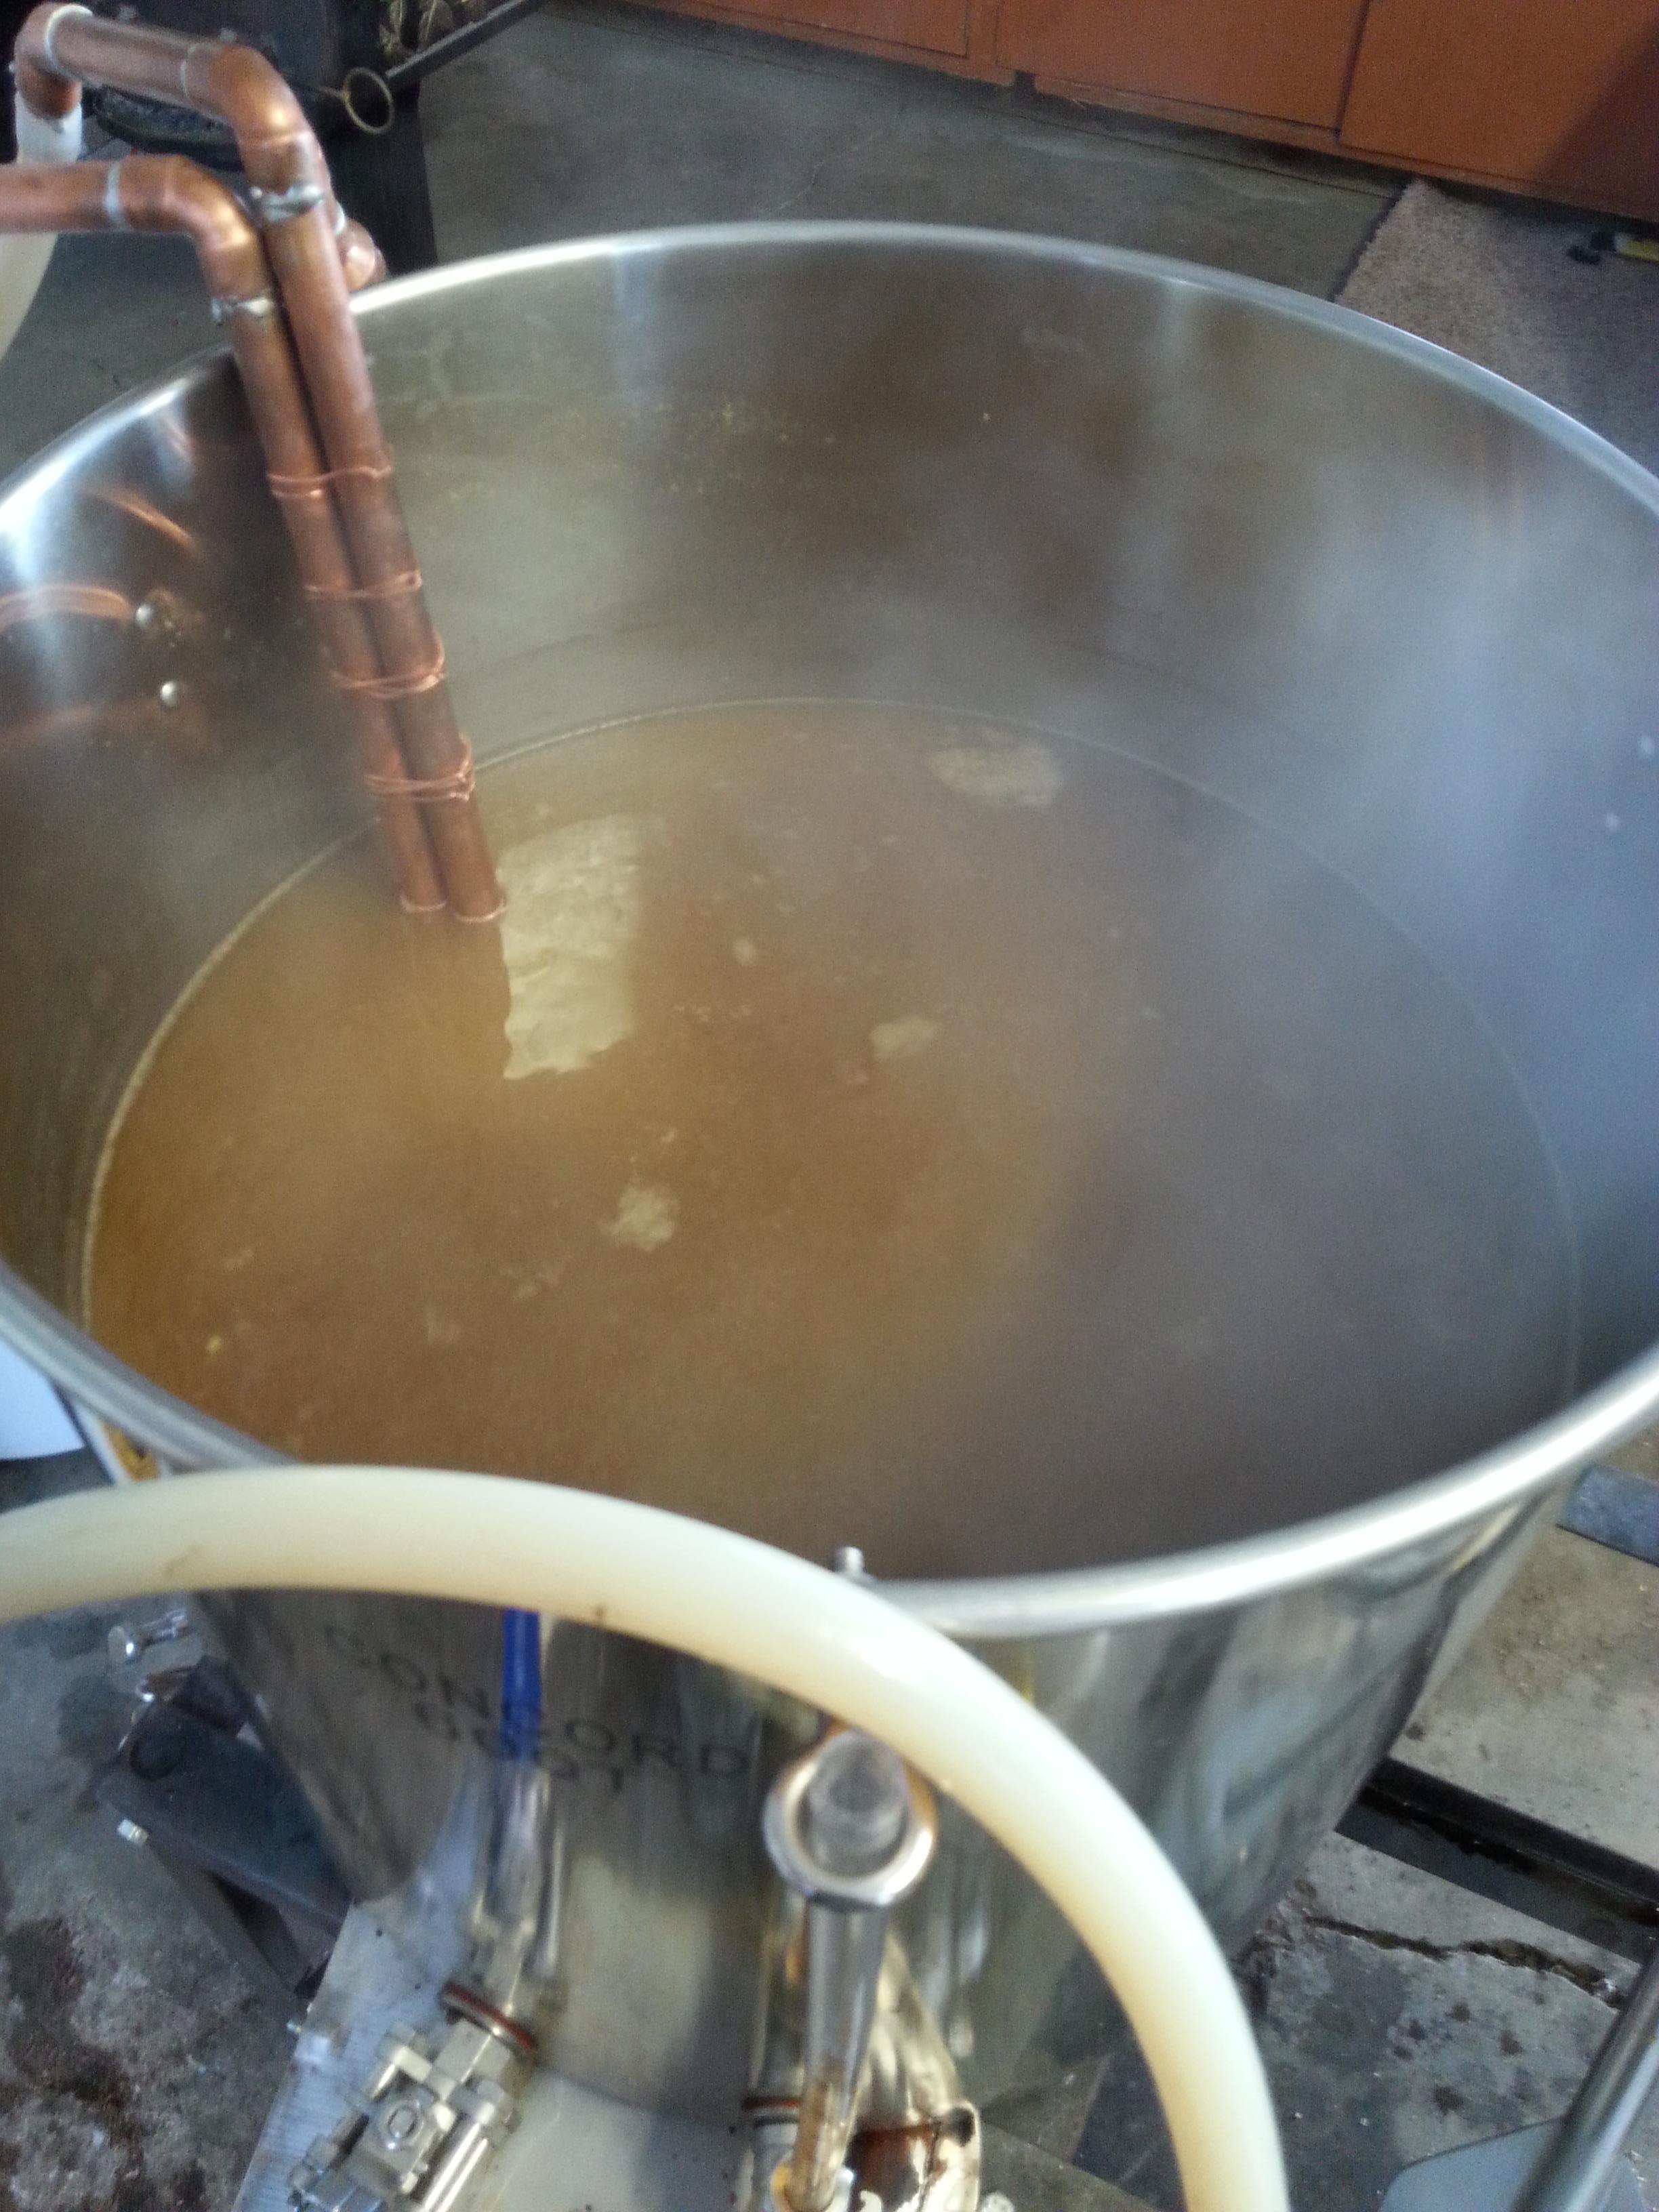
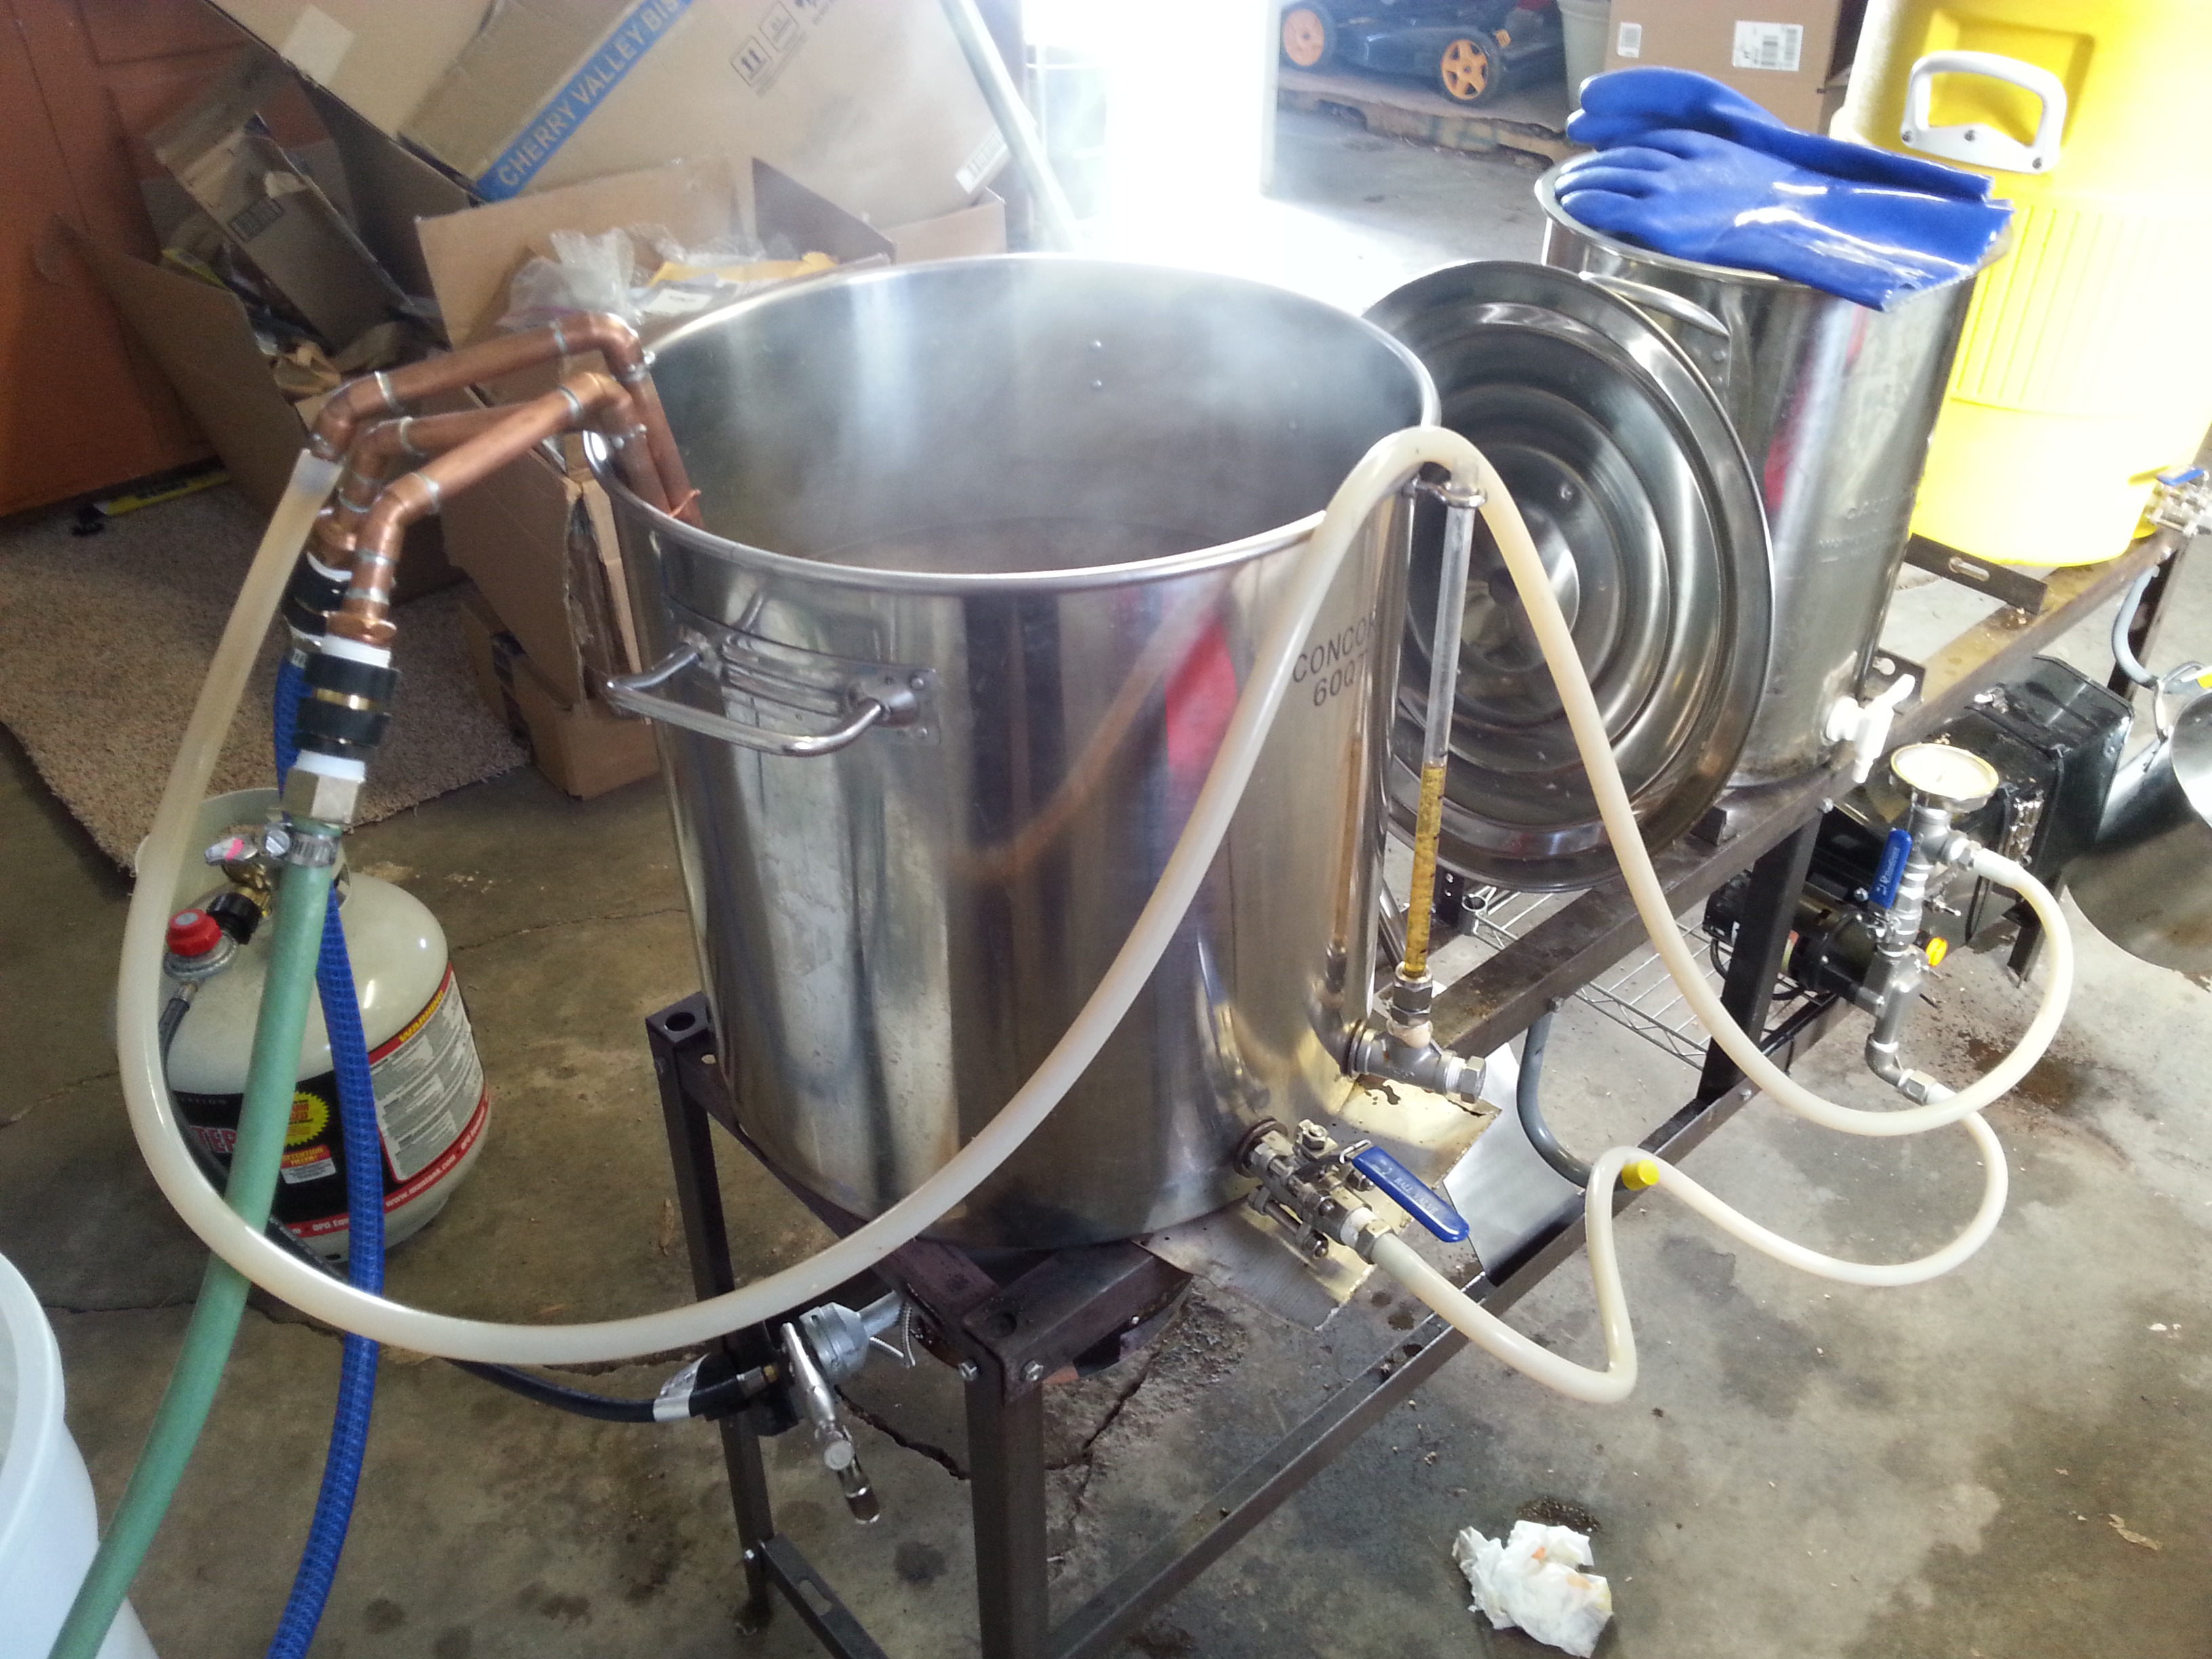
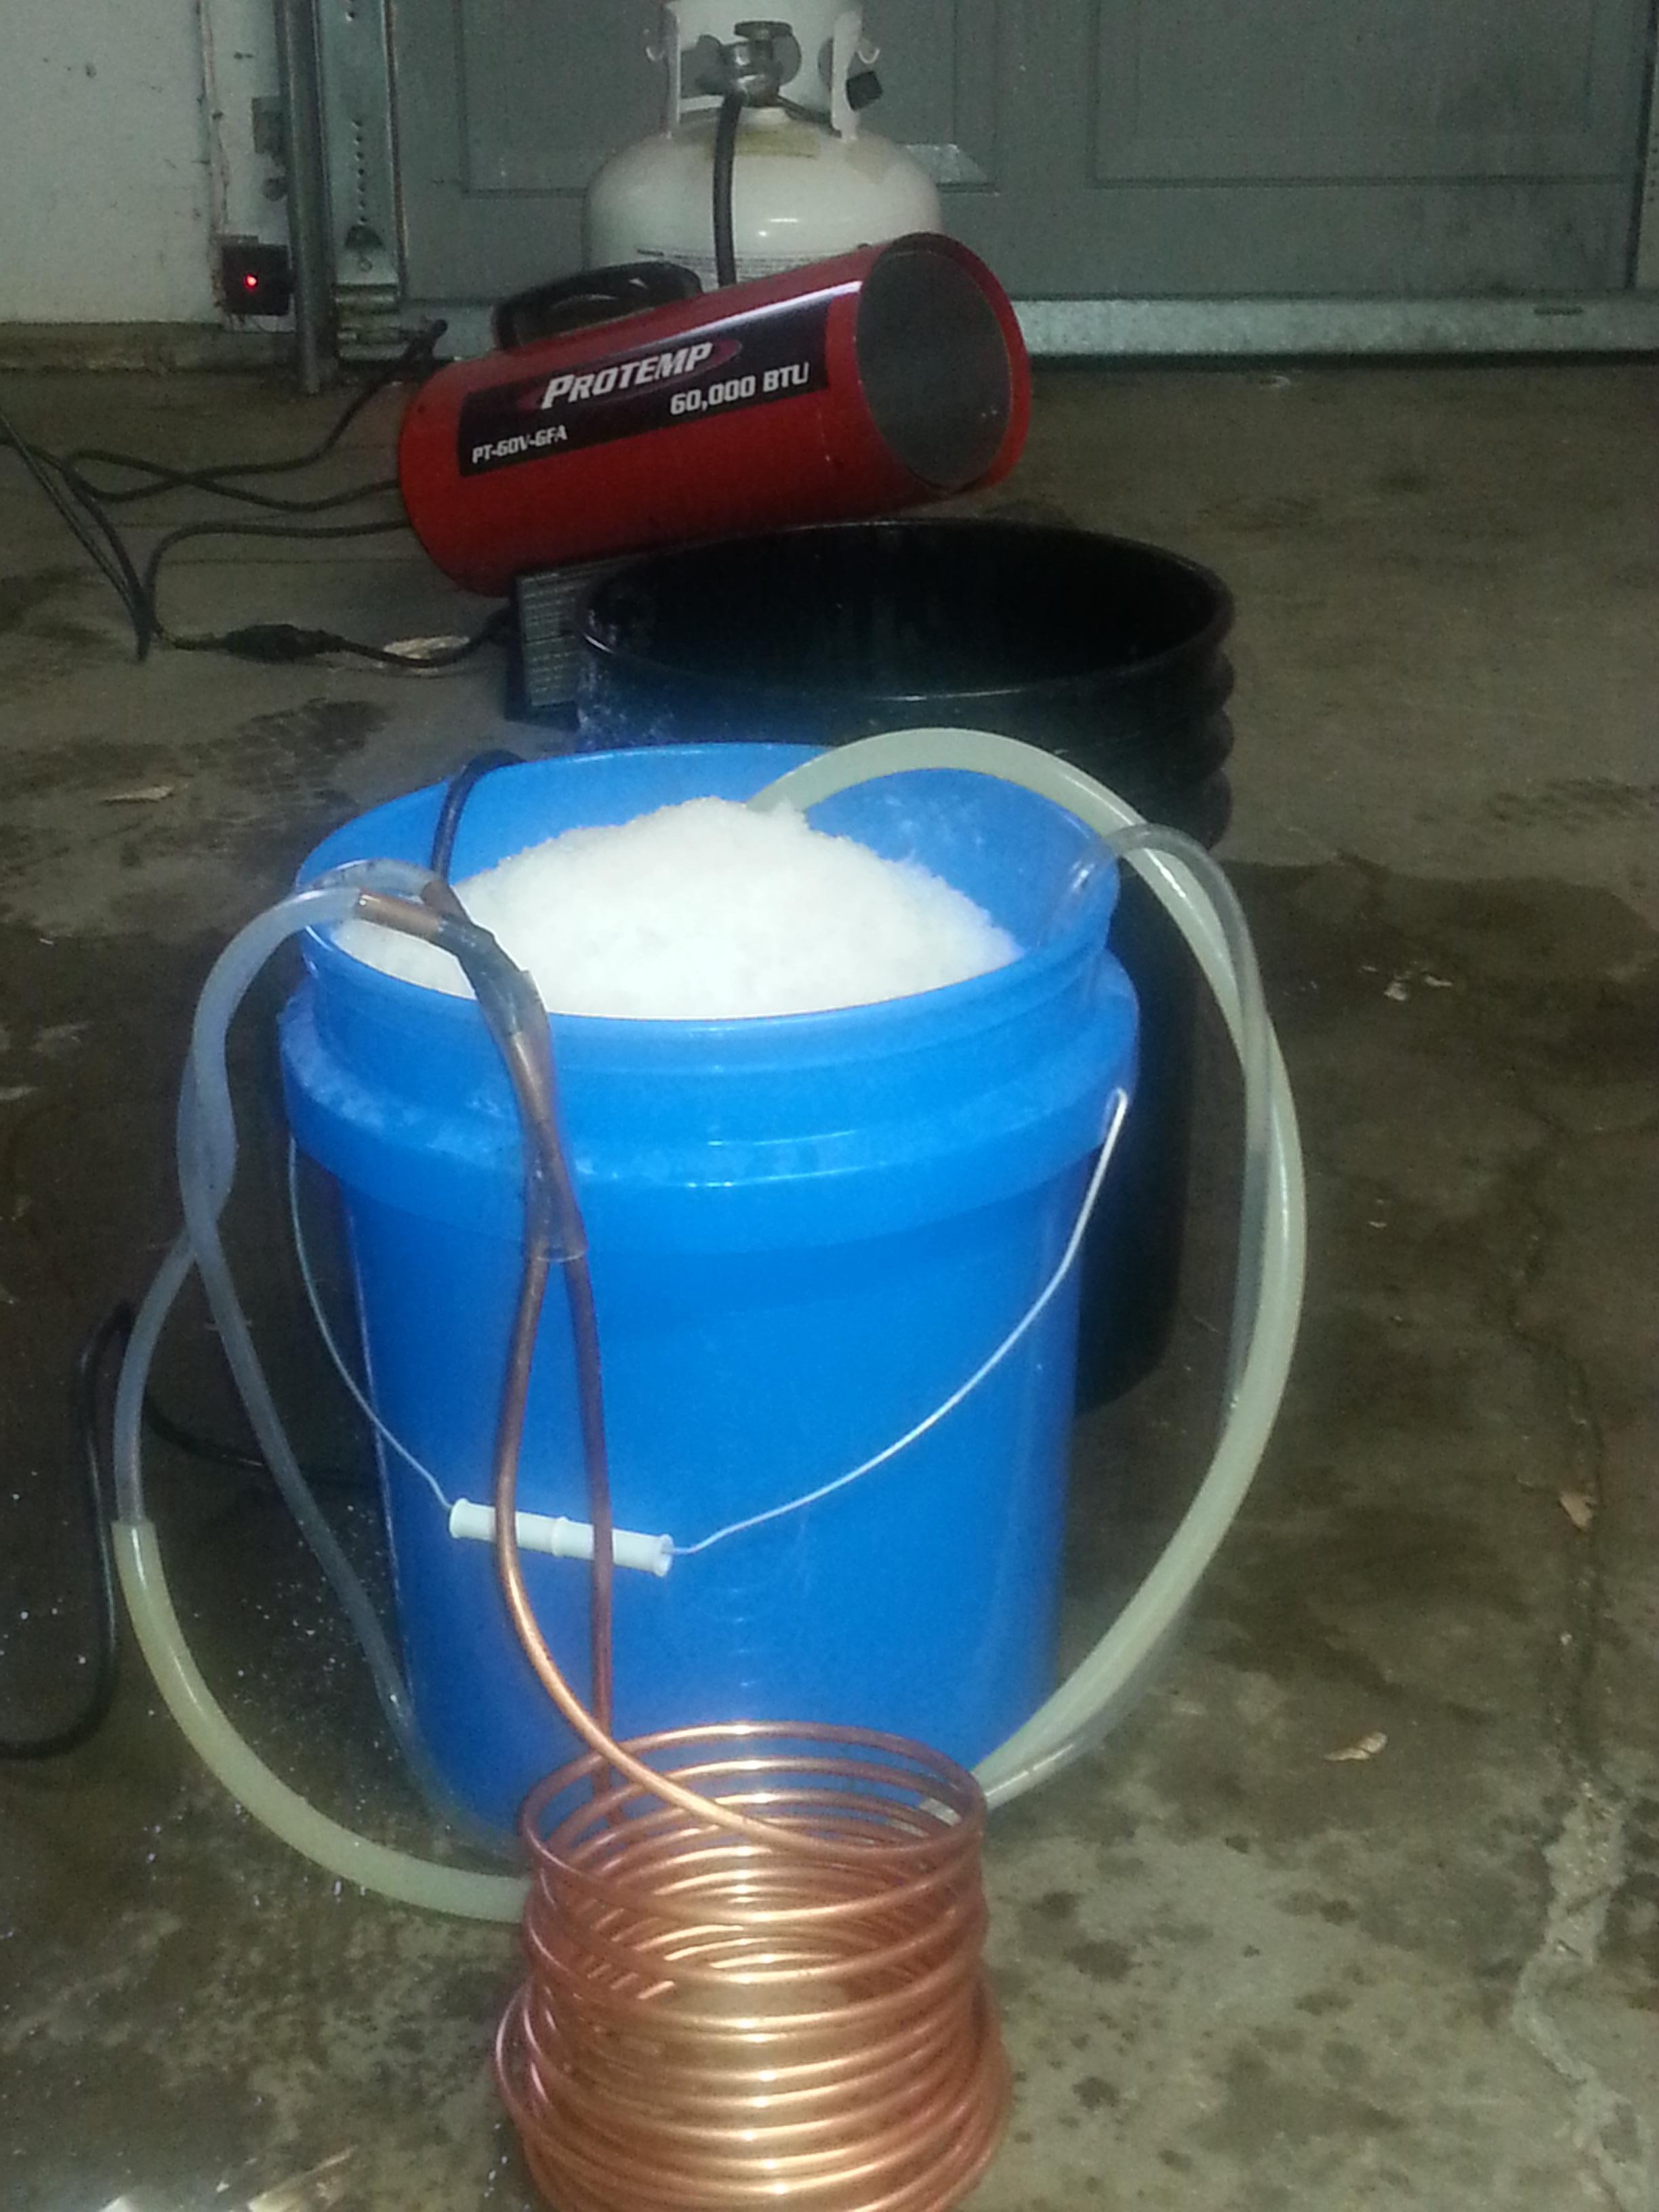
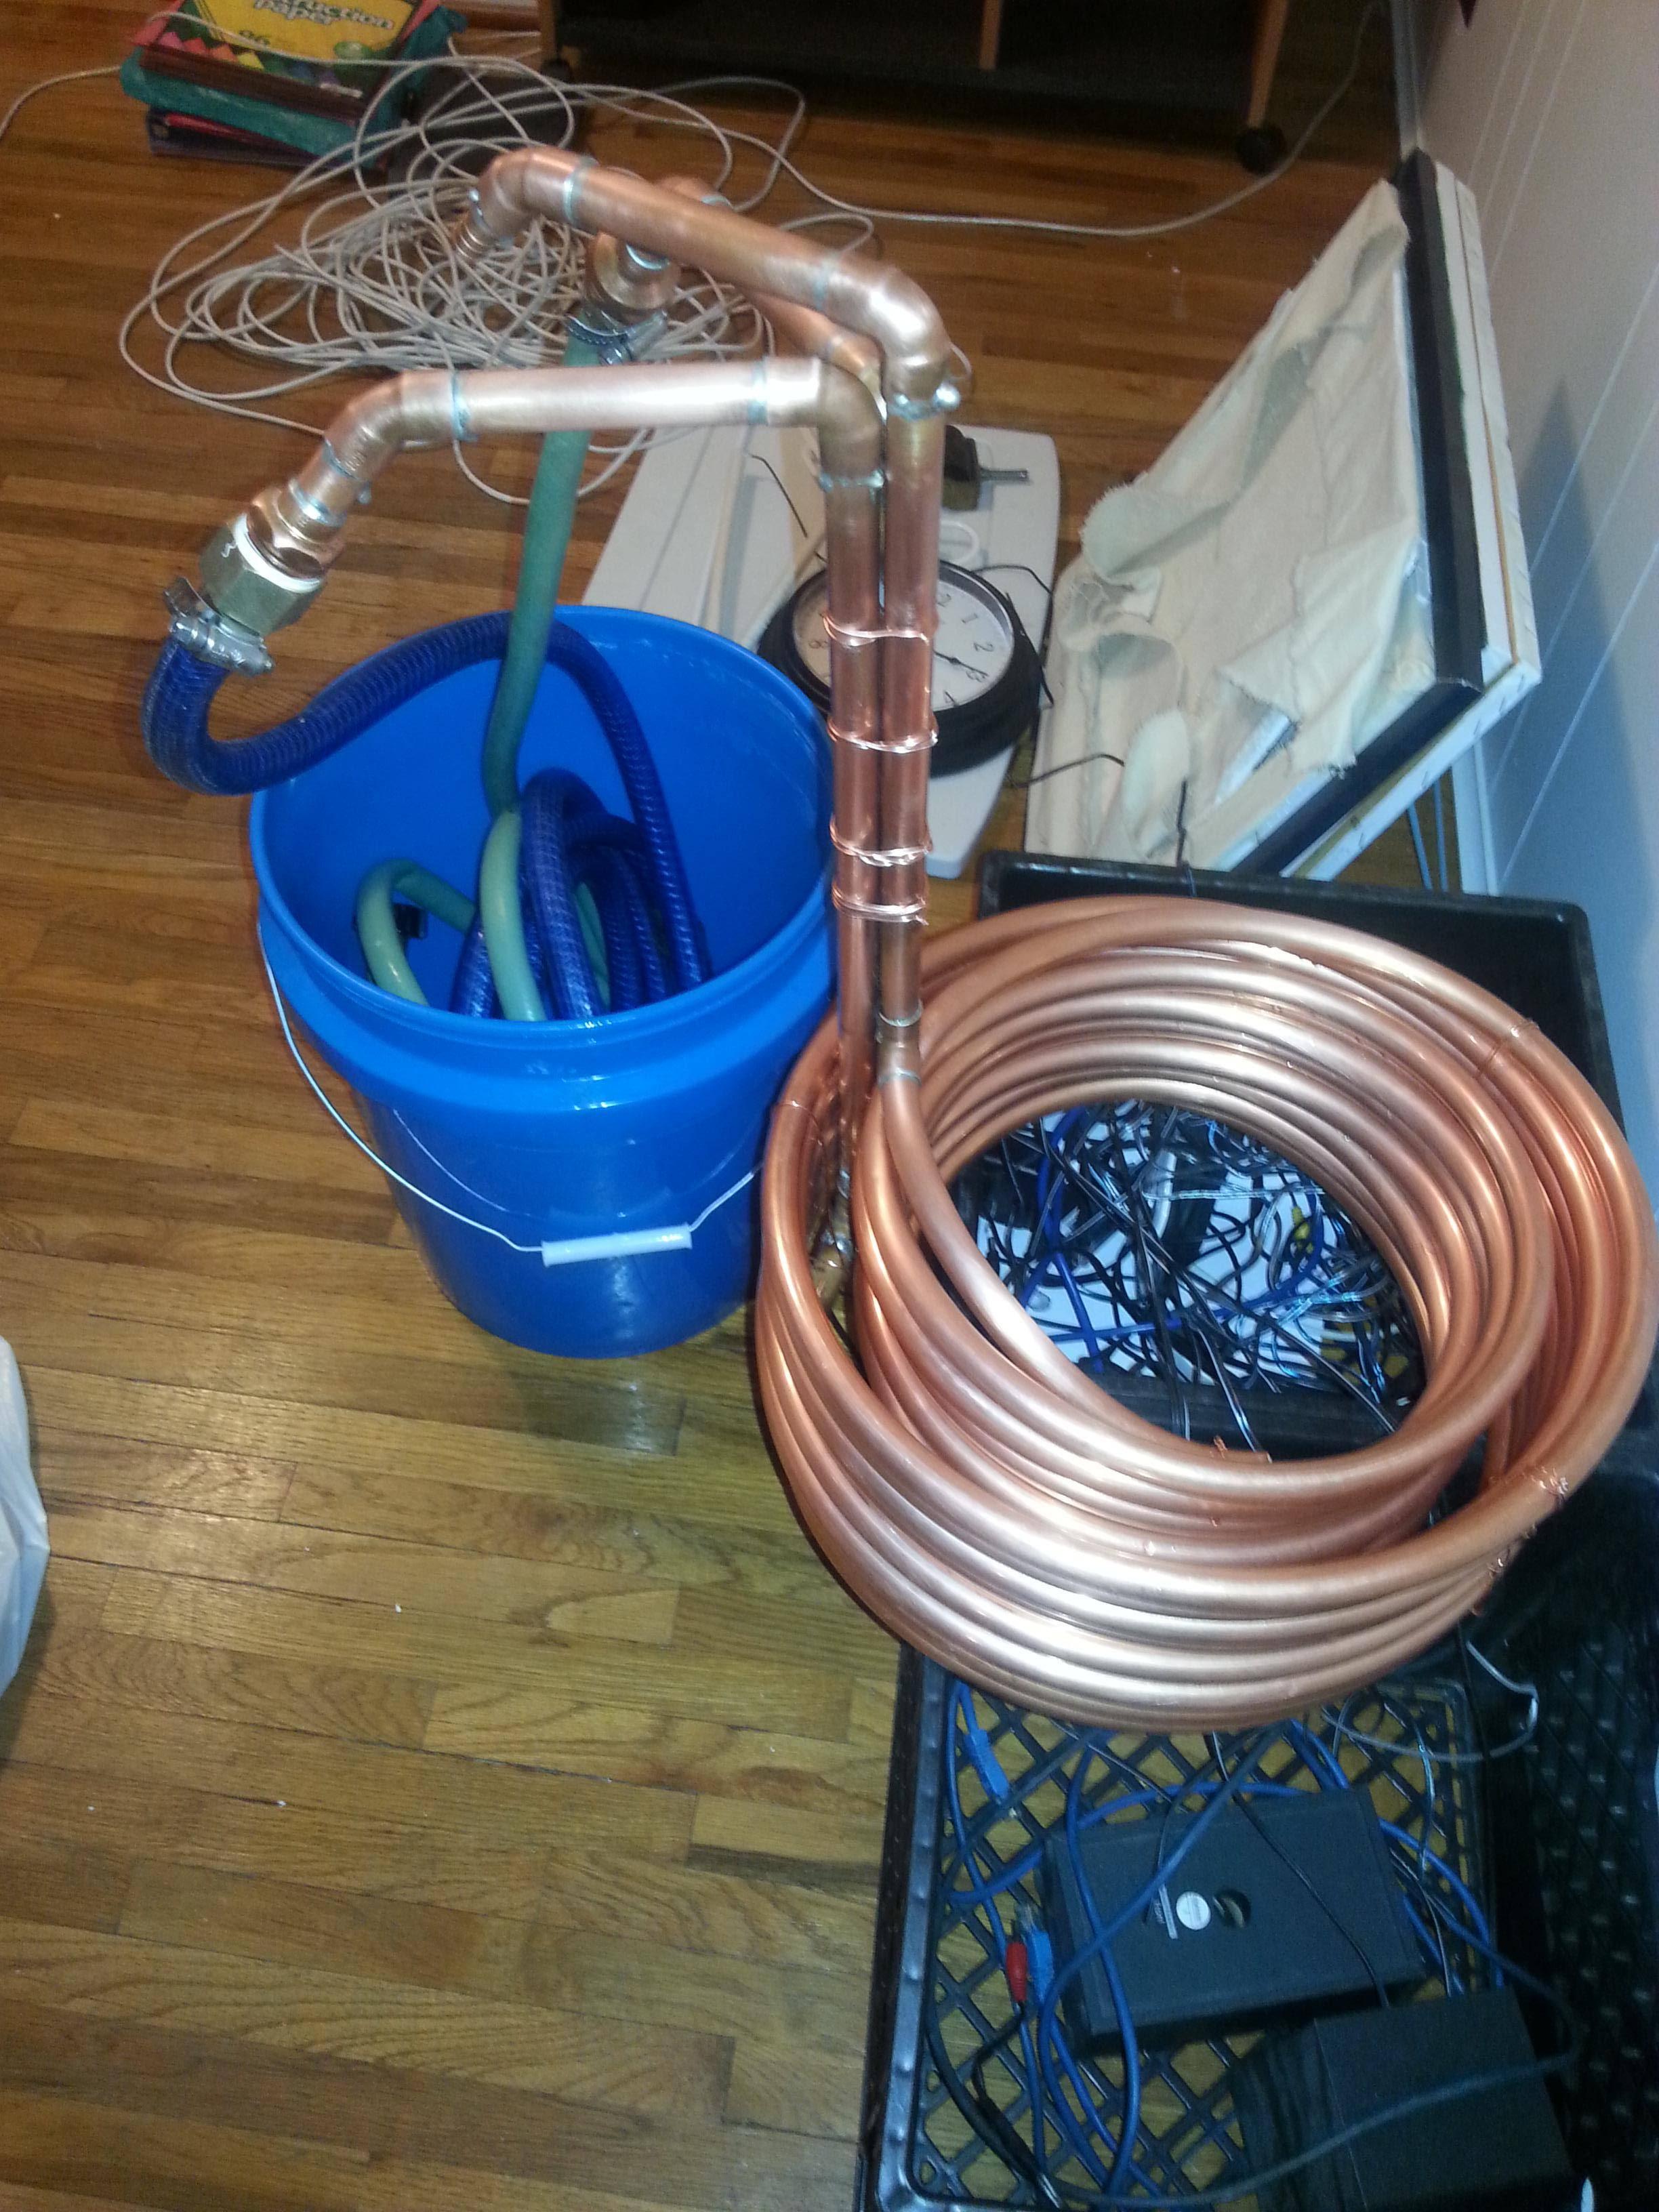
Here are some pics of the final product, chills wort down to 60 in under 7 minutes using my sump pump and buckets of water out in the garage! Totally worth it to shave 30 mins + off my brew day and get to get a cold break and to have everything nice and whirl pooled in a nice cone and not in my fermented")
Old one:
For the new one i started by wrapping the copper around my 8 gallon hlt, pretty much the diameter of a 5 gallon bucket but the width is constant for the entire height of the pot.
I then used a smaller 2 gallon stock pot and started winding down the coil inside itself that way the entire chiller could be submerged into a 5 gallon batch in my 15 gallon pot. I soldered on arms elbows and hose fittings, took about 5 ft of copper so technically this thing is 55'. The nice thing about 5/8" soft copper tubing is that 1/2" copper fittings fit perfect and they are cheap and readily available at any hardware store. When soldering make sure you use led free solder none of that 50/50 make you sick and die stuff.
This was my first pipe soldering experience and I learned everything from this guys 2 videos so if your new to pipe soldering this is worth watching.
http://youtu.be/1vz-XmzyDN4
Here are some pics of the final product, chills wort down to 60 in under 7 minutes using my sump pump and buckets of water out in the garage! Totally worth it to shave 30 mins + off my brew day and get to get a cold break and to have everything nice and whirl pooled in a nice cone and not in my fermented