Cal Clone -- By the worlds least handy man

Homebrew Talk - Beer, Wine, Mead, & Cider Brewing Discussion Forum

Help Support Homebrew Talk - Beer, Wine, Mead, & Cider Brewing Discussion Forum:

This site may earn a commission from merchant affiliate links, including eBay, Amazon, and others.

bmunos

Well-Known Member
Joined
Feb 22, 2011
Messages
304
Reaction score
12
Location
Tulsa
Hello everyone,

I recently started a cal clone. I thought I would post the build in order to hopefully give others who are apprehensive about building an electric brewery some confidence. As posted in the title i am the least handy person I know. Up until this project the tools I own could be listed : A drill (and bits) a craftsman socket set), a welder which I never used and sold, and a few basic tools. Im using this build to learn some hands on skills with tools, and hopefully end up with some good beer.

Here is the progress below:

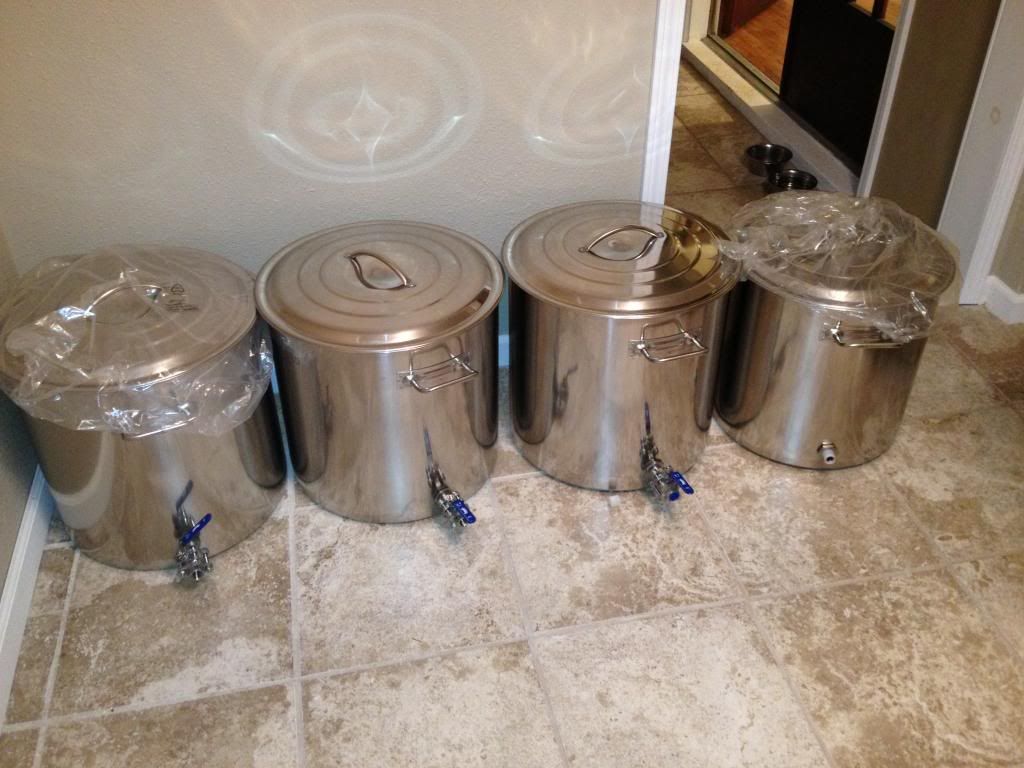
Getting the 20 gallon Pots ready:
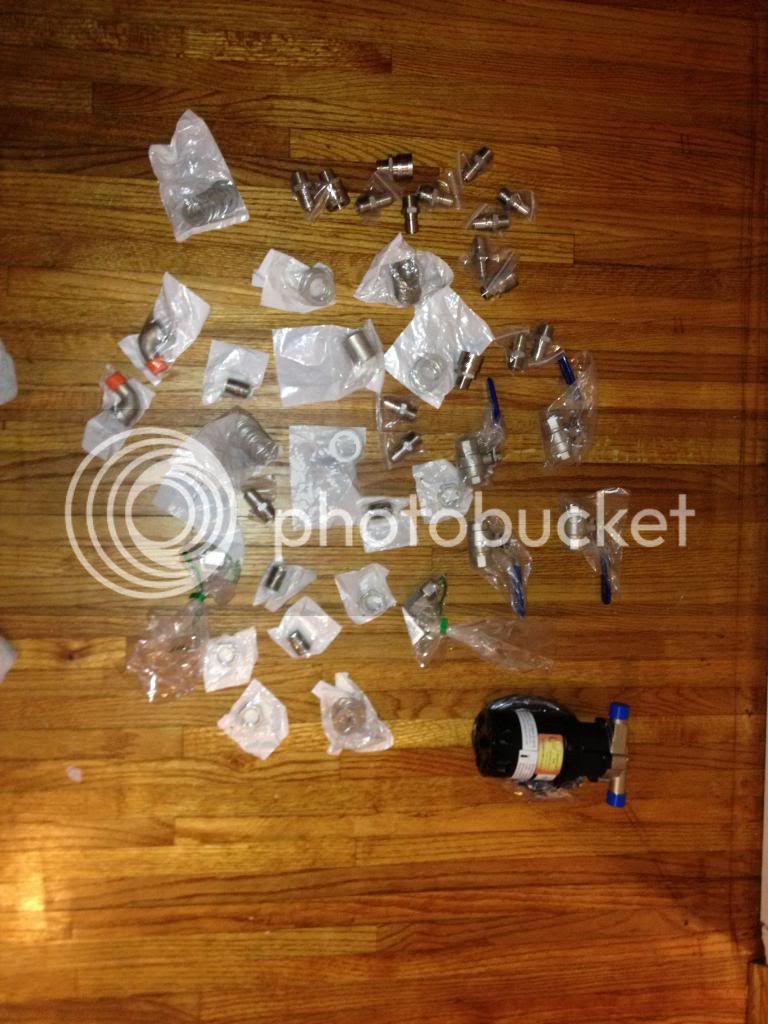
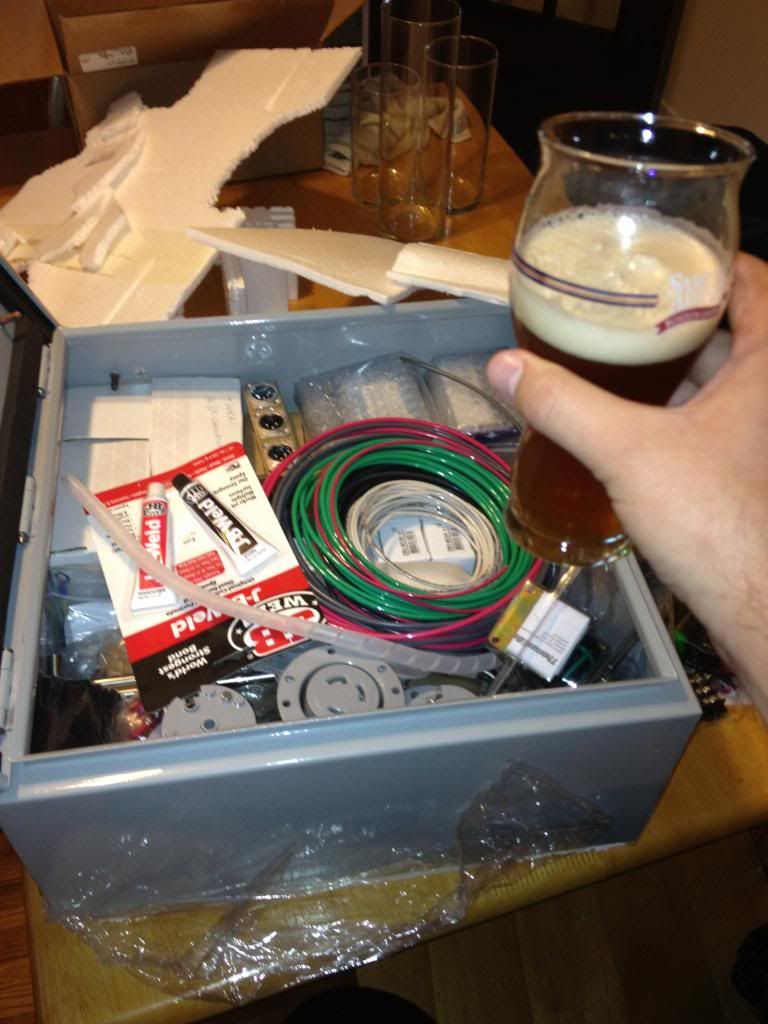
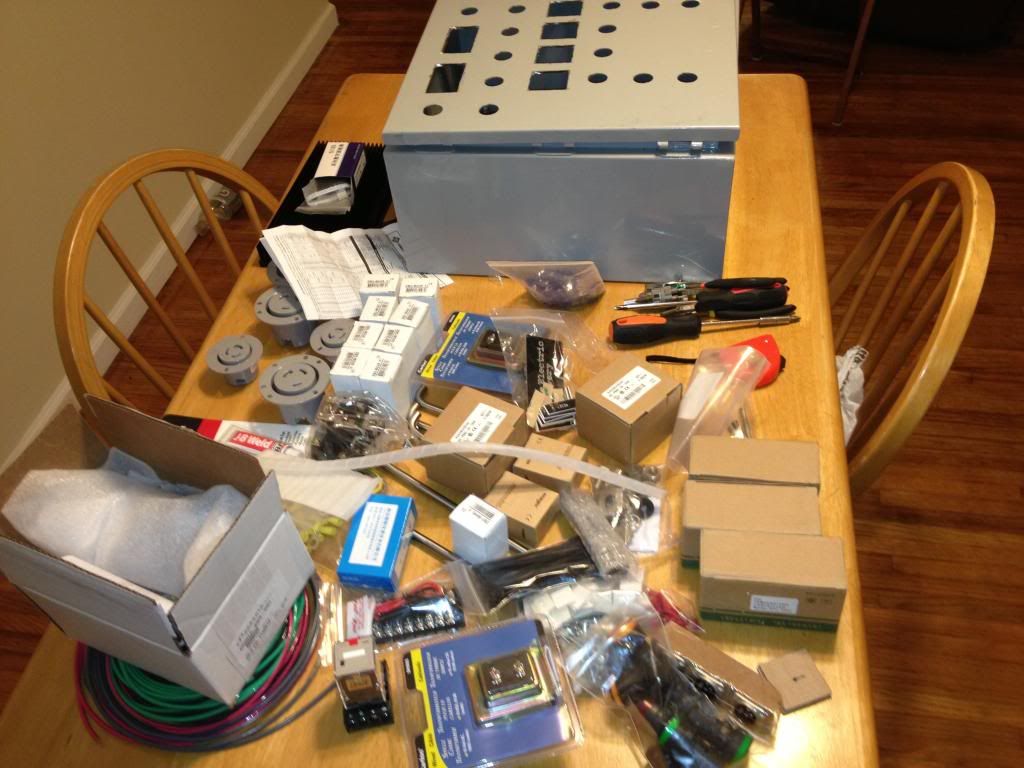

Cals kit:


SWIMBO HELPING!:


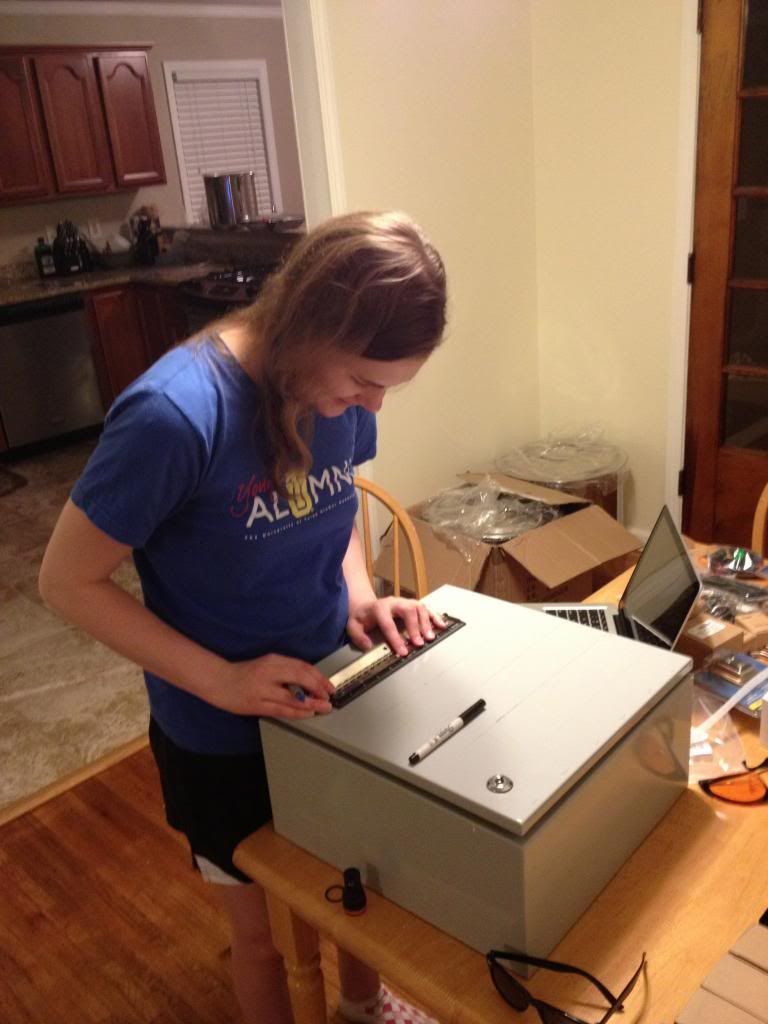
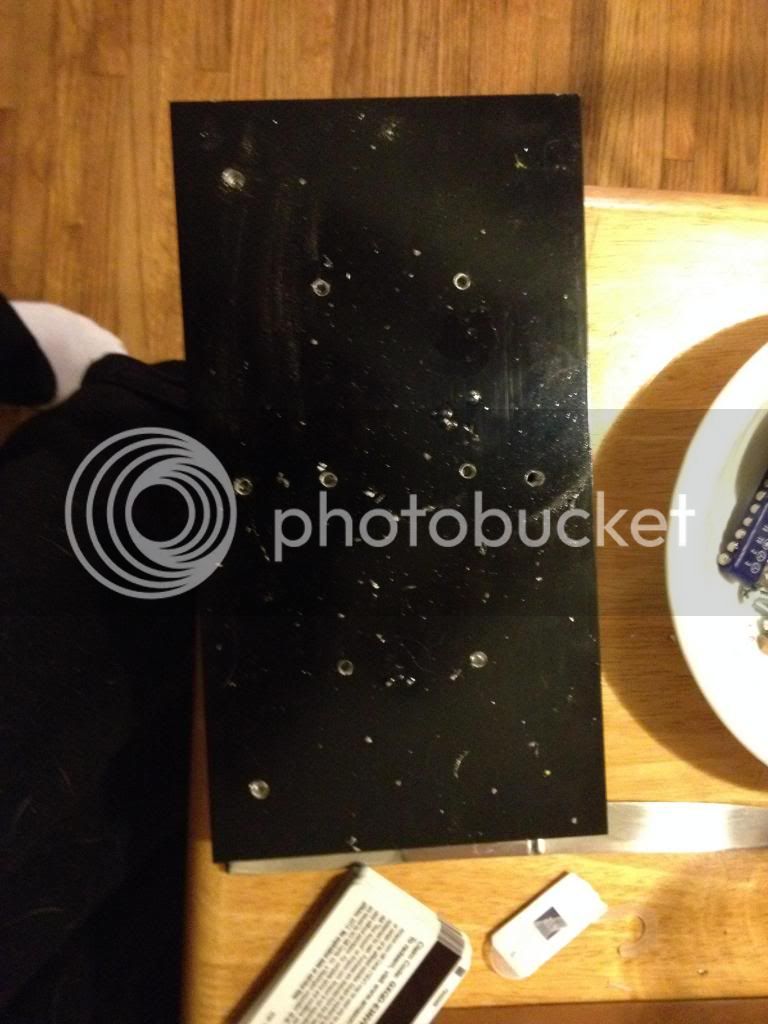
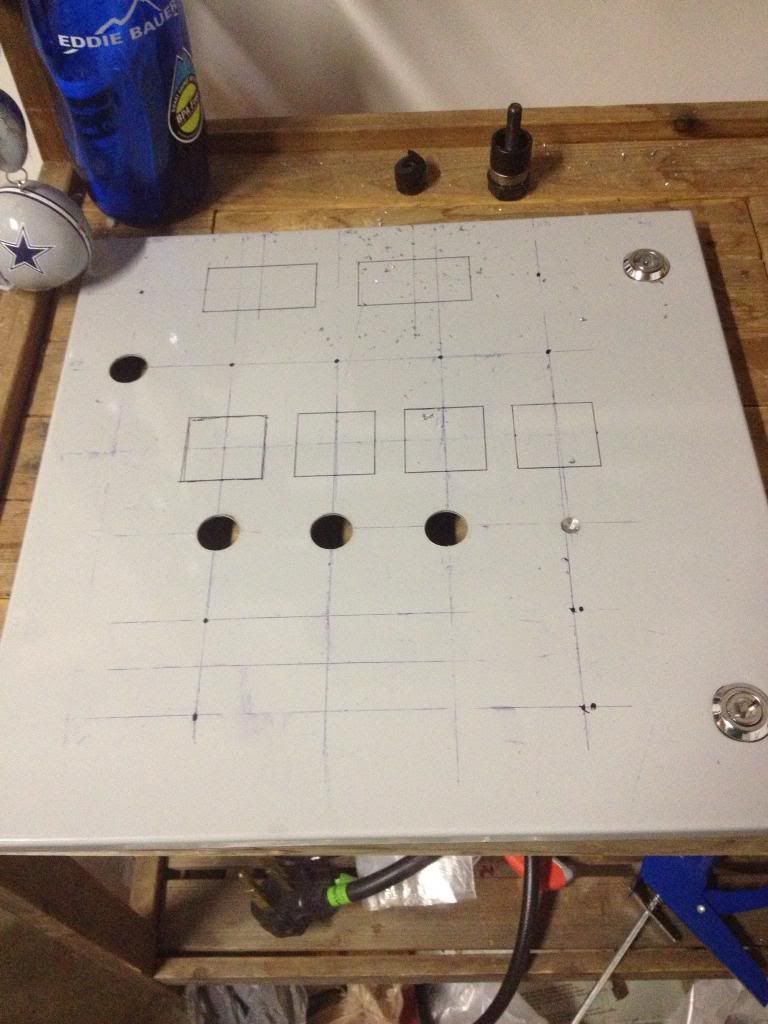
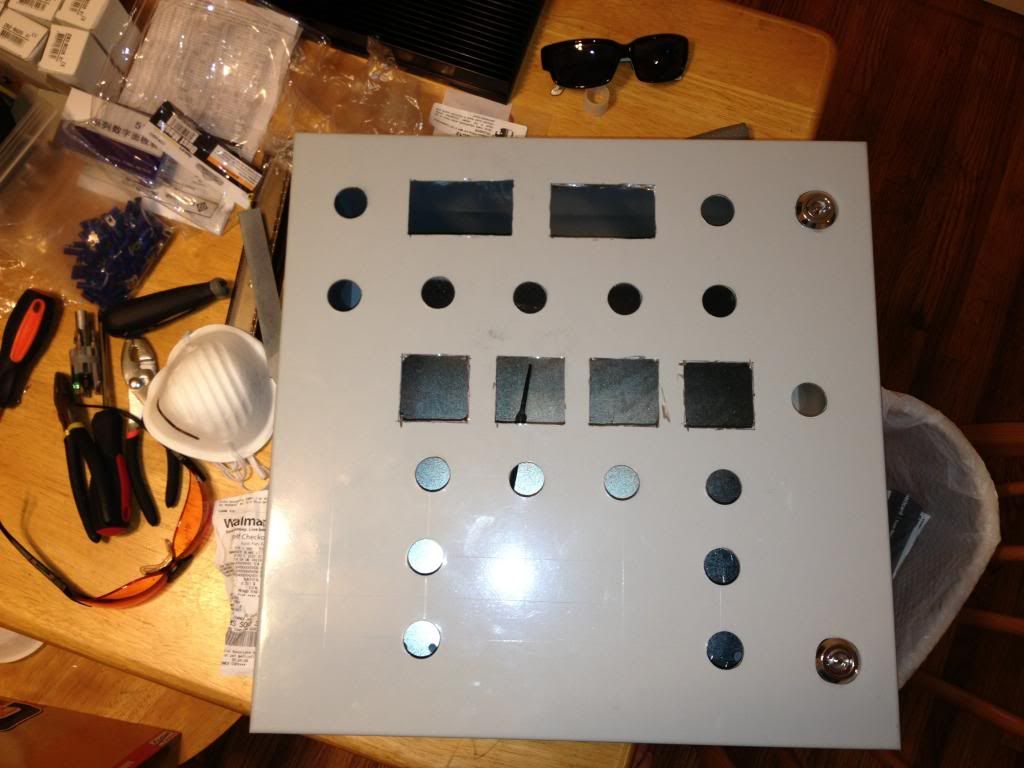
Measured and using a punch to make the holes.


Making some progress. Borrowed a compressor and cutting tool from my neighbor who is thrilled about the prospect of free beer.


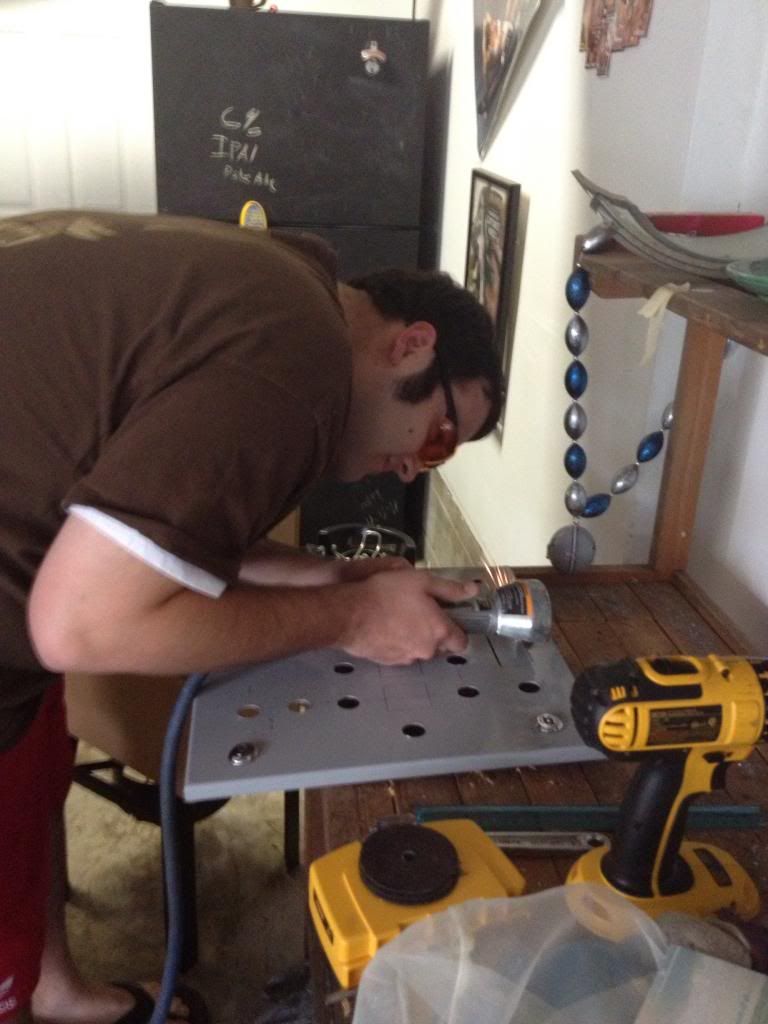
The face is about done. I need to do some sanding and filling where I lost control of the dremel. Other than that I am extremely happy/ surprised with the progress.

May 20th - Update: Progress made. 3 trips to harbor freight and one to lows. Looks like i will have a ton of sanding and filing to get these pieces to fit. :(


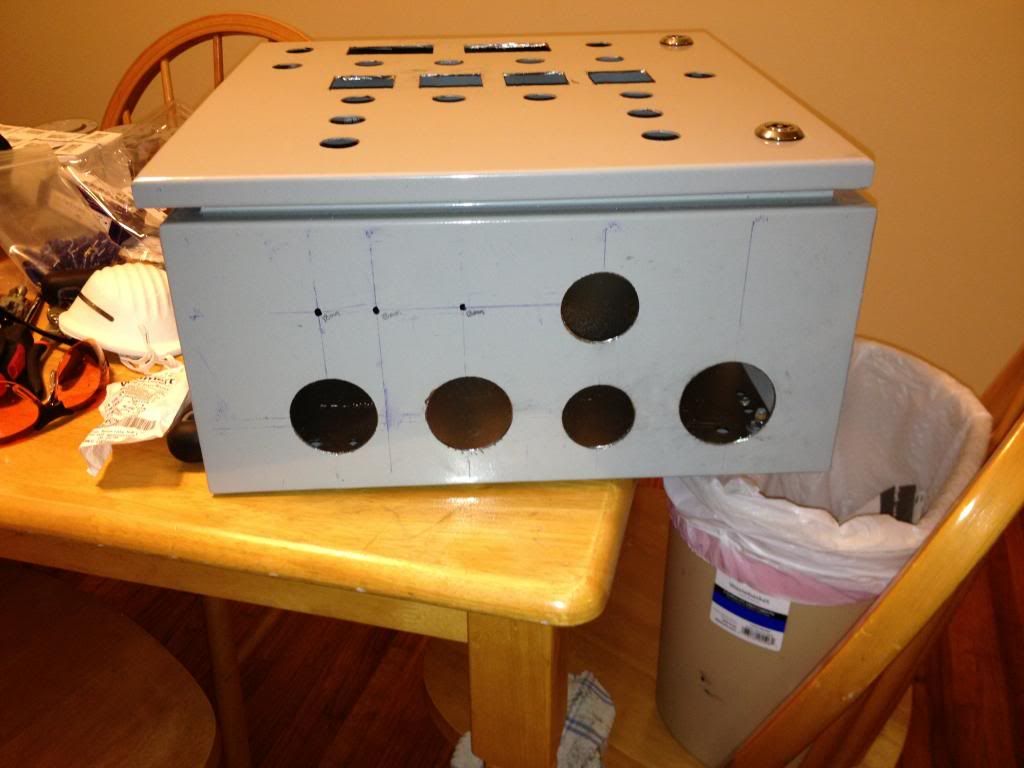
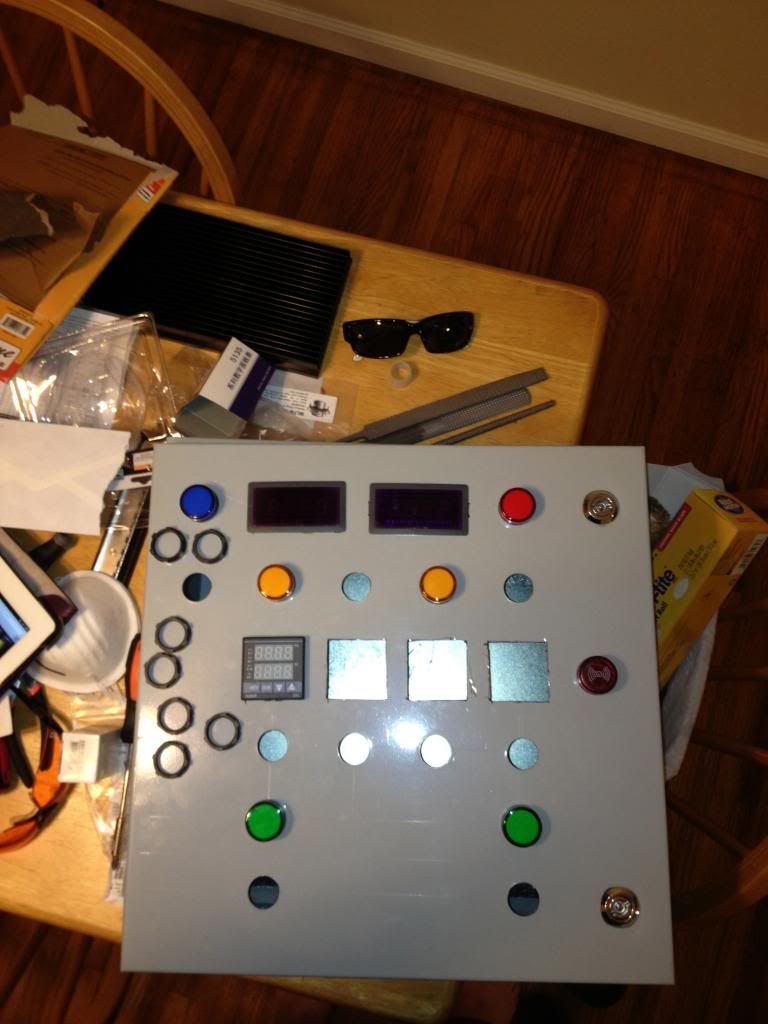
May 23rd - FINALLY DONE FILING! The pieces fit! The only thing i had an issue with is on one of the top squares I made the thumb spots way to big. In cals pictures online they look really big hahaha. Not perfect but with the components in place the box is going to look great! Vary excited today.

 
i might be considered the world's most handy one handed man...

looking good... keep at it.
 
Keep it up, and don't hesitate to ask questions when you get to the inevitable "which wire goes where?" debate... A little progress each day and you'll have it up and running in no time!
 
BadNewsBrewery said:
Keep it up, and don't hesitate to ask questions when you get to the inevitable "which wire goes where?" debate... A little progress each day and you'll have it up and running in no time!

Thank you! I'm sure I'm going to have a ton of questions.
 
That is fantastic. Its been a fun project. And yes the squares are the worst part. That and trying to convert MM hole sizes to fractions.
 
Thanks for starting this progress thread - I love seeing another panel come together and so far everything is looking good!

Will you be painting the panel as well?

Kal
 
Well Life got in the way of my project. I had to travel for a bit but now I should be home and working on more important projects!

Just finished priming and initial install. The pictures dont do the paint justice. Very happy with the results!

getting it primed


First coat


Wife helping measure things out


As it sits today!!!


Also for anyone building the same system, here are a few things I learned:

1) The "tabs" for the amp and volt indicators is not as large as the picture makes it seem!
2) the right tool for the job!! Sounds obvious but the metal files i purchased from harbor freight added about 2 days of work. When I purchased the same set from lowes i couldnt believe the difference!
3) dry fit EVERYTHING! I had to do some sanding after the box was painted because the paint added a few MM to each cutout.
4) spend the money on a good primer. Like I mentioned in the post I am not a hand man. So i splurged for a more expensive primer used for cars. It allowed me to put multiple coats of primer and sand out any imperfections in the box (caused by me)
5) Have your wife (or someone detail oriented) line everything up. Tags included. all of the crooked tags are because of my stupidity.

*Overall I am extremely happy with the progress. I know its not perfect, but there is something rewarding about seeing my fingerprints (in the paint) on everything.
 
I'll be starting my Kal clone build as soon as I get the money for the kit. Currently I blew everything on 20 gl Stout Tanks. Keep us posted on how the wiring goes. I was more worrid about the drilling than the wiring and I'd say you are slightly more handy than I since you owned more tools than me- even thourgh you never used and ultimately sold the big one. Kudos on the build!
 
I hadn't seen this thread before the recent update. Seeing the Kit all spread out on the table really makes you appreciate the control panel.

My stuff is on the way, can't wait to start my own build thread.
 
Looks good so far. Where did you get the 20 gal kettles ? They look exactly like blichmann kettles without the thermometer,sight glass, and factory installed valves.
 
They do look very similar in design but all of the sizes are shorter and larger diameter, deviating more from the desirable 1.2 size ratio.

For the price though, they look great.
 
I have been extremely happy with the kettles. However they are a lot thinner. That's why I had so many issues with brewers hardware. There was a dent in every pot they sent. They were super nice about it and worked things out with me. The pot is fantastic though. I brewed on the smaller ones about 15-20 times, and I have really enjoyed them. They are a lot nicer than some of the other "brand" name pots I have purchased
 
kal said:
Nice work! I think you have one of the only gold control panels I've seen! ;)

Kal

Haha that's fantastic ! Just didn't want to do the typical black panel
 
Update

-Frustrated with myself. I drilled through the heat sink and the tapping has not gone well. The good news is I joined the tulsa Fab Lab which is a community project that has 100s of thousands of dollars worth of equipment for community use. Its basically like the public library for machinery (3d printers and cnc mills!). I think using a drill press will fix the issue. On a bright note i finally received all of the hardware i need for the pots. I could not believe how expensive this stuff was. Fortunately I cashed in my miles for amazon gift cards which covered 100% of the equipment pictured :)

HeatS_zps394c8d98.jpg
[/URL]

BrewMail_zpsecab5014.jpg
[/URL]
 
The Stainless Hardware is indeed a kind of 'hidden' expense in this build. All those Quick Disconnects, Valves, and other NPT fittings add up quick!
 
The Stainless Hardware is indeed a kind of 'hidden' expense in this build. All those Quick Disconnects, Valves, and other NPT fittings add up quick!

No kidding. I was putting together an order and got to checkout. It is shocking how all those little fittings rack up a total bill in the $300-400 range.
 
No kidding. I was putting together an order and got to checkout. It is shocking how all those little fittings rack up a total bill in the $300-400 range.

Yes! This was 400 and i still need to buy the o-rings. Was not expecting this expense. Should have read the cost breakdown report a little closer! :drunk:
 
I would like to see you brewery. I'm from Tulsa and I'll going to start a Kal clone in the next few weeks. I just started brewing and haven't seen a Kal brewery run.
 
Yes! This was 400 and i still need to buy the o-rings. Was not expecting this expense. Should have read the cost breakdown report a little closer! :drunk:

what supplier are you using?
bargainfittings.com was the cheapest and best quality out of the few sources I tried. I still ended up with like 6 orders as I kept adding or forgetting things myself...
 
Awesome! I'm building a Kal clone also... Cutting those square holes SUCKED!

I have the same panel as the OP, it sucked cutting those holes. I used a dremel, roto-zip, bull snips, and anything else I could find. That panel is built like a tank. Looks good OP, you lost your amateur status. You are now handy.
 
Me too I should get my kit this week. I would like to see anyone use there brewery in Tulsa.
 
Back
Top