philipCT
Brewniversity student
- Joined
- May 10, 2013
- Messages
- 771
- Reaction score
- 171
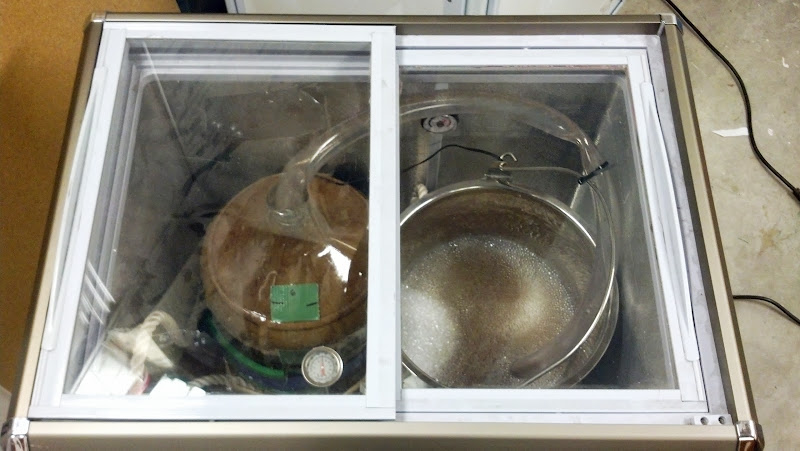
Okay, so I am very impressed with myself (but I am easily impressed) to have found the cool little fridge that is the perfect size for a carboy and blowoff bucket. $100 used - Cheap! The glass sliding doors on top will make it easy to peek in on progress without disrupting the temps. And it will allow me to put a separate thermometer inside to double check.
So then, of course, I got an STC-1000 controller to pimp it out.
Now if I only knew what I was doing... here's the problem: I want to wire the controller directly into the fridge, but I can't tell exactly how to do that from looking at the wiring diagram for the fridge and the looking at the innards.
Here are some pictures - not sure what I am doing yet... but I am not really interested in wiring up the new thermostat to a bunch of ac plug boxes like I've seen elsewhere - I want to rip out the old thermostat and flush mount the new one cleanly.

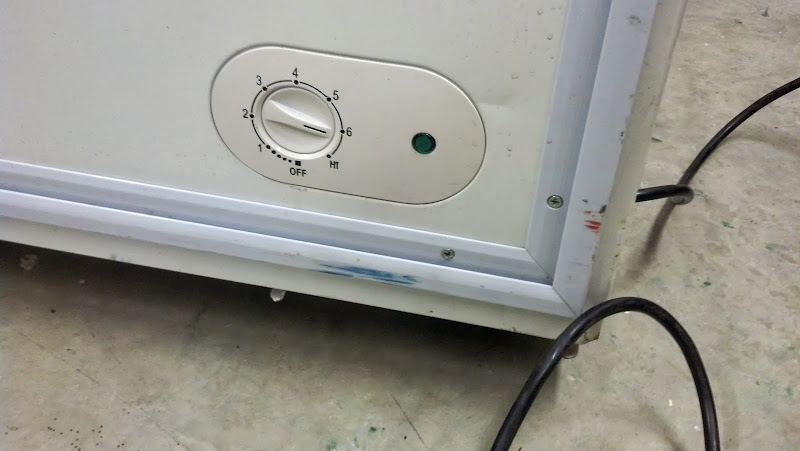
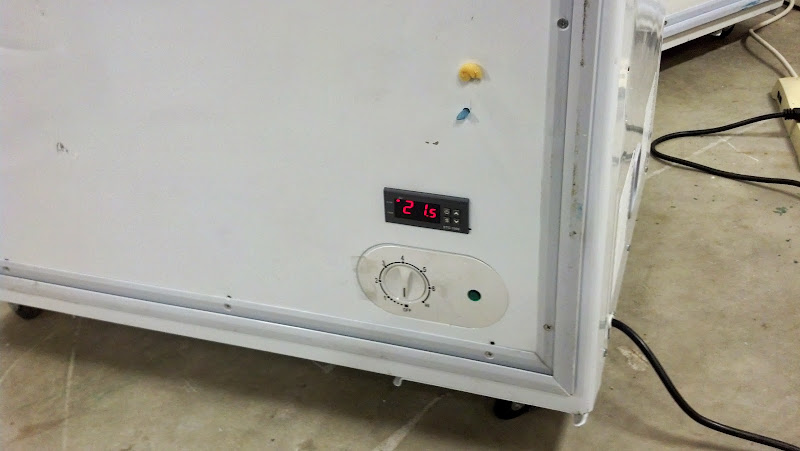
Existing thermostat. Note that it has an on/off function too: when cranked all the way counter clockwise, it turns all the power off to the fridge
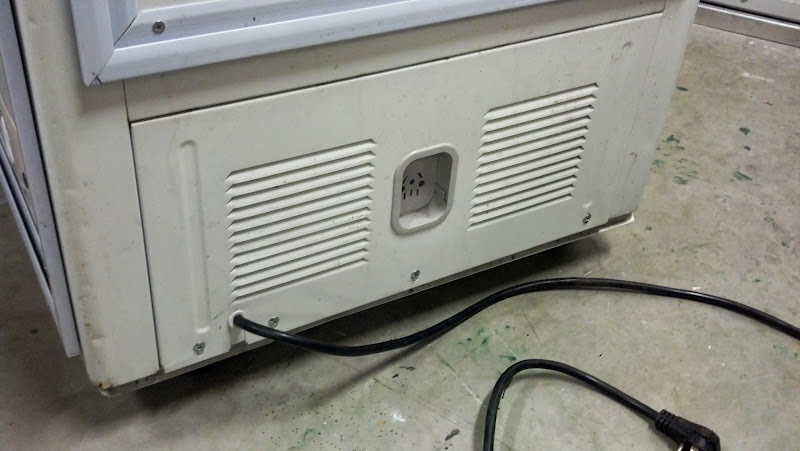
Here's the access panel to the compressor compartment.
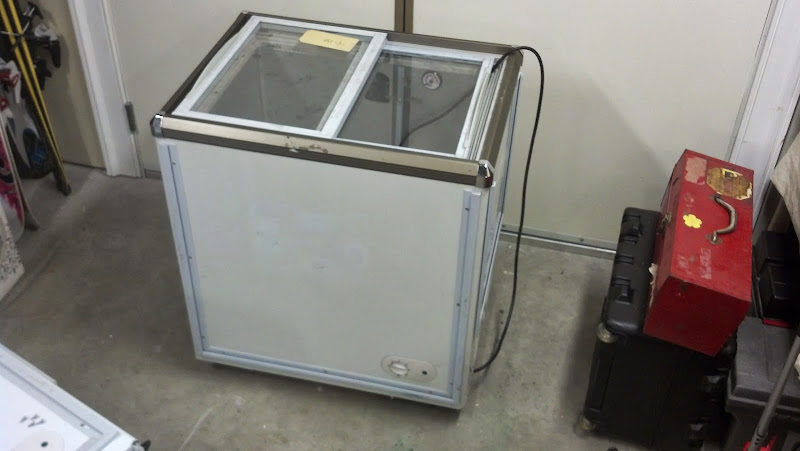
Yes, it's a bit of an ugly duckling, but I'll clean it up - I promise! Here's the good stuff:
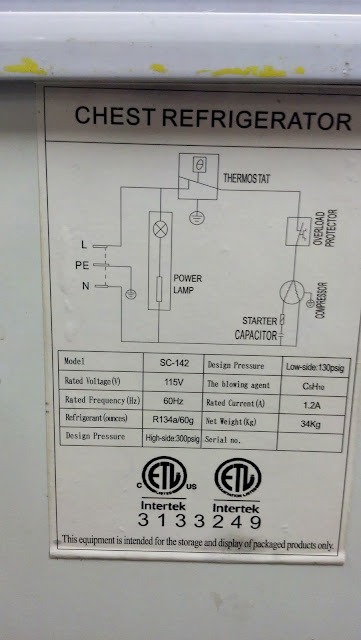
Refrigerator Wiring Diagram
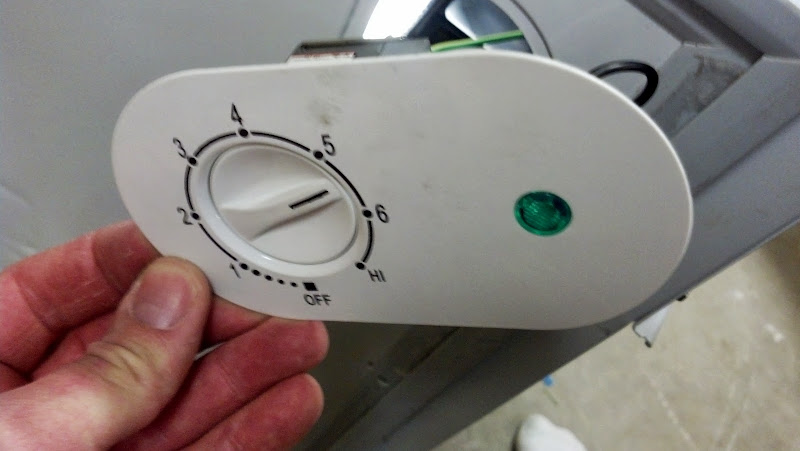
Existing Thermostat and power light removed from mounting (front)
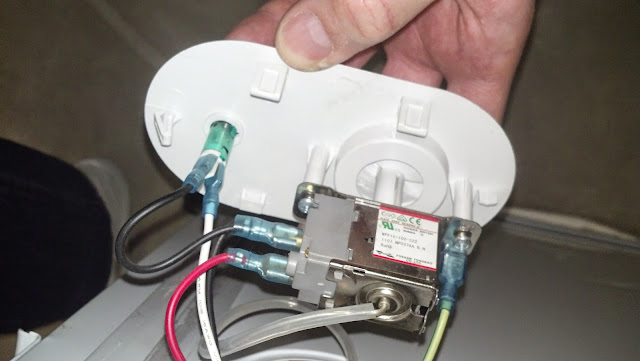
Existing Thermostat and power light removed from mounting (rear)
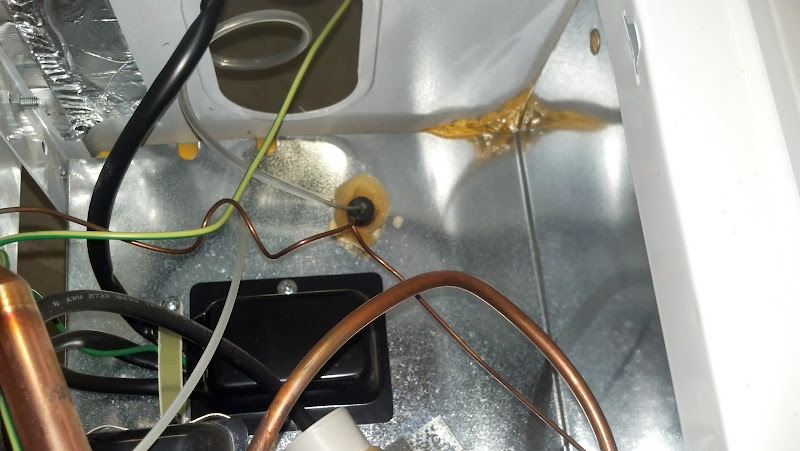
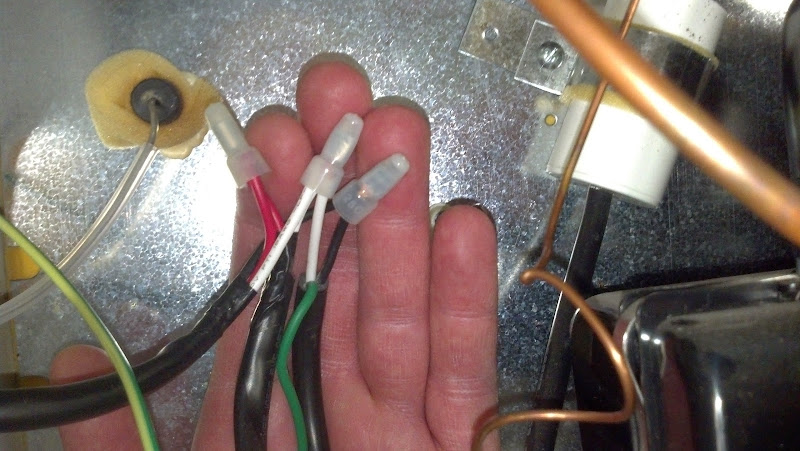
Close shot of interior of compressor chamber. The removed thermostat is hanging outside the rounded hole. The existing sensor wire is the thick white/clear one going into the black foamed-in cylinder.
I'll post again when I figure out next steps.
So then, of course, I got an STC-1000 controller to pimp it out.
Now if I only knew what I was doing... here's the problem: I want to wire the controller directly into the fridge, but I can't tell exactly how to do that from looking at the wiring diagram for the fridge and the looking at the innards.
Here are some pictures - not sure what I am doing yet... but I am not really interested in wiring up the new thermostat to a bunch of ac plug boxes like I've seen elsewhere - I want to rip out the old thermostat and flush mount the new one cleanly.
Existing thermostat. Note that it has an on/off function too: when cranked all the way counter clockwise, it turns all the power off to the fridge
Here's the access panel to the compressor compartment.
Yes, it's a bit of an ugly duckling, but I'll clean it up - I promise! Here's the good stuff:
Refrigerator Wiring Diagram
Existing Thermostat and power light removed from mounting (front)
Existing Thermostat and power light removed from mounting (rear)
Close shot of interior of compressor chamber. The removed thermostat is hanging outside the rounded hole. The existing sensor wire is the thick white/clear one going into the black foamed-in cylinder.
I'll post again when I figure out next steps.