
For my upcoming wedding we will be serving about 20-30 gallons of homebrew. I wanted a way to serve the beer in a professional and simple manner. I decided a jockey box would be the way to go.
I spent weeks/months researching this project. I want to thank all of those before me that took the time to document their experiences on this subject. More specifically Id like to thank fall-line. His build, also for a wedding, inspired my cooler choice. Anyway, here is my jockey box:
Parts:
Steps:
The basic steps were as follows:
Measure and mark the holes for the shanks/couplings
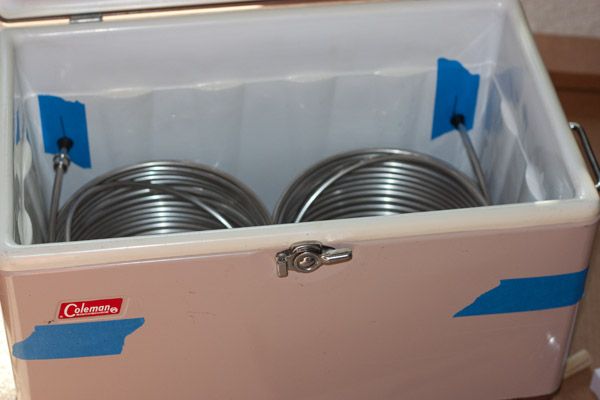
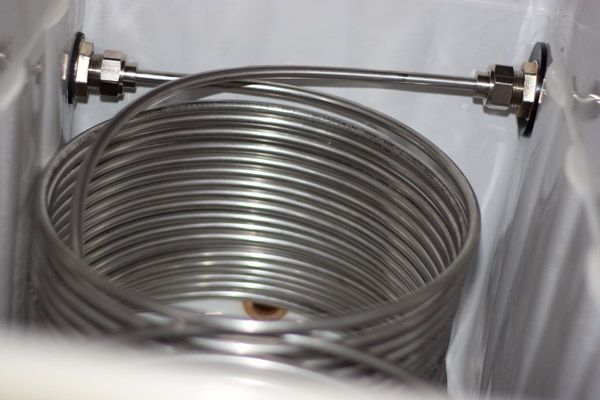
This was pretty straight-forward. I placed the coils in the cooler to figure out what the best configuration would be. I orderd the left hand and right hand twist coils, so there werent many options. I ended up with the following configuration. I would have liked to position the shanks closer together, but oh well I marked roughly where the holes should go. Using the square and pencil I was able to mark more precisely where to drill.
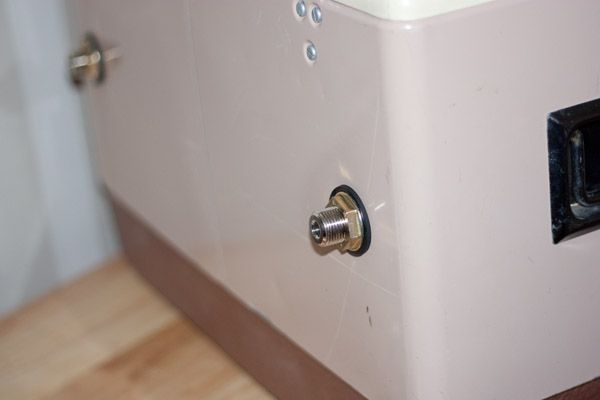
Drill the holes for the shanks/couplings
This seemed pretty straight-forward at first, having built a kegerator and keezer. However, I quickly realized my markings in the previous step would only be a starting point. Since the markings were on the inside of the cooler, it was difficult to ensure the resulting holes on the outside of the cooler would be at consistent heights. The solution was to drill a pilot hole from the inside through the outside at each location. These holes were not at the same height. Using one of the holes, I used the level to mark the same height at the other location. I then drilled another pilot hole for that location. Then working up through larger diameter drills and the hole saw I was able to achieve level holes.
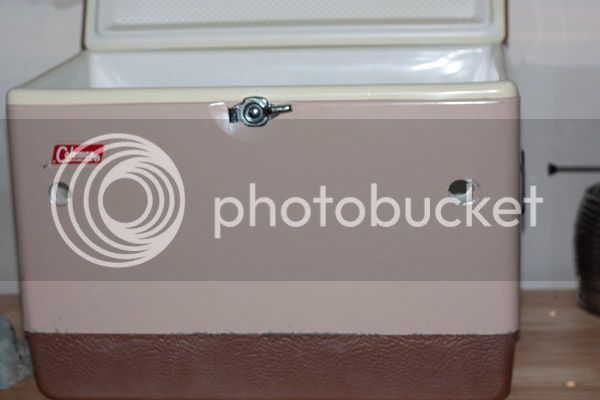
I got a little squirrelly with the hole saw when drilling the hole on the right. The faucet collar will cover this, so no biggie
PVC
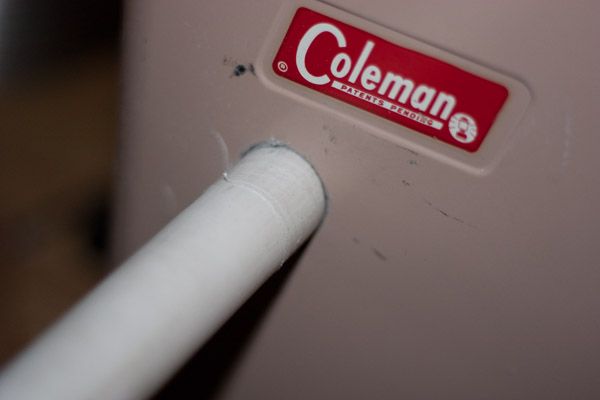
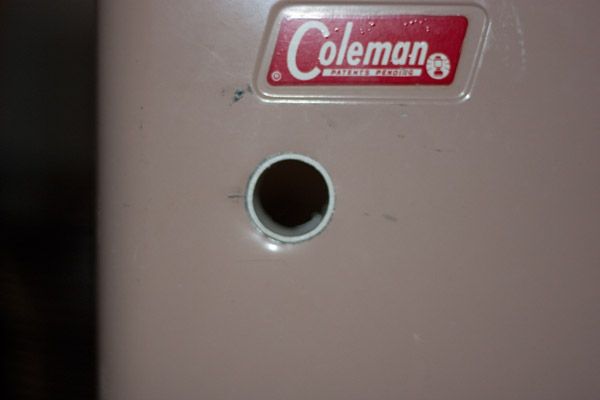
I got this idea from another build (different website). The idea is that the PVC will be more rigid than the cooler walls when tightening the shanks/couplings. To prepare the PVC I inserted the pipe in each hole and marked where to cut. After cutting each piece I applied the silicon sealant. Then I inserted each piece into the appropriate hole and smoothed out the silicone.
Install shanks/couplings
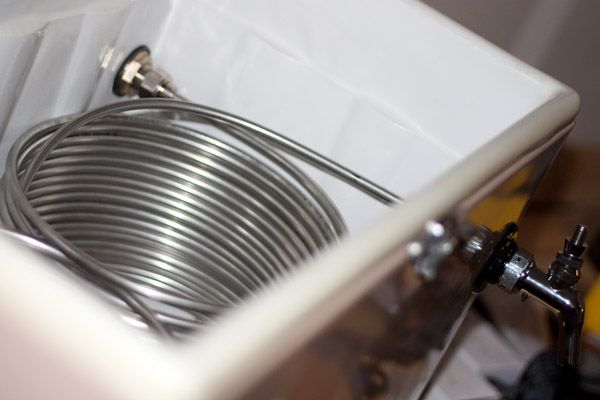
Connect coils to the shanks/couplings
Install faucets
Action shots to come...
I spent weeks/months researching this project. I want to thank all of those before me that took the time to document their experiences on this subject. More specifically Id like to thank fall-line. His build, also for a wedding, inspired my cooler choice. Anyway, here is my jockey box:
Parts:
- Coleman Cooler
- 5/16 x 50 stainless coil, w/connection hardware qty. 2
- 3" Faucet Shank qty. 2
- 3" Cooler Coupling qty. 2
- Beer Faucets qty. 2
- PVC pipe
- Silicone Sealant
- Painters tape
- Combination square
- Level
- Drill
- 1 Hole saw
- Pencil
- File
Steps:
The basic steps were as follows:
- Measure and mark where to drill the holes for the shanks/couplings
- Drill the holes for the shanks/couplings
- Measure and cut PVC pipe to fit into the holes
- Insert the PVC pipes into the holes with sealant
- Install shanks/couplings
- Connect coils to the shanks/couplings
- Install faucets
Measure and mark the holes for the shanks/couplings
This was pretty straight-forward. I placed the coils in the cooler to figure out what the best configuration would be. I orderd the left hand and right hand twist coils, so there werent many options. I ended up with the following configuration. I would have liked to position the shanks closer together, but oh well I marked roughly where the holes should go. Using the square and pencil I was able to mark more precisely where to drill.

Drill the holes for the shanks/couplings
This seemed pretty straight-forward at first, having built a kegerator and keezer. However, I quickly realized my markings in the previous step would only be a starting point. Since the markings were on the inside of the cooler, it was difficult to ensure the resulting holes on the outside of the cooler would be at consistent heights. The solution was to drill a pilot hole from the inside through the outside at each location. These holes were not at the same height. Using one of the holes, I used the level to mark the same height at the other location. I then drilled another pilot hole for that location. Then working up through larger diameter drills and the hole saw I was able to achieve level holes.

I got a little squirrelly with the hole saw when drilling the hole on the right. The faucet collar will cover this, so no biggie
PVC
I got this idea from another build (different website). The idea is that the PVC will be more rigid than the cooler walls when tightening the shanks/couplings. To prepare the PVC I inserted the pipe in each hole and marked where to cut. After cutting each piece I applied the silicon sealant. Then I inserted each piece into the appropriate hole and smoothed out the silicone.


Install shanks/couplings

Connect coils to the shanks/couplings

Install faucets

Action shots to come...
