Most of the controllers I see on here are amazing. It's impressive to see the workmanship. At the same time it can be discouraging, because many of us don't have the time, money, or equipment to produce something as polished as what you can find at theelectricbrewery.com.
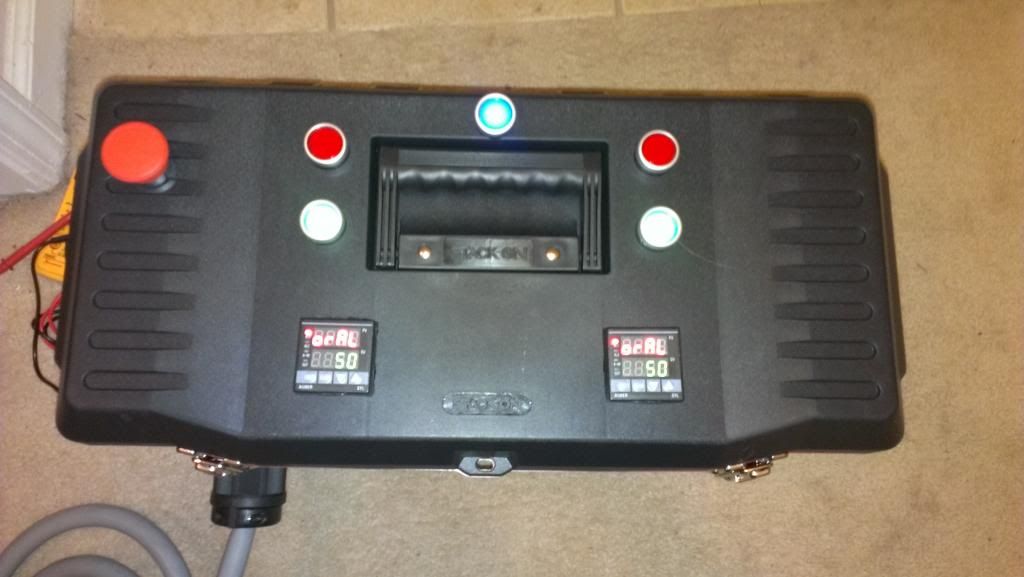
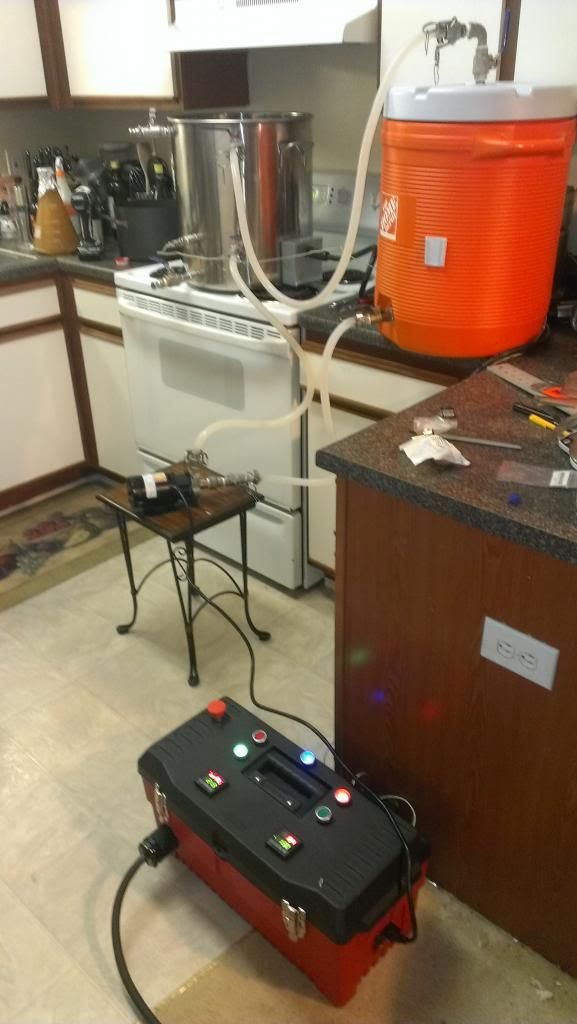
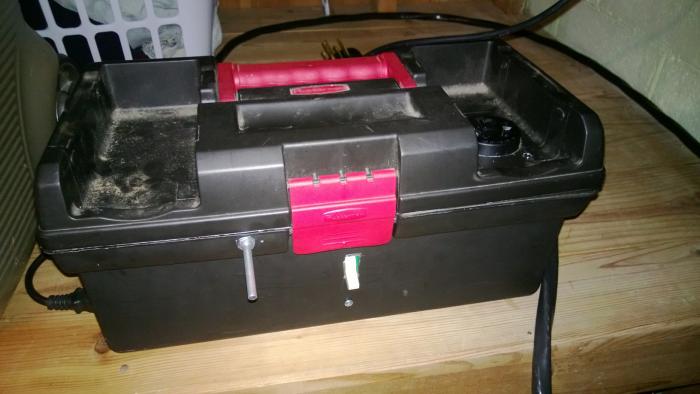
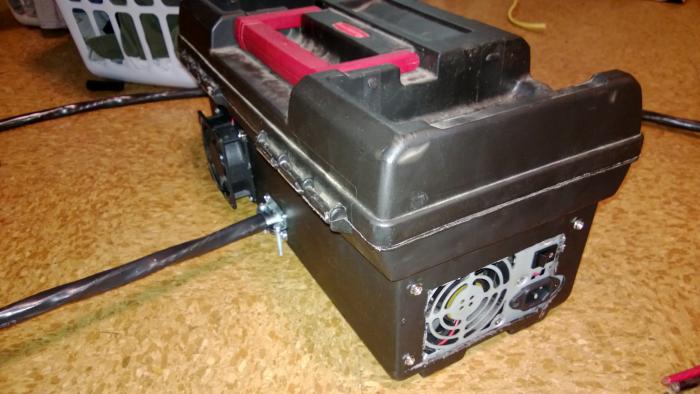
I figured I would encourage some of you and post some pics of my controller. It's not polished, but it works! I struggled for weeks on how I would put the components into a box. I found some posts showing toolboxes. I decided to go that route. Why? Two reasons. 1) I had one sitting around 2) I don't have any great tools to cut metal (I have a dremel and a drill).
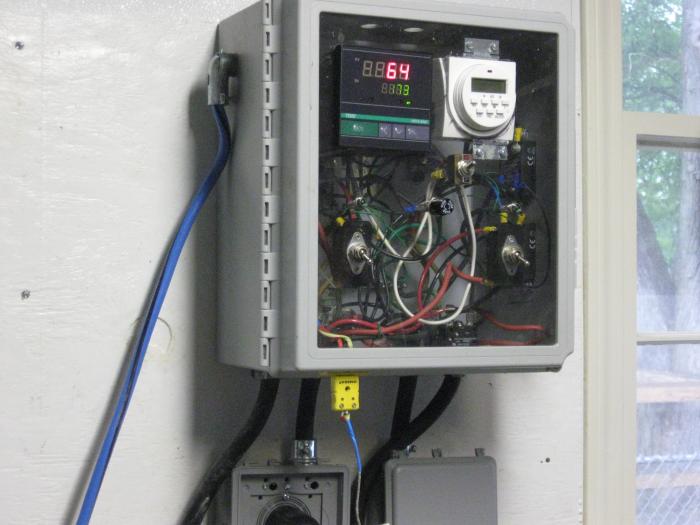
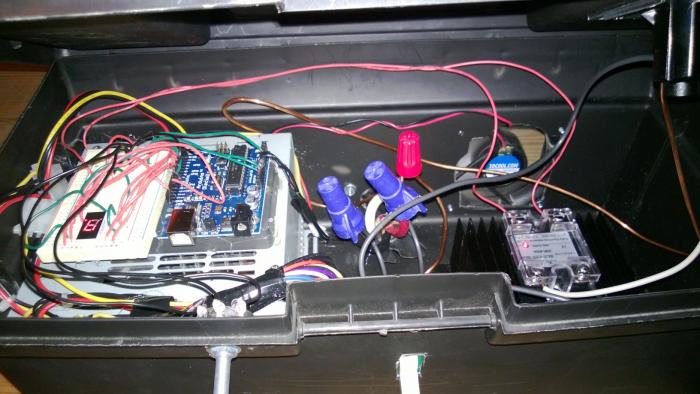
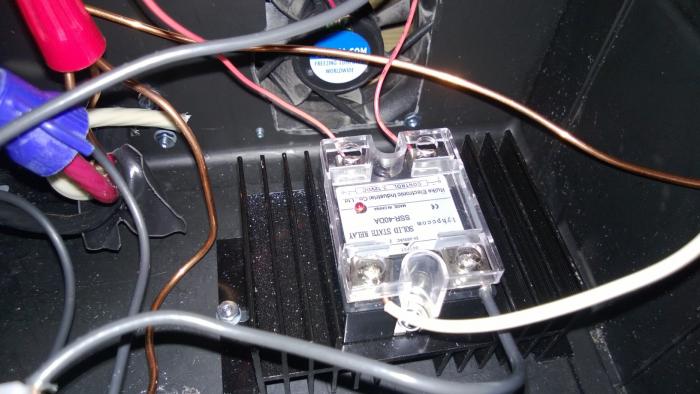
I have a computer PSU mounted in the box. The PSU functions as the on/off for the Arduino potentiometer controller, and the cooling fan. It works great. I could eventually run these off the 120v coming from the line-in, but for now I want simplicity.
To mount the breadboard and Arduino I used hot glue to hold them to a plastic panel (and then to the PSU. You can see in the picture. They hold nicely. There is a 0-9 LED that tells me what level my heating element is at, and pot. mounted to the front. I plan on mounting the LED next to the pot.
I have a 30 amp dual pole switch mounted on the front that will cut power to the outlet on the top of the box.
I haven't brewed with this setup yet, but I've tested the outlet with the multimeter and it works as expected!
Cheers!


