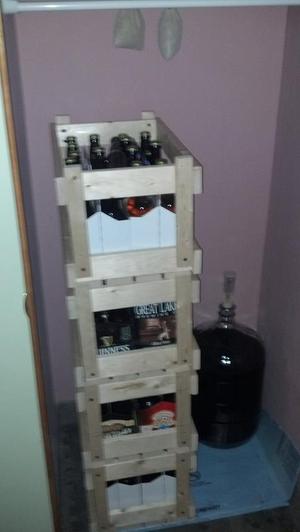
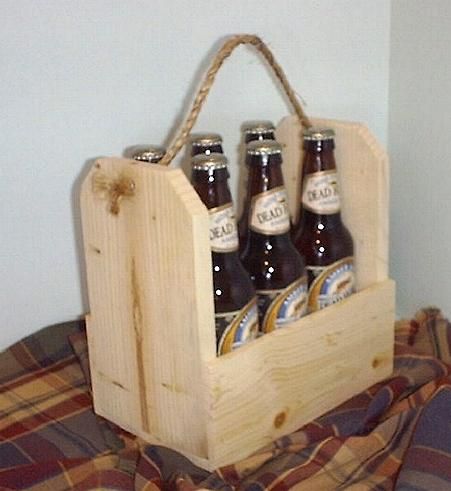
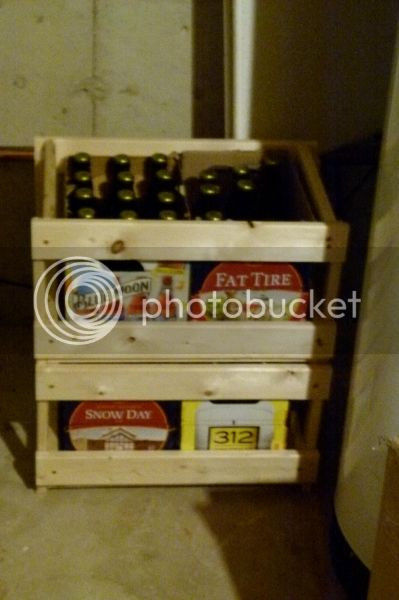
This is an excellent thread. I have many, many loose Grolsch bottles in the basement, since most of the cardboard has gotten wet over time and ruined.
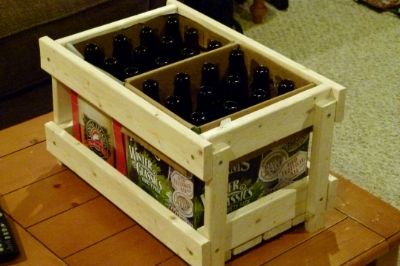
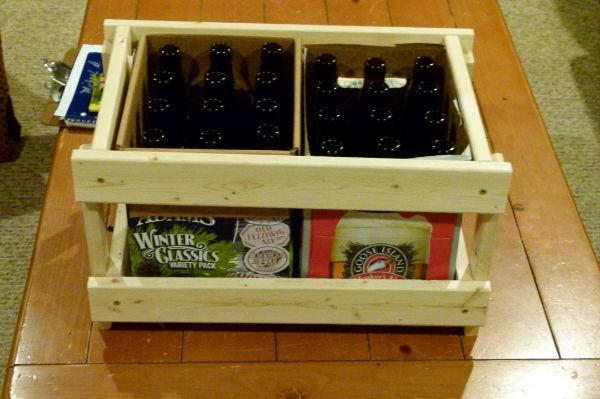
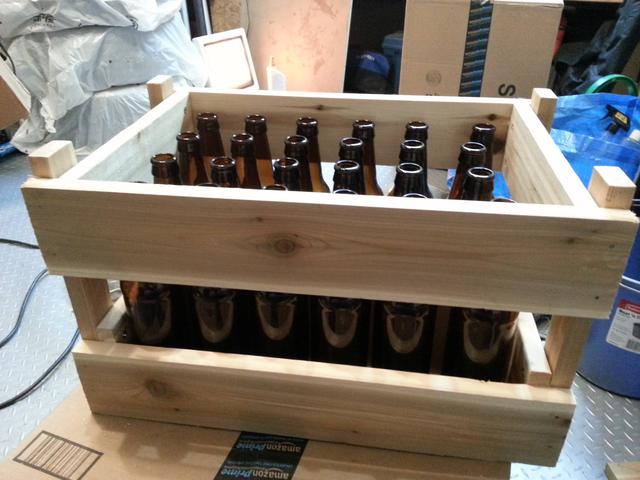
I just measured my Grolsch bottles in a 3 x 4 arrangement (12 bottles altogether) in their cardboard 4s with some slots empty...
I came up with: 14.5" x 8.75" x 10" (with swing-tops on)
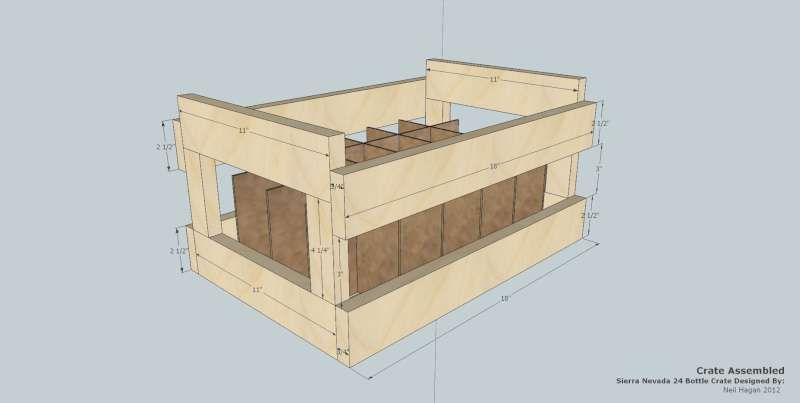
So if I'm reading the original plans right, I need to add 1.5 inches to the bottom slats and 3" to the long-sides lengths, and 3/4 inch + 1/2" (over bottle gap) to the vertical ones?
So I'm thinking final dimensions would be:
bottom slats: 16"
short sides: 8.75"
verticals: 11.25"
long sides: 17.5"
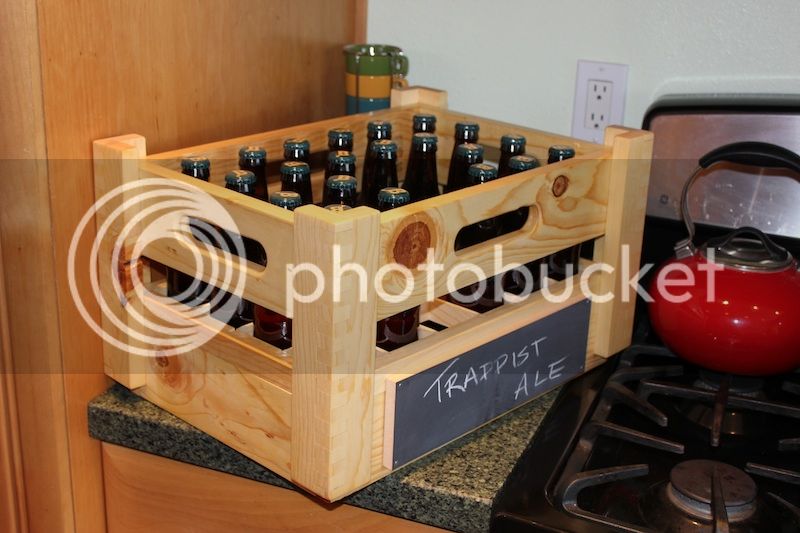
Not sure if I need to make any adjustments to add the wood dividers from 1st post too since I measured them with the thin cardboard holder.
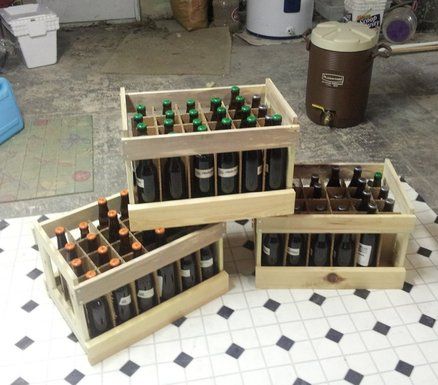
Hopefully they'll all fit on my first try.


")