autobaun70
Well-Known Member
Got started on my stand this week. I have all of my parts for the most part, and made a lot of headway with the fabrication.
The base of the stand is being built on a surplus forklift charger stand. Overall footprint is going to be 26"x36". I am building it as a two tier more to keep the footprint small than I am for the gravity feed, though I do see being able to gravity feed as a positive.
I will update as work progresses.
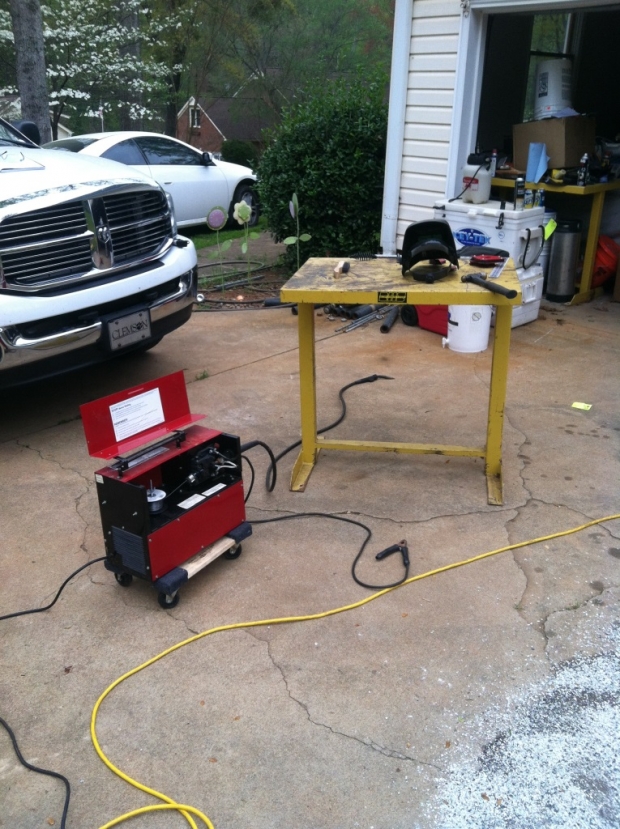
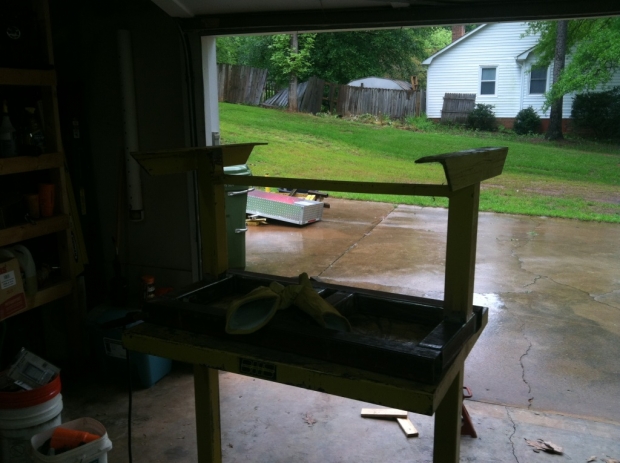
Charger stand that I am using for the base. I have two of these. Using one of them as a welding table, and the one in the background with all the crap on it is the one I am using for the brew stand. Side by side, they fit perfectly between the back bumper of my 1968 Bonneville and the garage door, which will be the storage spot when not in use.
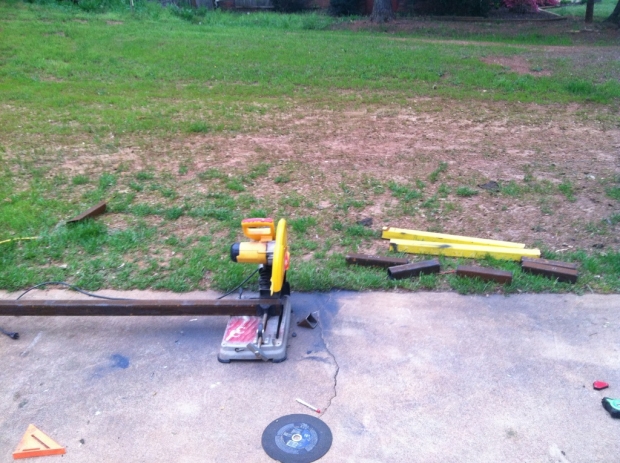
Cutting up the metal. Thankfully I was able to borrow my neighbors chop saw. I in addition to the metal from the charger stand, I picked up a 20' stick of 2.5" square tubing, which is the same as the frame of the stand.
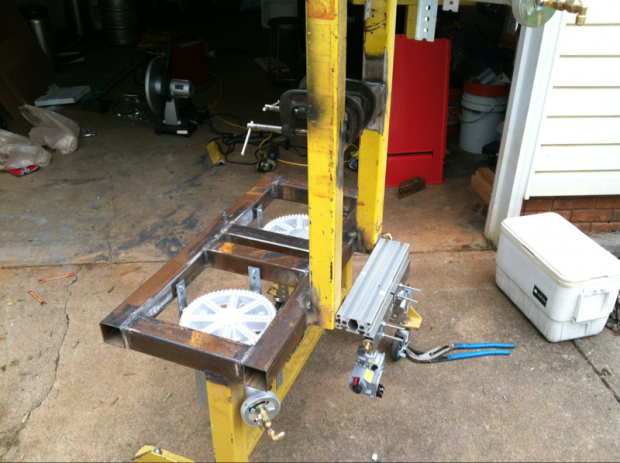
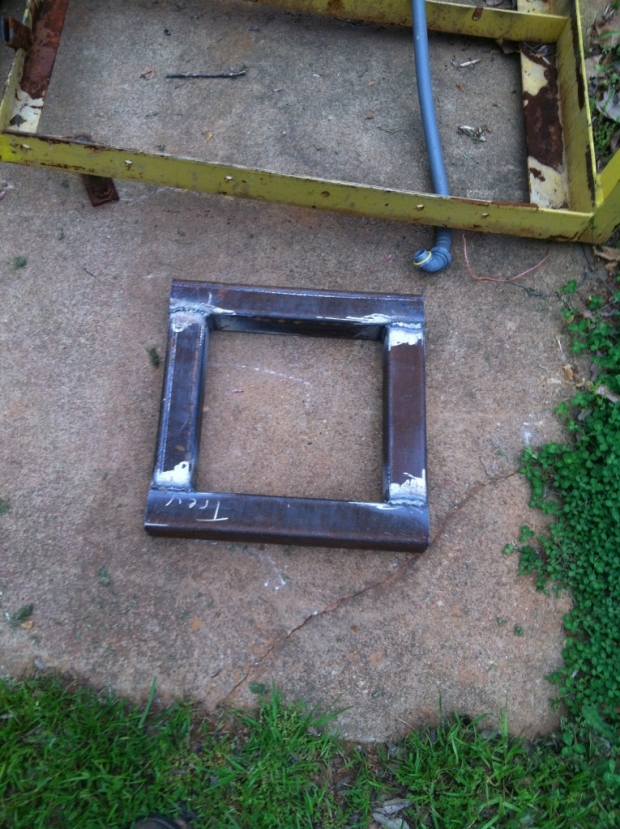
Frame for upper burner welded up.
Second stand is cut up, and the lower burner frame is welded up.
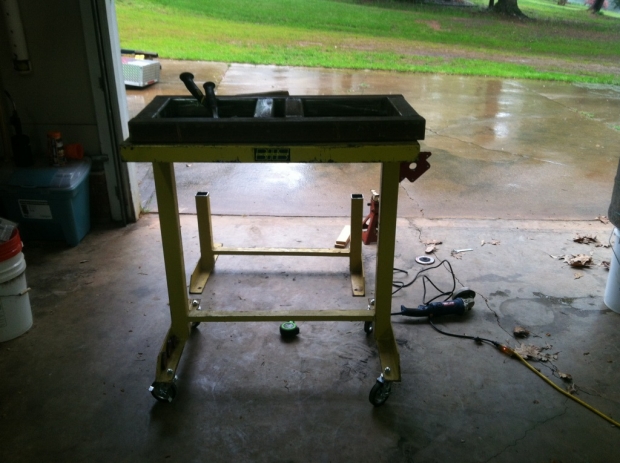
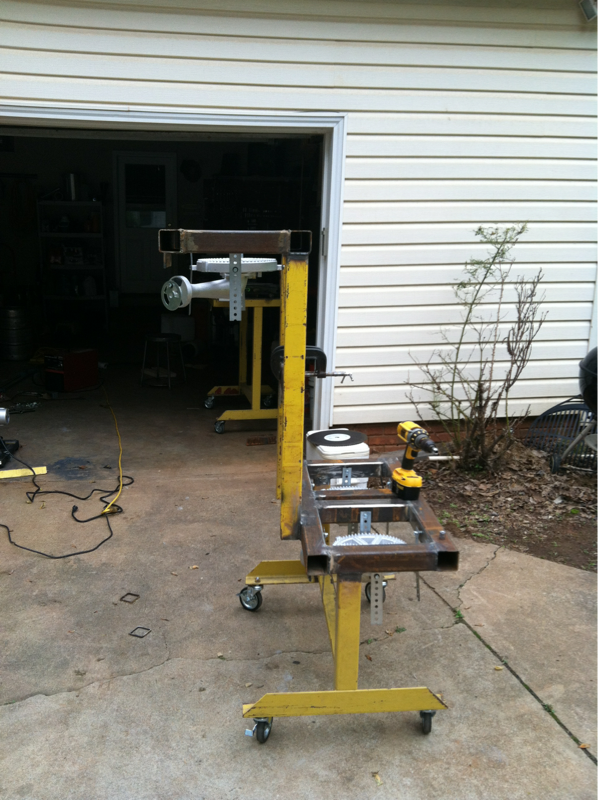
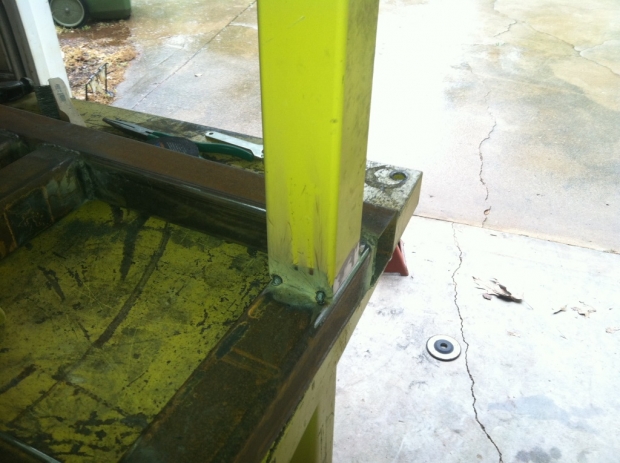
Fitting up the base. I am really enjoying having a nice flat table to work off of. As you can see, the lower burner frame is offset toward the front of the base. The upper frame will sit above the lower, offset to the rear, and be partially over the lower.
Base is tacked in place so that I can double check the height.
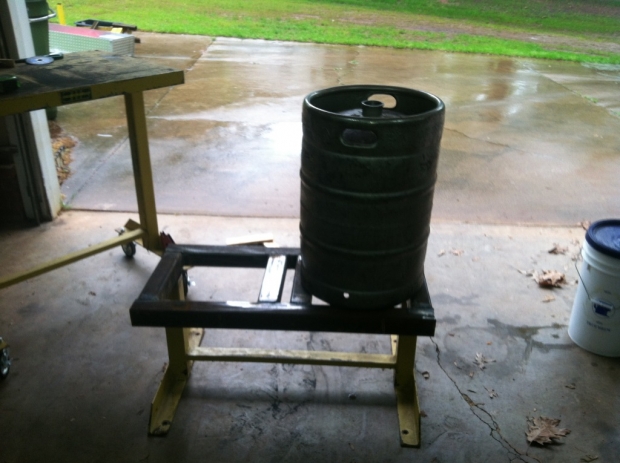
Prior to doing all of the final welds to secure the lower burner frame to the base, I flipped it over and stuck a keg on it so I could better visualize the overall height. This looks a bit low, but the whole thing is going on casters, which will bring it up 5" higher. This keg will eventually be my mash tun.
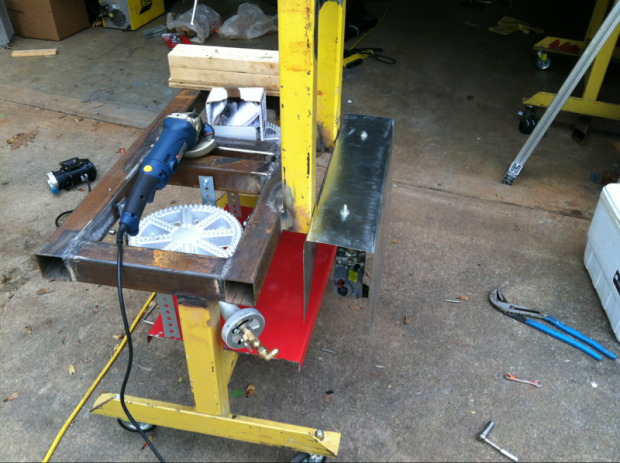
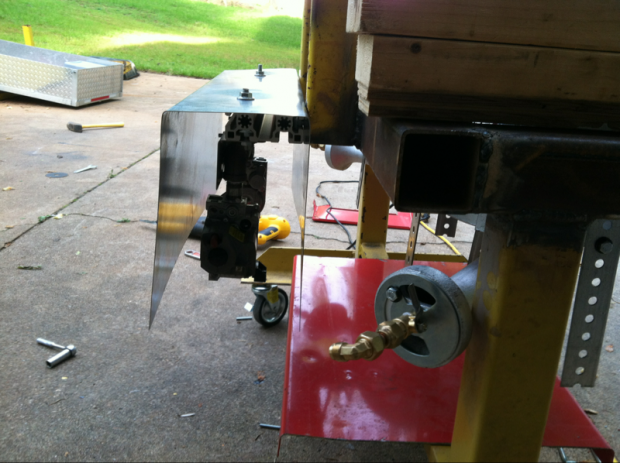
I went ahead this afternoon and got the lower frame all welded up. Hopefully I will get the upper burner frame welded up, and the burners all mounted tomorrow.
The base of the stand is being built on a surplus forklift charger stand. Overall footprint is going to be 26"x36". I am building it as a two tier more to keep the footprint small than I am for the gravity feed, though I do see being able to gravity feed as a positive.
I will update as work progresses.
Charger stand that I am using for the base. I have two of these. Using one of them as a welding table, and the one in the background with all the crap on it is the one I am using for the brew stand. Side by side, they fit perfectly between the back bumper of my 1968 Bonneville and the garage door, which will be the storage spot when not in use.
Cutting up the metal. Thankfully I was able to borrow my neighbors chop saw. I in addition to the metal from the charger stand, I picked up a 20' stick of 2.5" square tubing, which is the same as the frame of the stand.
Frame for upper burner welded up.
Second stand is cut up, and the lower burner frame is welded up.
Fitting up the base. I am really enjoying having a nice flat table to work off of. As you can see, the lower burner frame is offset toward the front of the base. The upper frame will sit above the lower, offset to the rear, and be partially over the lower.
Base is tacked in place so that I can double check the height.
Prior to doing all of the final welds to secure the lower burner frame to the base, I flipped it over and stuck a keg on it so I could better visualize the overall height. This looks a bit low, but the whole thing is going on casters, which will bring it up 5" higher. This keg will eventually be my mash tun.
I went ahead this afternoon and got the lower frame all welded up. Hopefully I will get the upper burner frame welded up, and the burners all mounted tomorrow.